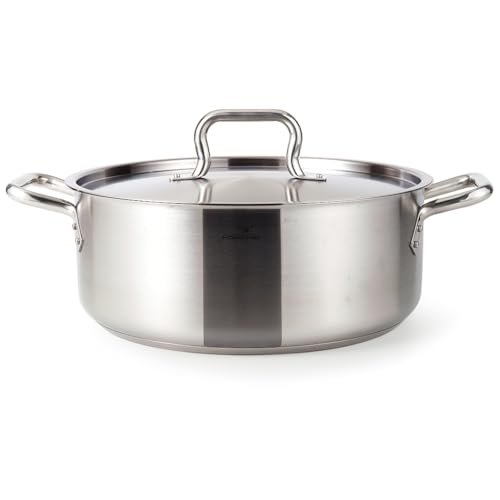
Walk into any kitchen store in the past two years and you’ll notice a quiet revolution: raw cast iron Dutch ovens are outselling their brightly colored enameled cousins for the first time since the 1970s. The pendulum has swung back toward tradition, and with it comes a renewed reverence for the dark, glossy patina that only proper seasoning can create. If you’ve recently unboxed a new bare iron pot or pulled a rusty heirloom from the attic, the question that inevitably surfaces is whether seasoning a dutch oven is truly mandatory. Most kitchen mistakes come from rushing rather than from a lack of care. The extra 30 seconds spent checking your setup saves hours of cleanup or regret, and nowhere is that more true than when you’re building a surface that could outlive you.
Key Takeaways
- Raw cast iron Dutch ovens demand seasoning to prevent rust and create a natural non-stick finish; enameled Dutch ovens should never be seasoned.
- The right oil, temperature, and technique make the difference between a sticky mess and a slick, durable surface that improves with use.
- Once a strong base layer is established, daily maintenance—gentle cleaning, thorough drying, and an occasional touch-up coat—keeps the seasoning intact for decades.
In this guide
The Age-Old Art of Seasoning: A Historical Perspective
Before non-stick coatings dominated the market, seasoning was simply what you did to cookware. It wasn’t a trendy hashtag; it was survival. My own restoration projects often involve pots from the 1920s whose owners understood that oil and heat, applied patiently, could transform raw iron into a surface that eggs slid across without a hint of sticking.
What Seasoning Actually Is
Seasoning is not a coating that sits on top of the metal—it’s a polymerized layer of oil chemically bonded to the iron. When fat is heated past its smoke point, the long-chain fatty acids break down and reform into a hard, plastic-like matrix. This layer fills microscopic pores, shields the metal from water and oxygen (the two components needed for rust), and becomes increasingly slick as more thin layers accumulate.
For a Dutch oven destined for stews, braises, and bread baking, that protective film is non-negotiable. Without it, acidic ingredients like tomatoes or wine would leach metallic flavors into your food while simultaneously eating away at the iron. The chemistry is straightforward: unprotected iron + moisture = red rust, often within hours.
Why the Trend Is Returning
Enthusiasts are rediscovering that a well-seasoned Dutch oven outperforms most synthetic non-stick pans. It can withstand searing temperatures, move from stovetop to campfire, and never flake off into your food. A vintage piece with a dark, smooth interior commands triple the price of a modern version that’s still rough with factory pre-seasoning. That deep ebony finish doesn’t happen by accident—it’s earned through deliberate, unhurried layering.
Enameled vs. Raw Cast Iron: The Great Divide
Not every Dutch oven needs seasoning, and this is where confusion often starts. The question “do you have to season a Dutch oven” can’t be answered without first identifying what type of pot sits on your stove.
Raw Cast Iron
Raw cast iron is the traditional material—dark grey or black, slightly rough to the touch, and entirely devoid of any glass-like coating. These pots are porous and reactive. They will rust if left wet, they’ll absorb flavors if not properly sealed, and they require that foundational seasoning layer before first use. Even models that advertise “pre-seasoned” often have only a minimal factory coating that needs reinforcing before you can cook acidic dishes or expect reliable non-stick performance.
Enameled Dutch Ovens
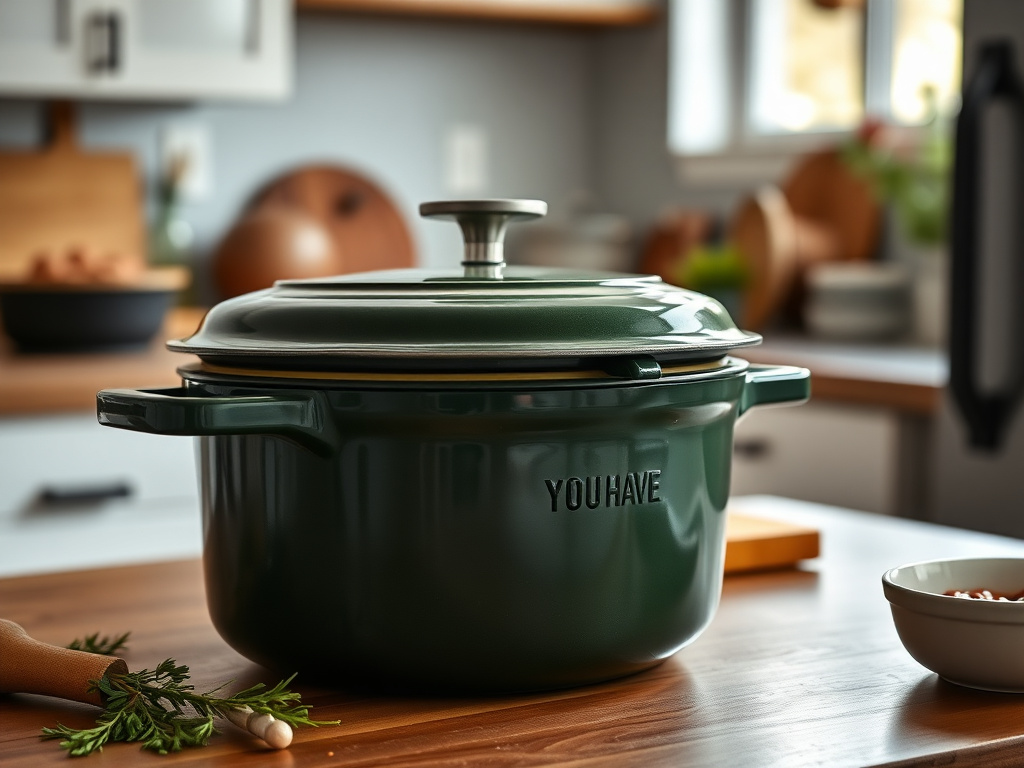
Enameled Dutch ovens are cast iron at their core, but their interiors and exteriors are coated with a vitreous enamel—essentially powdered glass fused to the metal at extremely high temperatures. This surface is non-porous, non-reactive, and completely sealed. Applying oil and heating it wouldn’t bond; it would burn into a sticky, impossible-to-clean film. If your pot has a glossy cream, white, or sand-colored interior, you should never attempt to season it. In fact, doing so can void warranties and permanently discolor the enamel.
For those who appreciate the longevity of traditional materials, raw iron still holds an edge. A scratch on enamel is permanent and exposes the reactive iron beneath, while a scratch on seasoned iron can be repaired with another quick layer of oil and heat.
When Seasoning Becomes Non-Negotiable
There are clear signals that your bare cast iron Dutch oven needs a fresh layer of protection. Ignoring them leads to progressive damage, not the charming patina some people imagine.
Rust Spotting or Full Oxidation
Light surface rust appears as orange or reddish-brown speckles, especially around the rim or lid. This often happens after a long storage period or if the pot was put away slightly damp. Deep rust that has created pits requires a full restoration: scrubbing down to bare metal with steel wool, washing with mild soap (yes, that’s acceptable during restoration), then immediately starting fresh seasoning. Leaving rust unchecked will eventually eat through the iron, and no amount of oil can reverse structural pitting.
Stripped Bare Iron
If you’ve used harsh chemical cleaners, left the pot in a self-cleaning oven cycle, or sanded away old gunk, you’ve exposed raw, vulnerable metal. This iron will begin to flash rust in a humid room within 30 minutes. You must start seasoning the exposed surface immediately after drying, as any delay invites oxidation. I keep a thin coat of flaxseed oil on my workbench during restorations for exactly this reason.
Food Sticking Relentlessly
A properly seasoned Dutch oven should release food with minimal effort. If your eggs, pancakes, or braised meats leave behind a stuck-on layer that requires a chisel, the seasoning has either worn thin or been damaged by high heat. A quick rejuvenation cycle—applying a thin layer of oil and baking at 450°F for 1 hour—often restores performance without starting from zero.
Metallic Aftertaste or Discoloration
When iron leaches into food, it creates a distinct metallic flavor and can turn sauces a dull grey. This indicates the protective polymer layer is compromised. Seasoning seals the iron, preventing direct contact between the metal and acidic components.
A Methodical Approach to Seasoning Your Dutch Oven
Seasoning isn’t a mystical rite; it’s a repeatable, science-backed procedure. The key is patience, thin layers, and respecting smoke points. Rushing the process—something I’ve been guilty of more times than I’d like to admit—results in a sticky, uneven finish that flakes off during cooking.
Step 1: Prepare the Surface
For a new or newly stripped pot, scrub with hot water and a stiff brush to remove any manufacturing residue or dust. Do not use soap at this stage if the pot already has some seasoning you want to preserve, but if it’s bare iron, a drop of mild detergent is acceptable to remove oils from your hands. Dry the pot completely with paper towels, then warm it in a 200°F oven for 10 minutes. This warmth opens the iron’s pores and ensures every molecule of water evaporates before oil goes on.
Step 2: Choose Your Oil Wisely
Not all oils are equal for polymerization. Traditionalists swear by flaxseed oil because it’s high in omega-3 fatty acids that create a very hard finish, but it’s also expensive and prone to flaking if applied too thickly. Grapeseed oil and vegetable shortening are forgiving alternatives with high smoke points. Avoid low-smoke-point oils like extra-virgin olive oil, which will burn before they fully polymerize and leave a gummy residue.
Step 3: Apply the Thinnest Layer Possible
Using a lint-free cloth or paper towel, rub a few drops of oil over every surface of the Dutch oven—interior, exterior, lid, and handle. The goal is a barely visible sheen, not a wet coating. Then, take a clean, dry cloth and wipe off as if you never wanted oil there in the first place. This step is utterly critical. Excess oil during baking pools into droplets that cure into sticky, uneven patches. Many failed first attempts stem from this single mistake.
Step 4: Bake at the Right Temperature
Place the Dutch oven upside down on the middle rack of a cold oven, with a sheet of aluminum foil on the rack below to catch any drips. Set the oven to 450°F–500°F (depending on the oil’s smoke point) and allow the pot to bake for 1 full hour once the temperature is reached. The oil needs to exceed its smoke point by about 50°F to fully polymerize without burning off. After 1 hour, turn off the oven and let the Dutch oven cool completely inside—the slow cool-down period allows the newly formed polymer to cure and harden further.
Step 5: Repeat for a Bulletproof Foundation
A single layer offers minimal protection for daily use. Three to four rounds produce a robust, semi-gloss base that’s ready for stewing, frying, and bread baking. After each round, the iron should look darker and feel slicker. If you’re restoring a vintage piece, I’ve found that up to six thin layers yield a finish nearly indistinguishable from the original antique patina.
For a related baking application, a well-seasoned Dutch oven is essential for achieving that crusty sourdough loaf—our Dutch oven for sourdough guide walks through the magic of trapped steam and high-heat baking.
Long-Term Care: Preserving That Black Patina
Once you’ve built a proper seasoning foundation, the real craft is maintaining it. Heavy-gauge iron, when treated respectfully, performs better with age, and skillets from the 1890s are often smoother than any modern non-stick pan. Your Dutch oven can follow the same trajectory if you avoid a few destructive habits.
Cleaning Without Destroying
Contrary to outdated advice, you can use a small amount of mild soap on well-seasoned iron—modern dish detergents no longer contain lye, which was the true seasoning killer. For stuck-on food, add a cup of water and simmer for a few minutes, then scrape with a flat-edged wooden spatula or a chainmail scrubber specifically designed for cast iron. Avoid steel wool unless you’re intentionally stripping the seasoning for restoration.
After every wash, dry the pot immediately over a lit burner or in a warm oven. Never let it air-dry, as moisture trapped in pores quickly sparks rust. Once dry, rub a few drops of high-smoke-point oil inside with a paper towel and buff it nearly dry. This post-cooking oil application isn’t a full seasoning layer, but it fortifies the existing surface.
Storing for Generations
Stack your pots with a paper towel or cotton cloth between them to prevent the bottom of one pot from scratching the interior of another. If storing with the lid on, slip a folded paper towel inside to leave a small air gap that prevents musty odors. For seasonal storage in humid climates, a light coat of food-grade mineral oil provides extra rust protection without going rancid.
When to Strip and Rebuild
Even the best-cared-for Dutch oven eventually accumulates carbonized food residue that feels gritty rather than smooth. If your interior has lost its gloss and feels like sandpaper, it’s time to strip down to bare metal and re-season. Methods include running the pot through a self-cleaning oven cycle (with caution, as extreme heat can warp thin iron) or using an electrolysis tank, which I employ for my restorations. The latter uses ordinary washing soda and a battery charger to lift rust and old seasoning without abrasives, leaving a pristine surface for fresh oil.
If your seasoning needs a complete overhaul, the same foundational principles apply to all cast iron cookware. For bakers who love pies, the same discipline of surface preparation matters with metal baking pans; our complete guide to choosing a pie baking pan covers how material and seasoning interact. And if you’re venturing into cakes, understanding pan surfaces is key—our cake pan overview for 2026 explains why material choices affect release and browning.
Frequently Asked Questions
Do you have to season a Dutch oven that’s already labeled pre-seasoned?
Pre-seasoned cast iron has a factory-applied base layer that’s thin and somewhat porous. It will prevent rust in the short term, but it’s not durable enough for heavy stewing or acidic dishes. I recommend adding two additional thin layers of oil-baked seasoning before first use to deepen the protection and improve non-stick qualities. Treating pre-seasoned pots with a quick home seasoning cycle yields smoother results and far better longevity.
Can I avoid seasoning a Dutch oven if I only use it for baking bread?
Bread baking involves high heat and steam, both of which can strip a weak seasoning layer right after you finish baking. Rust can appear on the lid from condensation if the pot isn’t completely dry afterward. You absolutely need a solid base seasoning on raw iron, even for bread-only use, to prevent oxidation and to make cleaning up stuck-on flour effortless. After each bake, a quick oil rub while the pot is still warm will maintain the surface.
What thick oil or fat works best for seasoning in a single round?
There is no shortcut that replaces multiple thin layers, but if you want to maximize each round, use grapeseed oil or a blend of vegetable shortening with a little beeswax. These fats polymerize into a hard, slick finish with fewer coats than flaxseed oil alone. Remember that thickness is the enemy—wipe off excess meticulously before baking. No matter the oil, a single round won’t match the resilience of three to four patient applications.
Does seasoning a Dutch oven require special ventilation or outdoor space?
Proper seasoning does generate visible fumes and a distinct hot-oil smell as fat exceeds its smoke point. It’s wise to turn on a kitchen exhaust fan, open a window, or season in a well-ventilated area. If you’re sensitive to odors, you can use an outdoor gas grill with a lid thermometer to maintain steady 450°F—just place the pot upside down, away from direct flame, and monitor the temperature closely to avoid hot spots that cause uneven polymerization.