Baked chili demands a heavy pot. The tools that truly deliver are the ones built like tanks — plain, hefty, and nearly indestructible. The ones that last are never the flashiest — they’re the simplest, heaviest, and most boring-looking tools in the drawer. That philosophy is never more true than when you’re making a pot of baked chili in a Dutch oven. The difference between a forgettable stovetop simmer and a deeply developed, restaurant-quality bowl often comes down to one thing: a heavy, warp-resistant vessel that holds heat like a bank vault.
Key Takeaways
- Baking chili in a Dutch oven at 325°F (163°C) creates uniform, gentle heat that no stovetop burner can replicate, preventing scorching and building deep flavor.
- A heavy-gauge cast iron or enameled cast iron pot with a tight lid is essential — poor heat distribution or lid seal ruins texture and evaporates moisture too fast.
- Proper use of a Dutch oven transforms tough cuts of beef into butter-soft chunks without sticking, thanks to even thermal mass and smart deglazing.
- Letting the chili rest in the covered pot for at least 20 minutes after baking melds flavors and firms the body, just like resting a roast.
In this guide
- Why Baking Chili in a Dutch Oven Works Where a Pot Fails
- How to Build a Baked Chili That Rivals a Braise
- The Science of Heat Distribution in a Dutch Oven
- Layering Flavors Through Braising Techniques
- Choosing Cookware That Won’t Let You Down
- Common Mistakes That Ruin a Good Baked Chili
- Resting and Finishing for the Perfect Texture
- Frequently Asked Questions
Why Baking Chili in a Dutch Oven Works Where a Pot Fails
Most chili recipes treat the stovetop as the default. A big pot, a burner, and constant stirring to keep the bottom from burning. That approach can work, but the heat is wildly uneven — you’ve got a blazing hot spot directly over the flame and a ring of cooler zones around the sides. Even if you stir obsessively, scorching is a real threat, especially with tomato-heavy bases and ground chiles that love to weld themselves to steel. The oven solves all of that at once.
When you put a Dutch oven full of chili into a preheated 325°F oven, the heat wraps around the pot from all directions. The liquid temperature rises slowly and evenly, without the violent bubbling you get on a burner. This low, radiant heat extracts collagen from tough cuts like chuck or brisket without forcing the liquid to boil, which would squeeze out moisture and turn the meat into dry strings. The result is a chili with a velvety, thick consistency and uniformly tender beef — every single bite.
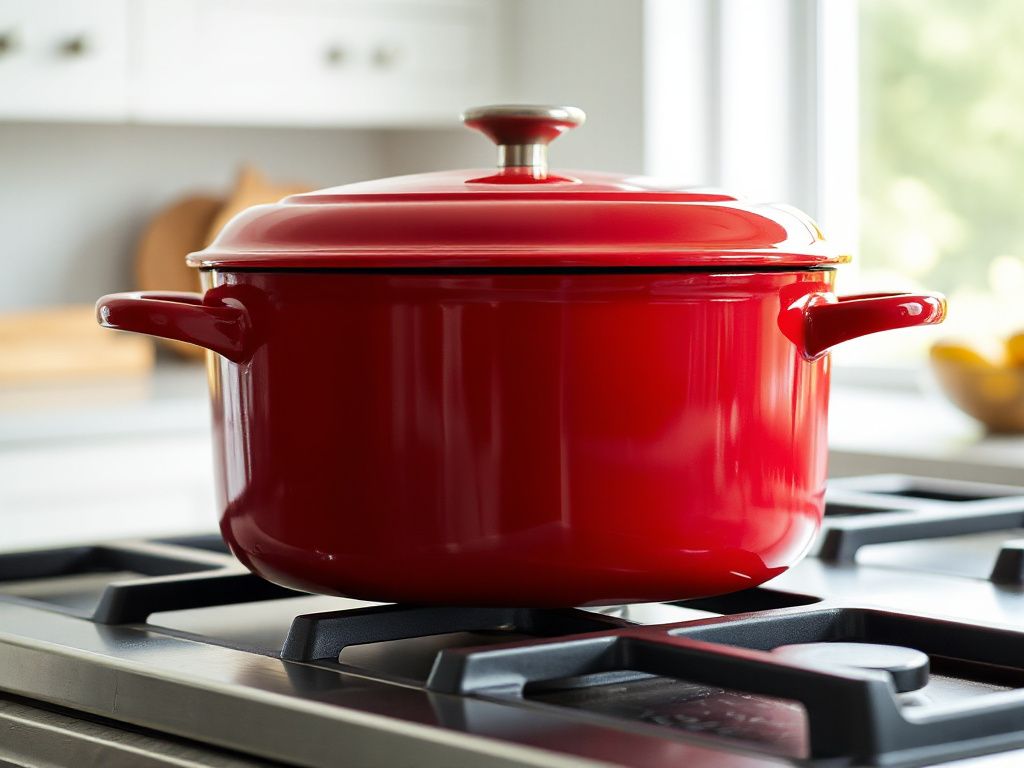
Cookware matters enormously. A thin stockpot will warp at sustained oven temperatures, and a loosely fitted lid will vent too much steam, drying out the chili and creating a crust on the surface. A heavy Dutch oven, whether bare cast iron or enameled cast iron, has the thermal mass to resist temperature swings when you open the oven door. It’s the same principle that makes a heavy skillet sear a steak better than a flimsy aluminum pan. For baked chili, you want a pot that acts like a consistent, gentle furnace — not a hot plate.
How to Build a Baked Chili That Rivals a Braise
Step 1: Sear with Purpose — Not Just for Color
Baking chili starts on the stovetop. No amount of oven time can create the deep, roasty Maillard reaction you get from a hard sear. Cut 2 to 2.5 pounds of beef chuck into 1-inch cubes, pat them bone-dry, and season aggressively with kosher salt. Heat your Dutch oven over medium-high until a drop of water dances on the surface. This is where warp-prone pans fail — thin metal buckles, ruining the flat contact needed for even browning. A heavy-bottomed cast iron Dutch oven stays dead flat, browning every piece uniformly.
Add just enough high-smoke-point oil to coat the bottom, then sear the beef in two batches. Crowding the pot steams the meat instead of searing it. Each batch should take about 3–4 minutes per side until a deep, crusty brown layer forms. Set the meat aside and immediately deglaze the dark fond with a splash of water, beer, or coffee, scraping with a wooden spatula. That fond is concentrated flavor that would otherwise stay stuck to the pot and never make it into the bowl.
Step 2: Build the Aromatic Base in Layers
Drop the heat to medium and sweat diced onions, poblanos, and garlic in the residual fat, adding a little more oil if needed. Stir in tomato paste and cook it until it turns a shade darker and smells caramelized — usually about 2 minutes. This step blooms the paste and adds sweet, savory depth. Then add your ground spices: cumin, smoked paprika, dried oregano, and ground chiles like ancho or guajillo. Let them sizzle in the fat for 30 seconds. This “blooming” step releases oil-soluble flavor compounds that would otherwise stay muted in a long braise.
Pour in a bottle of dark beer or a cup of strong black coffee to lift the fond you created earlier. Scrape well, then add canned crushed tomatoes, fire-roasted diced tomatoes, soaked and puréed dried chiles, and beef stock. The liquid should just barely cover the solids. In the oven, that level won’t reduce rapidly, so don’t over-dilute now.
Step 3: Bake Low and Slow, Uninterrupted
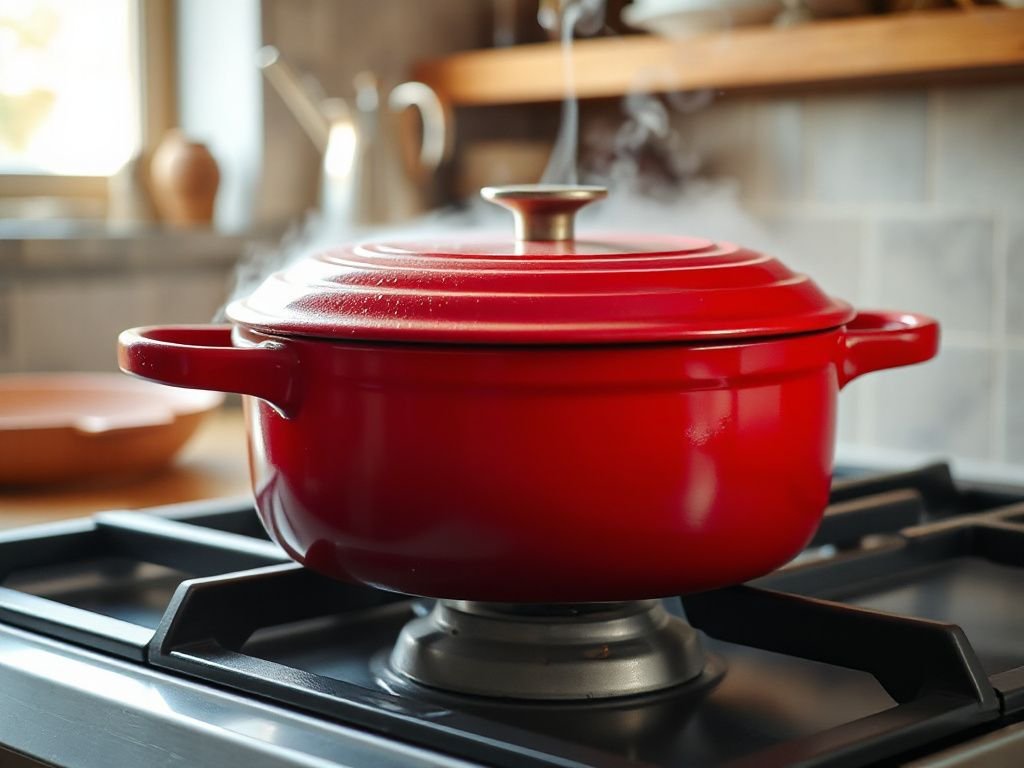
Bring the chili to a gentle bubble on the stovetop first. This jump-starts the cooking process so you don’t waste oven time bringing a cold pot to temperature. Then transfer the covered Dutch oven to a 325°F oven. Bake for 2.5 to 3 hours. Resist the urge to lift the lid every 30 minutes; every peek drops the internal temperature by 15–20°F and adds 10–15 minutes of recovery time. The oven’s steady heat will break down collagen into gelatin, thicken the liquid naturally, and marry every ingredient into a cohesive whole.
In the final hour, you can remove the lid to let some moisture evaporate and concentrate flavors if the chili looks too soupy. That’s a judgment call based on your pot’s seal. Dutch ovens with self-basting lids trap more moisture, so you may need a lid-off finish to hit the right consistency — somewhere between a hearty stew and a thick ragù. A well-executed baked chili should coat the back of a spoon heavily, not drip off like soup.
The Science of Heat Distribution in a Dutch Oven
What’s actually happening inside the pot during that long bake is a lesson in thermodynamics that every cook should understand. Cast iron doesn’t heat quickly, but once hot, it holds and radiates energy with impressive stability. The temperature of the chili in a heavy Dutch oven fluctuates maybe 10 degrees even when the oven’s element cycles on and off. A thin pot, conversely, sees wild swings — spiking near the walls and lagging in the center — which can break down starches unevenly, cause scorching, or leave the center undercooked.
That thermal stability is why your chili develops a deep, non-bitter caramelization. Without direct contact with a burner flame, the sugars from tomatoes and onions gently brown over hours rather than minutes. The result is a subtle sweetness and complexity that’s impossible to fake with sugar or honey. Warped pans lose this benefit instantly; an uneven bottom creates hot spots even in the oven because the metal isn’t uniformly thick. The first thing worth checking on any pot after a high-heat sear is whether the base has stayed flat — a warped pot is useless for any application where heat needs to be gentle and even, like baking chili.
Similarly, the right pan material makes or breaks outcomes in baking, whether you’re dealing with cakes or chili. The same physics apply: a heavy, conductive material that doesn’t flex under heat ensures the entire cooking surface performs the same way every time.
Layering Flavors Through Braising Techniques
An oven-baked chili is essentially a braise. You’re cooking tough protein in a flavorful liquid at low heat until collagen melts. But unlike a traditional stew, chili has a thick, complex liquid made up of chile paste, tomatoes, and stock. Understanding how those components behave helps you make smarter choices with your Dutch oven.
Deglazing and Humidity Control
After searing, the brown bits (fond) on the pot floor are pure flavor gold. Deglazing with beer, coffee, or stock lifts those bits and integrates them into the liquid. The oven’s steam-rich environment then pushes that flavor right back into the meat. If your lid doesn’t seal well, that steam escapes, taking aromatic compounds with it. This is where a heavy, tight-fitting lid is critical — it keeps the humidity inside the pot at nearly 100%, effectively basting every exposed surface continuously.
Chile Paste and Fat Rendering
Rehydrated dried chiles puréed into a paste don’t just add heat — they thicken the chili naturally. In the oven, those chile solids swell and distribute their oils throughout the liquid. The fat from the beef renders out slowly, mixing with the chile oils to coat every bean and piece of meat. Stirring is unnecessary; the gentle convection inside a sealed Dutch oven does the work. If you ever struggle with beans turning out mushy, doing a separate gentle simmer for them (like you would for tender proteins in a baked chicken fajitas dish) keeps you in control of their texture before they join the main pot.
Choosing Cookware That Won’t Let You Down
Not every large pot deserves to be called a Dutch oven. For baking chili, the pot needs to hold heat evenly, resist warping under sustained 300°F+ temperatures for hours, and seal tightly without gaskets or silicone rings that can degrade. The pots that pass all three of those requirements are the ones that look like they belong in a blacksmith’s shop — bare or enameled cast iron, thick-walled, with a flat base and a heavy lid. Every one of those traits follows from building for mass rather than for speed.
Enameled cast iron offers the advantage of a non-reactive surface, which is especially important with tomato-heavy dishes. Bare cast iron can leach a slight metallic taste if the chili sits in the pot for hours after cooking, though a well-seasoned surface minimizes it. Both work brilliantly for a baked chili. Stay clear of lightweight stainless steel pots with thin bottoms sold as “Dutch ovens.” They’ll buckle at the seam after just a few long bakes, and the heat conduction is so poor you’ll get burnt patches around the edges while the center stays watery.
Heat the empty pot gradually — never blast a cold cast iron pot with a high flame, or you risk thermal shock that can crack enamel. For searing, a moderate-high flame is plenty. The pot will hold its heat even when you turn the burner down, which is another reason cast iron loves the oven: it pairs perfectly with slow, radiant heat.
If you’ve ever baked a pie and noticed how a heavy pie baking pan prevents soggy bottoms through better heat transfer, you already appreciate why mass matters in cookware. The same principle, scaled up, makes chili baking a success.
Common Mistakes That Ruin a Good Baked Chili
Even with a flawless pot, a few missteps can turn hours of effort into disappointment. These errors show up repeatedly.
- Skipping the pre-sear. Raw meat thrown straight into liquid never develops depth. The fond from browning is the backbone of the dish.
- Underseasoning early. Salt should go on the meat before searing and again when liquids are added. Tasting only at the end is too late — the salt won’t penetrate properly.
- Using too much liquid. The oven’s low evaporation means you need less stock than you think. Add liquid to just cover the solids; you can always stir in a splash of hot water later if it thickens too much.
- Opening the lid too often. Every peek releases steam and temperature stability, extending cooking time and dulling the final flavor concentration.
- Cooking at too high a temperature. Baking above 350°F accelerates evaporation and can make the meat tough instead of tender. Stick to 300–325°F.
Resting and Finishing for the Perfect Texture
When the timer goes off, pull the Dutch oven from the oven and let it rest on a trivet, lid still on, for at least 20 minutes. The carryover heat continues to break down connective tissue while the chili firms up just enough to not seem watery. A quick stir after resting redistributes fats and chile oils evenly. This step makes the difference between a chili that tastes “pretty good” and one that tastes like it simmered all weekend.
If the chili is thicker than you like, add a splash of hot beef stock and gently warm it on the stovetop. Acid is your friend at the very end — a squeeze of lime or a dash of apple cider vinegar brightens the deep, earthy flavors without making it sour. And don’t underestimate the role of your pot’s heat retention during serving. A heavy Dutch oven holds gentle warmth at the table far longer than a ceramic bowl, keeping each ladleful hot so guests can go back for seconds.
Frequently Asked Questions
Can I use a different pot if I don’t own a Dutch oven for baked chili?
You can, but the results will vary. Any heavy, oven-safe pot with a tight lid can work — think enameled roasters or thick-bottomed stainless steel stockpots. Avoid thin pots that can warp or lose moisture quickly. A Dutch oven is ideal because its cast iron core and snug lid create the stable, humid environment that makes baked chili taste like it’s been braising all day, without scorching or drying out.
What temperature is best for baking chili in the oven?
325°F (163°C) is the sweet spot. Lower temperatures drag out cooking without extra benefit, and higher temps cause the liquid to reduce too fast and the meat edges to dry out before the center softens. This temperature keeps the chili at a lazy simmer — collagen melts into gelatin over 2.5 to 3 hours while flavors concentrate gently. Always preheat the oven thoroughly before sliding the pot in.
How do I prevent my beans from turning into mush in baked chili?
Cook beans separately or add canned beans in the final 30 minutes of baking. The long, acidic environment of chili can break down beans into paste if they cook from the raw stage in the pot. If using dried beans, soak overnight, simmer until just tender, and fold them in at the end. They’ll hold their shape and absorb the chili’s flavor without disintegrating under the Dutch oven’s prolonged heat.
How does baked chili differ from slow cooker chili?
Both use low, steady heat, but a Dutch oven in the oven yields superior texture and depth. Slow cookers often struggle to reduce liquid, making chili watery unless you add thickeners. The oven’s radiant heat creates a gentle surface evaporation that concentrates the chili without boiling, while the cast iron pot adds a subtle, consistent ambient heat that most slow cooker ceramics can’t replicate. Plus, you can sear right in the same pot, saving all the fond.