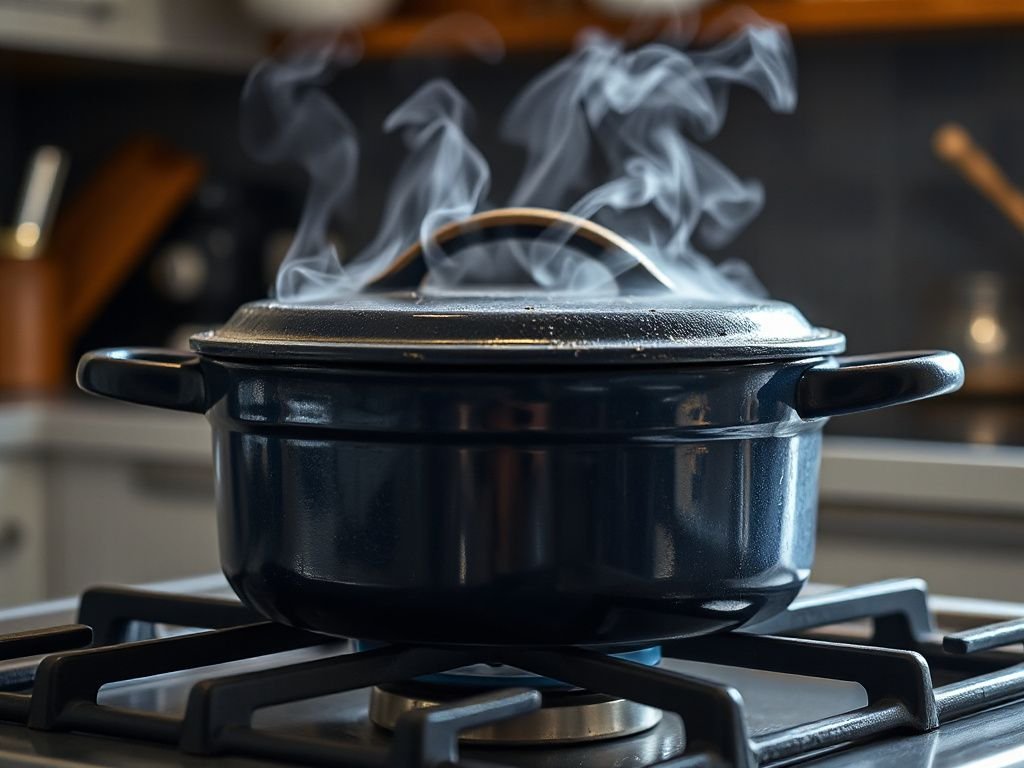
Overlook the temper of a woodstove fire and you’ll learn just how unforgiving iron can be. A loaf collapses in a cold spot, a stew scorches where the fire licks the belly of the pot, and your carefully seasoned finish turns to carbon grit because the flame was too eager. Most kitchen mistakes come from rushing rather than from a lack of skill. The extra 30 seconds spent checking your setup saves hours of cleanup or regret—especially when that setup is a crackling stove and a heavy cast-iron Dutch oven that holds heat like a grudge. Precision baking is the right frame for approaching a session of woodstove cooking with the same discipline laminated dough demands: consistent temperature management, accurate vessel sizing, and a deep respect for the surface that must release each bake cleanly. This guide will help you do the same, whether you’re sliding a sourdough boule into a preheated chamber or nursing a braise through a long winter afternoon.
Key Takeaways
- Fire management dictates everything—learn to read ember color and stack for 350°F to 450°F baking zones before you even lift a lid.
- Choose a true 5-quart or larger flat-bottomed Dutch oven; the shape ensures even browning without hot corners where dough or meat can burn.
- Preheat exactly like your oven, using an infrared thermometer to confirm floor and lid temperatures within 10°F of your recipe target.
- Condition your seasoning after every heavy session—a thin rub of oil and a brief warm cycle will keep the release surface slick for years.
In this guide
Understanding the Woodstove as Your New Bake Oven
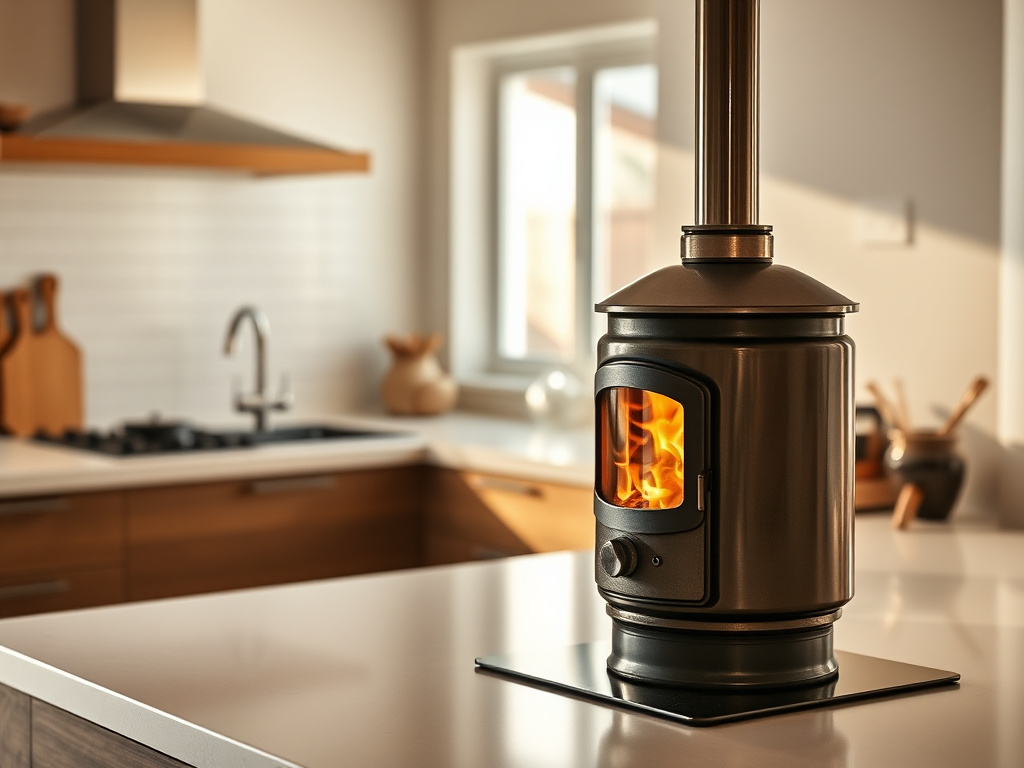
Before any dough hits iron, you need to stop thinking of the stovetop as a simple burner and start reading it like a professional deck oven. The top of a woodstove is a thermal mosaic: the plate directly over the firebox runs 150°F hotter than the corners near the flue. For baking with a woodstove, those differences can mean a perfectly sprung loaf with an open crumb versus a dense doorstop in the same batch if you don’t position deliberately.
Mapping Your Stovetop’s Heat Zones
Spend an afternoon with nothing but a sack of flour and an infrared thermometer. Dust the entire top lightly with flour, fire up a moderate load of dry maple or oak, and watch where the flour darkens first. Mark those spots with soapstone. You’ll discover that the area 6 to 8 inches to the left of the firebox lid often hovers around 375-400°F—ideal for free-form rolls or a small casserole. Directly over the fire, temperatures can spike past 550°F, which is good for searing meat but a catastrophe for biscuit bottoms. Understanding these zones means you can shuffle pots as needed, exactly as you’d rotate trays in a convection oven.
Coal vs. Flame: The Baker’s Decision
Flames are theatrical but misleading. They create intense, uneven radiant heat that blackens crusts before the interior sets. When I’m after a deep, even brown on a Dutch oven loaf, I let the fire burn down to a compact bed of coals. Hardwoods like ash or oak produce a long, steady coal bed at around 900°F surface temperature, which radiates nicely through the iron floor without scorching. For braises, you can use a small amount of flame to bring the pot to a simmer quickly, but then rake the coals to spread the heat. Baking requires the patience of coals.
Dutch Oven as a Precision Baking Tool
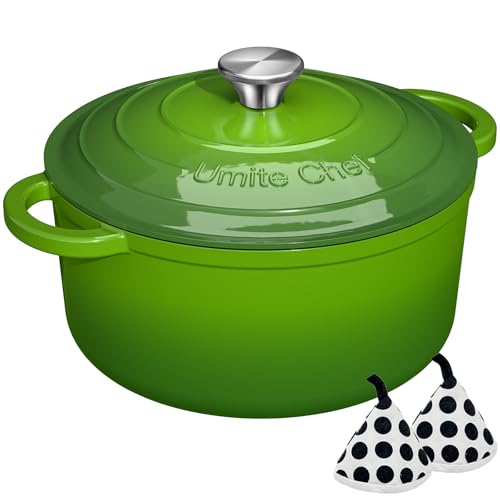
The main thing to look for in a Dutch oven is that elusive combination of uniform wall thickness and a completely flat floor. Even a slight warp of 1/16 inch creates an air gap that insulates the dough from the floor heat, leading to an underbaked center with a leathery bottom. For reliable woodstove cooking, the vessel’s geometry must be respected just like a calibrated sheet pan.
Seasoning for Perfect Release Every Bake
A properly seasoned pot behaves like a well-cured ceramic mold. I season my baking Dutch ovens with a meticulous protocol: three rounds of extremely thin grapeseed oil, each baked at 425°F for an hour, then cooled in the closed oven overnight. The goal is a surface that’s glassy smooth, not sticky or matte. During woodstove cooking, the high top heat can degrade seasoning faster than a conventional oven, especially if a steam-filled loaf of sourdough sits against the lid for 45 minutes. After each bake, I wipe the interior with a scant layer of oil and return the empty pot to the cooling stove for 15 minutes. That small step has kept my release pristine through hundreds of sticky doughs and fruit-filled cobblers.
Fitting Dough to Your Vessel’s Dimensions
A baker’s instinct is to measure. I know exactly how much dough a 5-quart deep oven can hold without the loaf touching the lid (about 900 grams of high-hydration dough, giving room for a 50% volume increase). Overload, and the dough mushrooms against the hot lid, sealing shut and creating a squashed, sticky top. For a classic boule, I shape to a tight ball that sits in the center of a parchment round, leaving a 2-inch margin to the sidewalls. That gap lets radiant heat circulate around the loaf, mimicking a professional bread oven’s airflow. This is where many bakers stumble: they treat the Dutch oven like a stockpot rather than a miniature baking chamber, and the result is a pale band around the equator where steam couldn’t escape.
Step-by-Step Baking on a Woodstove
Let’s move from theory to the actual sequence. I follow the same rigorous flow I use when scaling a recipe for a commercial kitchen. Preheating, loading, venting, and resting each have a specific time window that your fire must match. I’ll break this into actionable phases you can replicate even if you’re new to cooking with wood.
Phase 1: Building the Baking Fire (40 Minutes Before Dough)
Start with dry hardwood split into wrist-thick pieces. Softwood burns hot and fast, collapsing before your bake is done. I stack a small teepee of kindling over a bed of crumpled newspaper, then lay three or four split logs across the top, leaving air gaps. Fire the stove with all dampers open. In 15 minutes, you should have a rolling flame. Let it burn another 25 minutes until the logs break down into glowing coal chunks. Now, using a fire shovel, spread the coals evenly under the area where the Dutch oven will sit. If you’re baking multiple items, create a central coal bed roughly 10 inches in diameter for even floor heat. Close the damper halfway to moderate the burn rate; you want the coals to sustain, not flare.
Phase 2: Preheating the Dutch Oven (25 Minutes Before Bake)
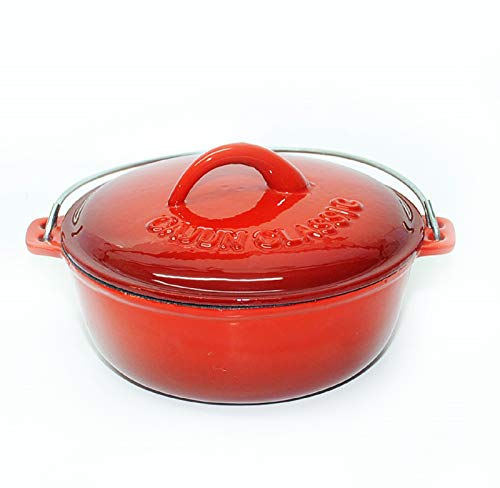
Place the empty Dutch oven—lid on—directly onto your mapped hot spot. I don’t guess. I aim my infrared thermometer at the floor center from an angle and wait for it to read 435°F to 445°F. The lid will be slightly cooler, around 400°F, because the convection off the stovetop is less direct. If the floor falls short, rake a dense pile of coals right beneath it. If it spikes above 460°F, slide the pot to a cooler zone for 5 minutes to settle. This is the most critical step, because dough loaded into a pot that hasn’t saturated with heat will stick immediately and lose oven spring. A large oval pot for cooking can also be used if you’re baking an elongated loaf, but confirm the bottom is completely flat—the same heat distribution rules apply across any shape.
Phase 3: Loading and Managing Steam (Immediately)
Work quickly. Open the lid, slide your proofed dough on its parchment sling into the pot, spritz the walls with 2 to 3 pumps of water from a spray bottle (do not spray the dough directly—you want steam, not wet skin), and close the lid. The sudden burst of steam from those water droplets hitting the hot iron creates a humid membrane that delays crust formation. That gives your loaf those extra minutes of expansion known as oven spring. I keep my ambient thermometer in the kitchen; if humidity drops below 30% that day, I add an ice cube to the corner of the pot instead of spraying—the slower melt extends steam generation.
Phase 4: Baking and Rotating (20 to 45 Minutes, Depending on Recipe)
Every 10 minutes, I rotate the Dutch oven a quarter turn clockwise using a heavy pair of welding gloves. This isn’t a casual suggestion—woodstove heat is inherently directional, radiating from the flue side more than the front. Rotation compensates for that uneven exposure and prevents a dark stripe along one side. Monitor the lid temperature with your thermometer; if the top crust is browning too quickly, slide a sheet of aluminum foil under the lid—a trick that deflects radiant heat without sacrificing the conductive heat from the walls. I start checking internal dough temperature at the 25-minute mark for a 900-gram loaf: 205°F in the center is my target. Remove when reached, and rest on a wire rack. The bottom should sound hollow when tapped, and the crust should crackle audibly as it cools.
Woodstove Braises, Stews, and One-Pot Meals
While baking is my first love, a Dutch oven on a woodstove also transforms tough cuts into silky tenderness if you apply the same disciplined heat control. The mistake many home cooks make is treating the stovetop like a gas range—wide open, fast simmer—leading to scorched fonds and bitter undertones. For meals that cook for hours, such as a pot roast with root vegetables, the goal is a gentle bubble, one or two wisps of steam escaping from the lid, never a rolling boil. That’s the culinary equivalent of the perfect oven thermometer reading.
Searing On the Direct Heat Zone
Move the Dutch oven to the hottest spot over the firebox until a drop of water crackles and evaporates in 3 seconds (roughly 380°F on the floor). Add a thin film of high-smoke-point oil—grapeseed or avocado—and sear your meat in batches. Don’t crowd; you need at least an inch between pieces to maintain pan temperature. Browning equals flavor, and on a woodstove, the intense bottom heat creates a deeper, richer crust than my indoor induction unit ever can. Deglaze with a splash of stock, then slide the pot to your moderate zone (around 325°F) and add your liquids and herbs. Lid on with a tight seal.
Maintaining the Long Simmer
For a 3-hour braise, you’ll need to replenish coals roughly every 45 minutes. I keep a separate small pile of embers at the back of the firebox and feed them with a split or two as needed. A tip for bakers who love precision: use a probe thermometer with a high-temp wire to track the liquid temperature through the steam vent. Hold the braise at 190°F to 200°F—right below boiling—to ensure collagen breaks down into gelatin without toughening the meat. If the liquid climbs too high, slide the pot onto a cooler plate or lift the lid slightly for 30 seconds. This attention to temperature, not just time, separates a tender, fall-apart result from a dry, stringy one.
And if you’re looking to expand your repertoire with other single-vessel approaches, our complete guide to one pan cooking covers similar heat management principles that translate beautifully to the woodstove, especially when you’re working with limited space and need every calorie to count.
Maintaining Your Baking Surface Over Time
As a specialist who bakes constantly, I’m borderline obsessive about the condition of my iron. A woodstove’s high, direct heat can slowly erode a seasoning layer if you don’t intervene. But the fix isn’t heavy scrubbing or harsh chemicals—it’s routine care that rebuilds the polymerized surface just as a careful bakery maintains its deck ovens.
Post-Bake Routine for a Glossy Finish
Once the pot cools enough to handle barehanded—about 140°F, or warm but not sizzling—I empty any crumbs and wipe the interior with a dry paper towel. Then I apply a very thin coat of flaxseed or grapeseed oil using a fresh towel, buffing until the iron looks nearly dry. The pot goes back onto the warm stoveplate (now around 200°F) for 15 minutes. That low-level heat polymerizes the oil into a micro-thin layer, filling any microscopic cracks where dough might stick next time. Do this every third or fourth use, and after a few dozen bakes, your Dutch oven will be as non-stick as anything with a synthetic coating, but far more durable.
Spot-Fixing Burnt Residue
Even with vigilance, a sugary fruit cobbler or a cheese-topped casserole can leave a carbonized patch. Rather than scraping, I sprinkle coarse kosher salt over the affected area, add just enough water to make a thick paste, and scrub with a soft bamboo brush. The salt acts as a mild abrasive that scours the carbon without cutting through the underlying seasoning. Rinse with hot water, dry immediately over a low flame, and season as described. This gentle method has kept my baking ovens performing flawlessly for years, even when others would have relegated them to outdoor campfire duty.
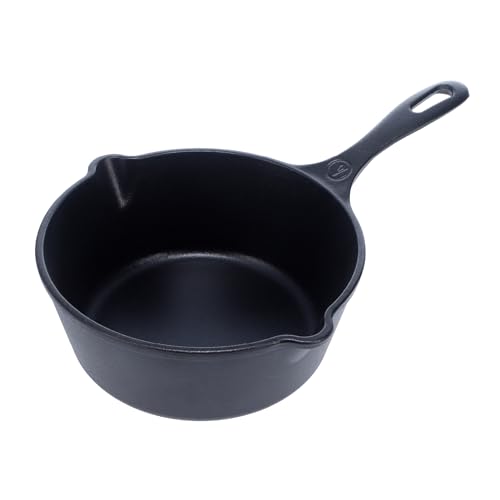
The materials you use for auxiliary tools also matter. When selecting skillets or smaller pans to use on the stovetop alongside your Dutch oven, I recommend checking that they’re built to handle the intense direct heat. For a thorough discussion of material performance, you can see our breakdown of aluminum cooking pans and how they compare in thermal responsiveness versus cast iron—knowledge that helps you pick the right vessel for quick sides that cook on the cooler edges of the plate.
Adapting Your Favorite Recipes to the Woodstove
I approach every recipe adaptation with a baker’s mindset: small-batch tests, meticulous notes, and one variable changed at a time. The woodstove imposes two main shifts from a conventional oven: 10% to 15% greater bottom heat concentration and a much drier ambient environment unless you intentionally introduce steam. Here’s how to adjust.
Lower Your Target Oven Temperature by 25°F
If a cinnamon roll recipe calls for 375°F in a standard oven, aim for a pot floor of 350°F. The retained heat in the iron walls and the radiant blast from the lid compensate, and this prevents scorched bottoms before the filling has caramelized. Check for doneness at the low end of the time range. I also recommend placing a thin, unglazed pizza stone or ceramic tile under the Dutch oven to act as a diffuser if you find your stove runs especially hot. This reduces hot spots without adding air gaps.
Increase Steam for Enriched Doughs
Brioche, challah, and soft dinner rolls suffer on a woodstove without extra humidity. Their high sugar and fat content makes them susceptible to rapid crust darkening. I use a two-step steam method: a small pan of water placed at the far edge of the stovetop to raise overall humidity, plus a few ice cubes tossed into the hot Dutch oven just as I load the dough. The combination keeps the egg wash from setting too quickly, giving the interior time to puff fully. The result is a burnished, mahogany crust with a tender, shreddy crumb.
Baking in Batches Without Losing Heat Recovery
When baking multiple loaves, preheat a second Dutch oven on a cooler zone while the first is in the hot spot. As soon as the first loaf comes out, slide the second preheated pot into place and load immediately. The residual iron heat means your second bake starts at near-optimal temperature, and the recovery time is cut from 25 minutes to about 10. This trick is essential for bakers who supply a family or want to stock the pantry with a week’s worth of crusty loaves. I source my ovens in matched pairs so the floor mass is identical; mismatched thicknesses will yield inconsistent bottom crusts, a variable no precision baker tolerates.
Frequently Asked Questions
How do I prevent my bread from burning on the bottom during woodstove cooking?
The most common culprit is direct flame contact or a coal bed that’s too dense. Spread coals to a uniform layer and test the pot’s floor temperature with an infrared thermometer—435°F is safe for most loaves. For extra protection, place a small square of aluminum foil on the floor beneath the parchment, or use a half-inch trivet to lift the pot slightly. Also, check that your dough hydration is high enough (around 75% for sourdough) because wetter doughs buffer the bottom crust better than stiff ones.
Can I bake delicate pastries like croissants on a woodstove with a Dutch oven?
It’s challenging but possible with a large 7-quart skillet-style Dutch oven that gives flat clearance for expansion. The key is exacting temperature control—maintain a steady 350°F floor and use an instant-read thermometer to ensure butter doesn’t melt out before the layers set. I’ve had success with mini croissants arranged on a small rack inside the closed pot, which lifts them off the iron floor entirely and turns the vessel into a small brick oven. Any deviation in temp and you’ll end up with a greasy mess, so practice with scrap dough first.
What type of wood gives the most consistent baking heat for Dutch ovens?
Dense hardwoods like white oak, hard maple, or beech are ideal because they produce long-lasting, low-flame coals and maintain a predictable burn. I avoid resinous softwoods such as pine or spruce; they flare with intense heat spikes and leave a sooty residue that can affect the pot’s exterior and, if the lid isn’t perfectly sealed, impart a faint resin taste. For an overnight braise, ash and birch mixed 50/50 give a beautiful gentle coal bed that requires minimal tending.
How do I restore a Dutch oven that has lost its seasoning from high woodstove heat?
Scrub the interior gently with a paste of baking soda and water to remove any flaking carbon, rinse, and dry over a low fire. Then rebuild with three thin coats of grapeseed oil, each baked at 425°F for an hour in a conventional oven (or on the woodstove if you can hold that temp steadily). The final coat should feel smooth and lightly tack-free. Moving forward, always wipe the interior with a micro-thin layer of oil after each use while the pot is still warm; this maintenance cycle will prevent the dry, patchy look that signals seasoning breakdown.