A poorly matched knife can crush tomatoes, tear bread, chip against a hard board, or leave a cook pressing harder than necessary. That extra force makes clean cuts less controlled and can turn routine food preparation into a hand-safety problem. The useful distinction is between a knife’s cutting geometry and its steel: a thinner edge at an appropriate angle can outperform a harder or more expensive steel that is poorly sharpened or mismatched to the task. Kitchen cutting tools should also be separated into maintenance and repair, with straight, serrated, and specialty tools matched to the foods and cutting motions they are designed to handle.
Key Takeaways
- Edge geometry and sharpness usually matter more than steel grade alone.
- A honing rod realigns a rolled edge, while abrasive sharpening removes steel and repairs dullness.
- Chef’s knives, paring knives, serrated knives, shears, boards, and storage each serve different cutting tasks.
In this guide
How to Choose Kitchen Cutting Tools by Task
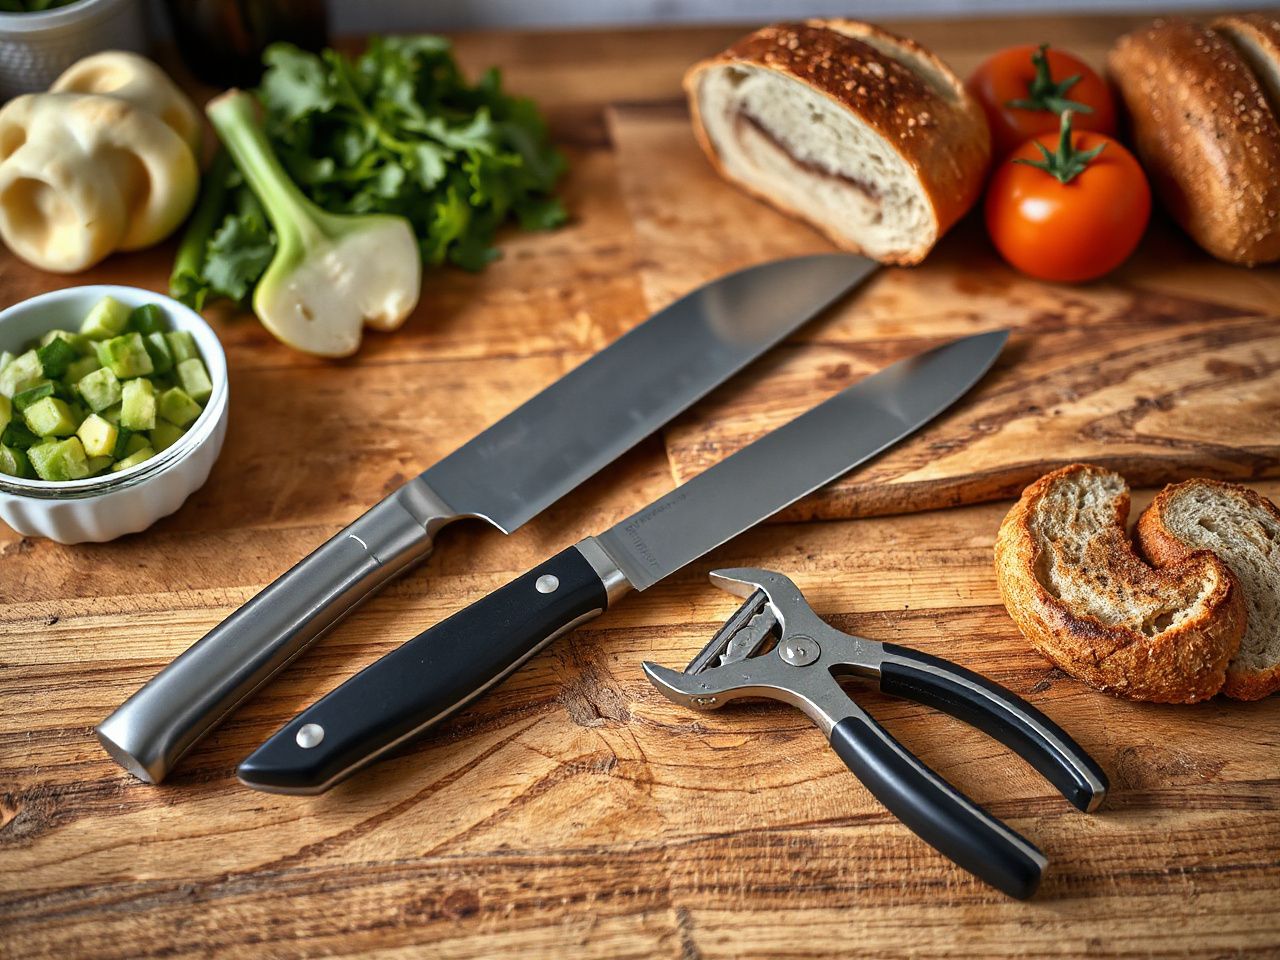
The useful set of kitchen cutting tools is smaller than a crowded drawer suggests. Everyday preparation generally calls for a chef’s knife or santoku, a paring knife, a serrated bread knife, kitchen shears, a cutting board, and a safe storage method. Specialty tools earn their space when the food or motion makes a general-purpose blade inefficient or unsafe.
The chef’s knife handles broad preparation
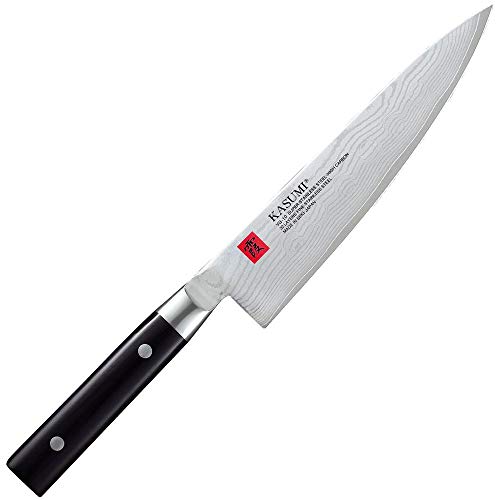
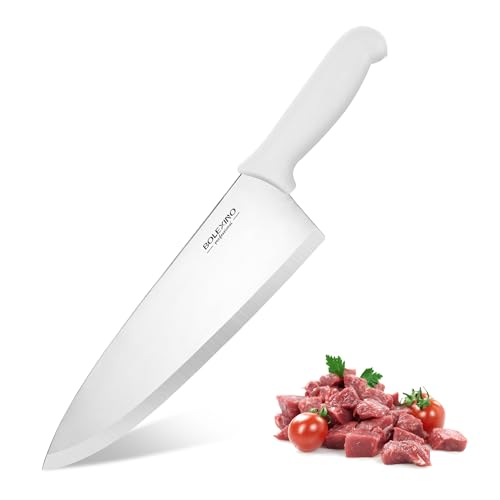
A chef’s knife is the main straight-edge tool for slicing vegetables, chopping herbs, portioning boneless meat, and breaking down larger produce. Its blade shape supports a rocking motion or a controlled push cut, depending on the profile. The blade should not be treated as a universal pry bar, scraper, cleaver, or frozen-food tool.
A santoku suits cooks who prefer a shorter, flatter cutting motion and frequent push cuts. The choice between a chef’s knife and a santoku is mainly about blade shape, hand position, and cutting motion rather than a claim that one shape is automatically sharper. A Victorinox Swiss Classic Chef’s Knife is listed with an 8-inch blade, which illustrates the familiar full-size format without establishing that every cook needs that length.
A paring knife provides control near the hand
A paring knife is suited to peeling, trimming, removing eyes from potatoes, deveining small foods, and making short, precise cuts. Its compact blade gives better control for work held in the hand, but hand-held cutting requires the non-knife hand to stay behind the edge and away from the cutting path.
A small blade is not a substitute for a chef’s knife on a large squash or a dense root vegetable. Using a short knife on a task that needs leverage encourages twisting, and twisting is a common way to roll or chip an edge. Cuisinart paring knives appear in broad kitchen-tool coverage, but the important principle is the role of the tool rather than a brand name.
A serrated bread knife protects soft interiors
A serrated bread knife uses teeth to saw through crusts and skins while limiting the downward pressure needed to start a cut. The same action suits ripe tomatoes, delicate cakes, and some soft-skinned produce. A straight-edge chef’s knife can slice a tomato cleanly only when its edge is very sharp and the cutting motion is controlled; a serrated blade remains useful when a smooth surface resists a straight edge.
Serrated knives should not be put through a flat pull-through sharpener. Each tooth has a cutting surface and a hollow between teeth, so repair requires an abrasive tool shaped for serrations or professional service. The manufacturer does not always state a sharpening method, which makes the handle and blade-care instructions important before any abrasive tool is used.
Shears and specialty tools have defined jobs
Kitchen shears can separate packaging, trim herbs, cut poultry joints where appropriate, and handle tasks that would be awkward with a pointed knife. A mandolin slicer creates uniform slices, but its exposed blade requires a guard and deliberate hand placement. A fish spatula is a lifting tool, not a replacement for a knife; the listed Winco fish spatula has a 6.5-inch length, showing why length alone does not determine whether a tool belongs in the cutting category.
Kitchen cutting tools should be selected according to the food, the required motion, and the consequence of a failed cut. A chef’s knife is appropriate for boneless preparation, while bones, frozen food, and hard packaging call for a tool specifically designed for those materials. Kitchen shears or specialty tools can prevent a cook from forcing a knife into work that may damage the edge.
Readers building a broader preparation setup can also review Westmark Kitchen Tools: Top Picks for Every Culinary Task for adjacent utensils, but blade selection should remain separate from cookware selection.
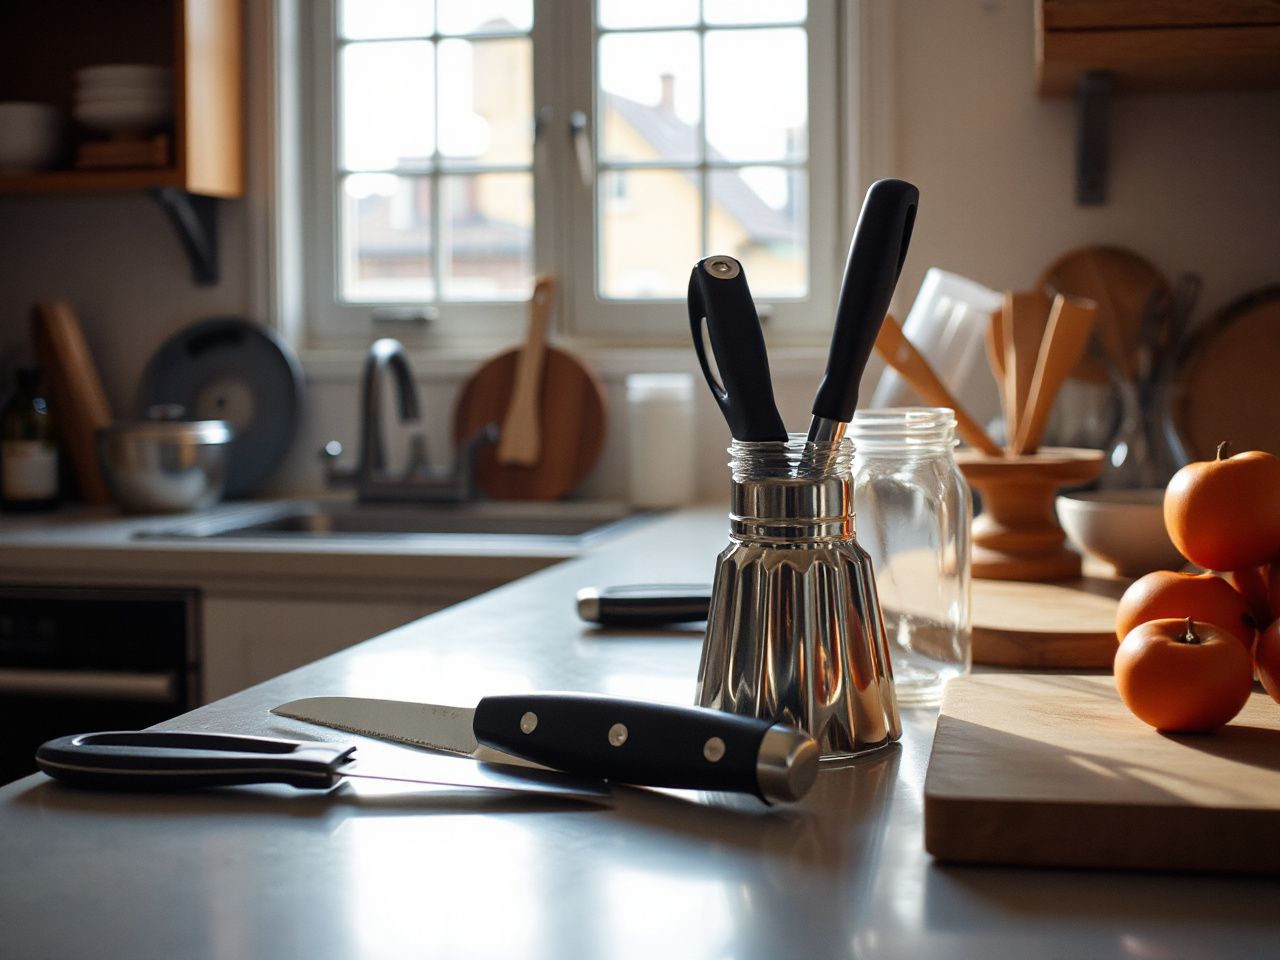
Steel, Sharpness, and Edge Geometry
A knife cuts well because several factors work together: the edge is sharp, the bevel geometry suits the task, the blade is thin enough behind the edge, and the steel holds that geometry during use. Steel grade matters, but steel grade and Rockwell C hardness scale (HRC) value do not determine cutting performance by themselves. A hard steel with a thick or damaged edge can cut worse than a softer steel sharpened cleanly at an appropriate angle.
Heat treatment, blade thickness, edge angle, finishing quality, and the cutting surface all influence the result. A steel name cannot tell you whether the edge was sharpened carefully or whether the blade shape suits your grip.
Stainless means corrosion-resistant, not corrosion-proof. Food acids, salt, moisture, and delayed drying can still stain a stainless blade, particularly where the finish or edge has been damaged. Carbon steel can develop rust or a patina without prompt drying and occasional protective oil, so carbon-steel care requires more attention than a casual rinse and air-dry routine.
Hardness is a trade-off, not a performance score
HRC describes resistance to indentation, not the complete cutting experience. Higher hardness can support long edge retention when the blade has suitable geometry and receives careful use, while a less hard stainless steel may be easier to hone and return to a working edge. Hardness does not make a knife immune to chips, rolls, or damage from a glass board.
The listing for a knife may omit its HRC value entirely. That missing number should not be replaced with an assumption. A complete specification would still need to explain blade thickness, edge geometry, steel treatment, and the intended use before hardness could be interpreted responsibly.
Thin edges need compatible surfaces
A thin edge separates food with less resistance, but the edge also has less material supporting it. End-grain hardwood cutting boards are often chosen because the wood fibers can provide a more forgiving contact surface than hard glass or stone. Board hardness affects the edge, and a board that is too hard can contribute to rolling or premature dullness even when the knife steel is sound.
Glass and stone boards are poor matches for fine knife edges. They are hard, non-yielding surfaces, and repeated contact can damage an edge. A board should also remain stable; slipping food or a sliding board encourages lateral force, which is harder on both the blade and the user’s hands.
Blade thickness and cutting motion matter
A thin blade behind the edge generally parts food with less wedging, but thinness must match the work. A chef’s knife designed for vegetables and boneless foods should not be used to chop bones or frozen food. A heavy impact can chip a fine edge, while twisting in a dense food can roll it or create a damaged section that requires steel removal.
Cutting motion should follow the blade design. A straight edge works through a controlled slice, push cut, or rock depending on its profile. A serrated edge works through a sawing motion. Forcing a serrated bread knife into a chopping motion or dragging a chef’s knife sideways across a board can shorten edge life.
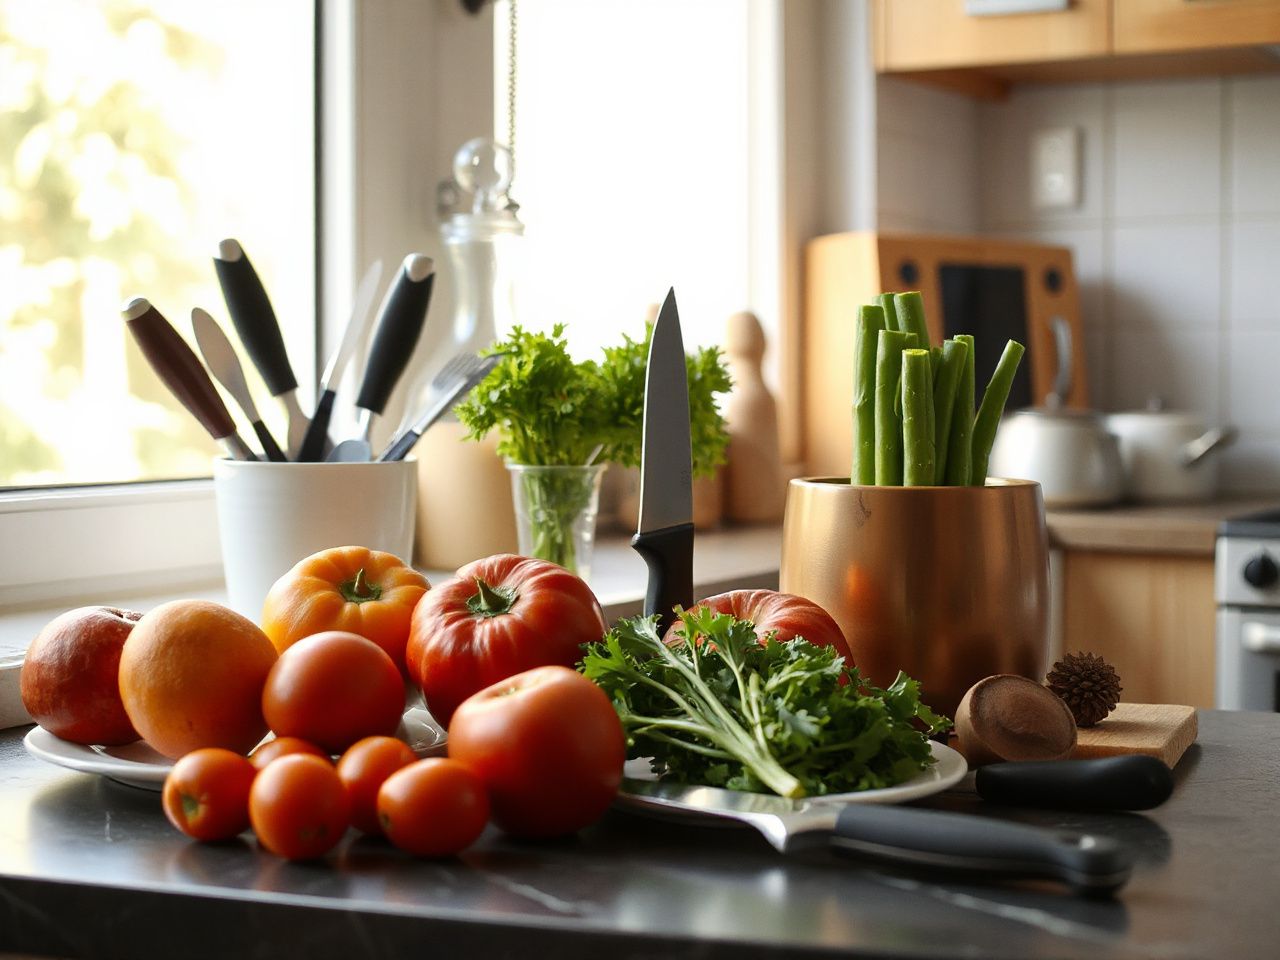
Edge Maintenance Versus Edge Repair
Honing and sharpening are not interchangeable. A honing rod mainly realigns a rolled edge; it does not replace abrasive sharpening when steel has been removed, the edge is blunt, or the blade is chipped. Sharpening uses an abrasive surface, such as a whetstone or suitable manual or electric sharpener, to remove steel and create a new apex.
When honing is appropriate
Honing is appropriate when the knife still cuts but feels less precise because the edge has moved slightly out of alignment. A smooth or appropriately matched honing rod can restore alignment with light, controlled passes. Excessive pressure defeats the purpose by applying unnecessary force to the edge.
The rod must match the blade and the user’s technique. A very abrasive or poorly used rod can remove steel rather than merely realign it. The listing for a honing tool may not state its surface or intended hardness range, so the instructions should be checked before use.
When sharpening is necessary
Sharpening is necessary when honing no longer restores cutting ability. A knife that slides over a tomato skin, crushes an onion instead of entering it, or requires noticeably greater pressure needs abrasive work rather than repeated passes on a rod. A chipped edge also needs material removed until the damage is gone; honing cannot replace missing steel.
Whetstones allow deliberate control over the bevel, while manual and electric sharpeners use fixed abrasive paths. Fixed-path systems can be convenient, but they may remove more steel than a careful stone session if used too often. A professional sharpener may be sensible for a valuable blade, a badly damaged edge, or a serrated knife.
Why a knife can feel dull after sharpening
A knife may feel dull after sharpening because the abrasive did not reach the full edge, a burr remains, the edge angle is inconsistent, or the blade has a rolled section that was not removed. A burr is a thin fold of steel created during sharpening; if it is left in place, the knife can feel sharp briefly and then lose bite quickly.
Pull-through sharpeners can also produce an edge that feels aggressive but does not last if the tool removes steel unevenly. The cutting board may contribute to the problem, too. A sharp knife placed repeatedly on glass, stone, or another hard surface can lose its bite even after careful sharpening.
How often sharpening should happen
There is no responsible universal calendar for sharpening. Frequency depends on the steel, edge geometry, board material, foods, cutting force, and storage. A cook who uses a knife on an appropriate board and keeps it clean may need less frequent repair than someone who scrapes food with the edge or cuts on a hard surface.
Maintenance has a cost in time, abrasive wear, and possible professional service. Replacement becomes relevant when an edge has been repeatedly ground away, the blade has suffered major damage, or the handle and blade no longer remain safe to use. The manufacturer does not provide a universal maintenance cost, so any fixed figure would be misleading.
Cleaning, Rust Prevention, and Safe Storage
Food-contact tools need cleaning after use to reduce residue and cross-contamination. A knife should be cleaned according to its blade and handle materials, then dried promptly. Stainless steel resists corrosion, but residue and moisture can still cause staining. Carbon steel needs especially prompt drying and may need occasional protective oil compatible with food-contact use.
Why dishwashers can damage knives
Dishwashers expose knives to hot water, detergent, movement, and contact with other items. Those conditions can dull an edge, stain or corrode vulnerable steel, damage wood or composite handles, and loosen components over time. Hand washing with suitable dish soap, followed by immediate drying, is the safer routine for most quality kitchen knives.
A knife should never be left loose in a sink full of cloudy water. The blade becomes difficult to see, and reaching into the water creates an avoidable hand hazard. A knife also should not be stored loose in a drawer, where contact with utensils can damage the edge and an unseen blade can injure a hand.
Storage protects the edge and the user
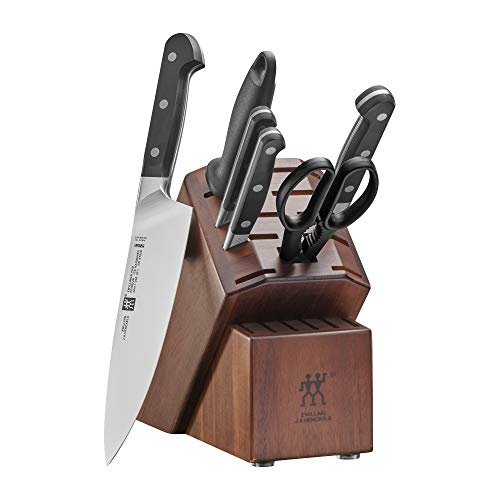
A knife block, sheath, magnetic strip installed securely, or another purpose-built storage method keeps the edge from striking other tools. The storage system must protect the cutting edge without forcing it against a hard surface. A loose drawer is particularly poor storage because the blade can move as the drawer opens and closes.
Safe knife handling starts with a stable cutting board, a dry handle, and a clear cutting path. Fingers should be positioned away from the edge, and food should be secured rather than chased around the board. If a blade becomes stuck in dense food, pulling sideways is more dangerous than stopping and changing the cutting method.
Food-contact standards and material claims
NSF/ANSI 2 is a food-equipment standard administered through the broader sanitation and food-equipment certification system described by NSF. A listing that mentions NSF/ANSI 2 should be checked for the exact certified component and scope; the phrase should not be treated as proof that every part of a kitchen set carries the same certification.
Food-contact hygiene also depends on use and cleaning, not only on a material label. A knife that is technically stainless can still transfer residue if it is not washed between foods, and a board can contribute to cross-contamination if it is not cleaned correctly after raw ingredients.
Matching Straight, Serrated, and Specialty Blades
Straight, serrated, and specialty edges solve different cutting problems. The correct choice reduces force and protects the edge because the blade is working in the motion for which its geometry was designed.
Use a straight edge for controlled preparation
A chef’s knife or santoku is suited to vegetables, herbs, boneless proteins, and general slicing. The edge should contact the board in a controlled manner rather than being dragged sideways. A straight edge is also easier to sharpen across its full length with a whetstone or suitable guided system.
A paring knife handles small food and trimming tasks where a large blade would reduce control. A straight edge can produce a clean tomato slice when sharp, but a serrated knife is often more forgiving of soft skins and delicate interiors.
Use serrations for crusts and fragile skins
A serrated bread knife is better for bread because its teeth can pass through a crust without requiring the same downward pressure as a dull straight edge. The knife should move in a steady sawing motion. Pressing hard or twisting at the end of a cut increases the chance of tearing food and stressing the blade.
Serrated edges can be sharpened, but not with a flat pull-through sharpener. A tapered abrasive tool must fit the individual gullets, and the work must preserve the tooth profile. If the teeth are badly worn or damaged, professional service is more reliable than forcing a general sharpener into the edge.
Keep unsuitable materials away from fine edges
A chef’s knife should not be used for bones, frozen food, or tasks that require chopping through hard joints. Those jobs can chip or roll an edge and may cause the blade to glance off the material. A cleaver, poultry shears, or another tool made for the task is safer than forcing a thin kitchen edge.
Squash deserves caution because its hard exterior and irregular shape can trap a blade. Stabilize the food, create a flat base when appropriate, and use controlled cuts rather than twisting a knife inside the flesh. If the blade does not move freely, stop and reposition the food instead of applying lateral force.
Cookware affects preparation indirectly, so readers comparing small-appliance setups may find the guide to a 3 Qt Instant Pot for small kitchens useful, but no pressure cooker or pot replaces a properly maintained knife and board.
Beginner, Intermediate, and Advanced Cutting Practices
Beginner: build a safe core set
- Start with one chef’s knife or santoku, one paring knife, and one serrated bread knife.
- Add a stable end-grain hardwood cutting board or another knife-compatible surface.
- Store blades so the edges do not contact loose utensils.
- Wash and dry knives by hand unless the manufacturer clearly states that the materials and construction suit a dishwasher.
A beginner does not need every specialty blade to prepare ordinary meals. A small, well-maintained group of tools gives clearer feedback about sharpness and makes improper technique easier to identify.
Intermediate: read the edge before sharpening
- Check whether the knife is merely rolled or genuinely blunt before choosing a honing rod or abrasive sharpener.
- Use the cutting motion suited to the edge rather than pressing harder when the cut feels resistant.
- Keep acidic or salty residue from remaining on carbon steel or stainless steel.
- Replace or reposition a damaged board instead of blaming the steel for every dull edge.
An intermediate cook should also learn to distinguish a burr from a clean apex. A burr can make a newly sharpened edge feel sharp from one direction while failing during ordinary food preparation.
Advanced: preserve geometry over time
- Maintain the original bevel rather than repeatedly changing the edge angle without a reason.
- Remove only the steel needed to restore a clean apex.
- Use a serration-specific method for serrated knives.
- Reserve specialty blades for the materials they were designed to cut.
Advanced maintenance is controlled material removal. The goal is a clean, supported apex that returns to a razor edge efficiently, not the smallest possible edge or the hardest possible steel.
Frequently Asked Questions
What kitchen cutting tools do I actually need for everyday food preparation?
A chef’s knife or santoku, paring knife, serrated bread knife, suitable cutting board, and safe storage cover most daily preparation. Kitchen shears help with tasks that do not suit a knife. Specialty tools become sensible when the food demands a different motion, such as a mandolin for uniform slices or a fish spatula for lifting delicate portions. Quality maintenance matters more than collecting many blades.
How do steel, HRC, and edge angle affect knife performance?
Steel grade and HRC describe part of a knife’s construction, but neither determines cutting performance alone. Edge angle, blade thickness, sharpening quality, cutting motion, and board material also matter. A thinner edge at an appropriate angle can outperform harder steel that has been poorly sharpened or used on a damaging surface. The most useful specification is the one that explains the complete edge system.
Why does my knife feel dull after using a sharpener?
The abrasive may not have reached the edge, the bevel may be inconsistent, or a burr may remain. A rolled section may also need more material removed than the sharpener has taken away. Inspect the edge under safe lighting, check whether the board is excessively hard, and avoid repeated passes that remove steel without correcting the damage. Serrated knives need a serration-specific method, not a flat pull-through sharpener.
Can I use a chef’s knife for bread, tomatoes, squash, bones, or frozen food?
A chef’s knife can handle many vegetables and boneless foods, and it can slice a tomato when the edge is properly sharp. Bread is generally better suited to a serrated knife. Squash requires a stable setup and controlled cuts. Bones and frozen food should not be forced against a fine chef’s-knife edge because impact and twisting can chip or roll it; use a tool designed for those materials.
How should I clean and store kitchen knives?
Hand wash knives with suitable soap, rinse away food residue, and dry them promptly. A dishwasher can damage edges and may affect handles or vulnerable steels through heat, detergent, movement, and contact with other items. Store knives in a block, sheath, secure magnetic system, or another method that prevents edge contact. Carbon steel needs especially prompt drying and occasional compatible protective oil, while stainless steel still requires care because corrosion resistance is not corrosion proof.
Cookware guides such as the enamel cookware guide for kitchen use can help with adjacent equipment, but the central rule remains simple: match the blade to the food, the edge to the board, and the maintenance method to the actual condition of the steel.