A 900-watt microwave, a 1.5-quart dish, and a two-stage cooking method form the baseline for one commonly used microwave rice method. That figure is useful, but it is not a universal promise: microwave power, vessel shape, rice variety, water absorption, and resting time all change the result.
The key distinction is between microwave power and microwave cooking time: reducing power changes how energy is delivered and can limit foaming, but it does not make a fixed recipe reliable across ovens. A sound guide treats the water ratio, vessel geometry, venting, and resting period as one system, then gives adjustment cues for rice that is dry, wet, hard, or boiling over rather than pretending every microwave cooks identically. For ordinary white rice, cooking rice in a microwave is practical when the container has enough headroom and the cover allows steam to escape.
Key Takeaways
- Use a genuinely microwave-safe, heat-resistant vessel with generous headroom; starchy water foams quickly.
- A 1-cup white-rice method uses 2 cups of cold water, 10 minutes uncovered, 4 minutes covered, and 5 minutes of covered resting.
- Jasmine, basmati, brown, and instant rice do not share one dependable ratio or cooking time.
- Cool leftovers promptly, refrigerate them, and reheat them thoroughly because warm cooked rice can support Bacillus cereus growth.
In this guide
- Rice in a Microwave: The Method That Gives You a Starting Point
- Water, Rice Variety, and Microwave Wattage
- Why Microwave Rice Boils Over or Cooks Unevenly
- Covering, Containers, Cleanup, and Appliance Trade-Offs
- Storage, Reheating, and Food Safety
- Practical Diagnosis: Dry, Wet, Hard, or Boiling Over
- Frequently Asked Questions
Rice in a Microwave: The Method That Gives You a Starting Point
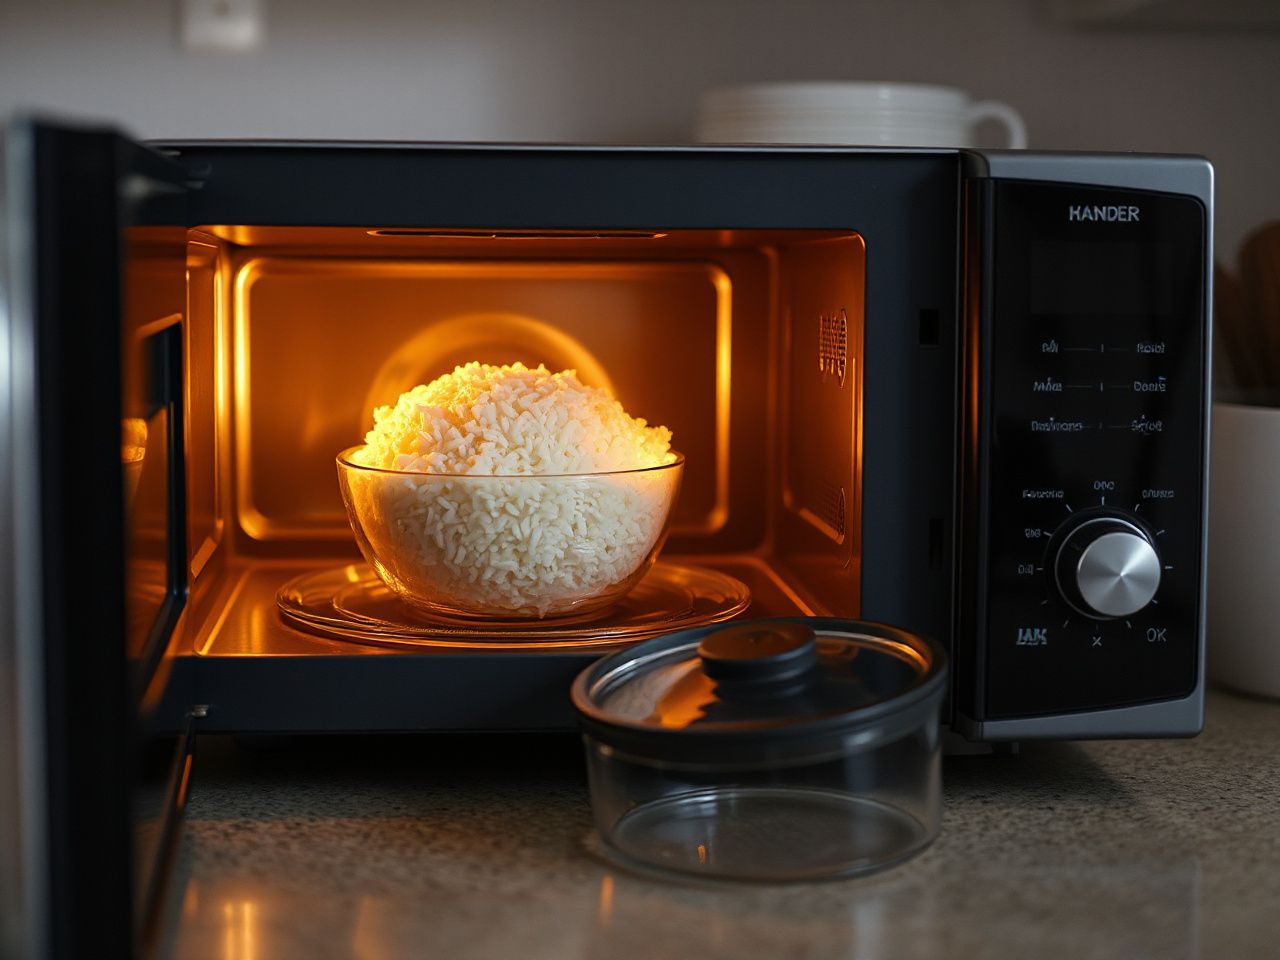
The most useful starting recipe is the verified method for ordinary white rice in a 900-watt microwave with a 0.9-cubic-foot capacity. It calls for 1 cup of rice and 2 cups of cold water in a microwave-safe dish that holds at least 1.5 quarts. Treat those figures as a reference setup, not as proof that every oven will behave the same way.
Step 1: Choose the vessel and measure the ingredients
Use a heat-resistant, genuinely microwave-safe container with enough empty space above the water. A large Pyrex glass dish made from borosilicate glass may be suitable if its labeling permits microwave use, and microwave-safe polypropylene may also be suitable when the container is clearly marked for that purpose. Material names alone do not settle the question; the container’s labeling and condition matter.
Do not use a metal bowl. Do not use a tightly sealed container. A sealed lid can trap steam and pressure, while a metal container can interfere with microwave operation. A loosely placed lid or purpose-made vented cover is the sensible middle ground.
For the baseline method, combine 1 cup of rice with 2 cups of cold water. Rinsing may change surface starch and foaming, but the supplied method does not establish a revised ratio after rinsing, so do not pretend that one fixed adjustment works for every grain.
Step 2: Heat the rice uncovered
Place the dish in the microwave and heat it on high for 10 minutes without a lid. The uncovered first stage allows vigorous bubbling without putting a sealed barrier over the starchy water, but the dish still needs enough headroom to contain foam.
Stay alert near the end of this stage. Starchy water can climb rapidly, and a shallow bowl or a narrow vessel gives foam less room to settle. If the rice boils over, clean the spill after the dish and microwave interior have cooled, then reduce the batch size or use a wider, deeper vessel with more headroom.
Step 3: Cover, vent, and continue heating
After the initial 10 minutes, place a cover on the dish and continue heating for 4 minutes. The cover should be vented or placed loosely enough for steam to escape. Lifting the cover immediately after cooking releases a burst of steam, so open it away from your face and hands.
The second stage is where the grains finish absorbing water and the covered vessel retains steam. A tightly sealed container is not a substitute for a vented cover. The cooking process needs retained heat, but the container must not trap pressure.
Step 4: Rest before fluffing
Leave the rice covered for 5 minutes after microwaving. That rest allows moisture to redistribute through the grains. Stirring or fluffing immediately can leave the centre firm while the surface remains wet, especially if the water has not yet reached the grains evenly.
Microwave-cooked rice needs a covered 5-minute rest before fluffing because the grains continue absorbing and redistributing moisture after the heating stops. Use a fork to separate the grains only after the rest, and lift the cover carefully because steam escapes when it is raised.
Water, Rice Variety, and Microwave Wattage
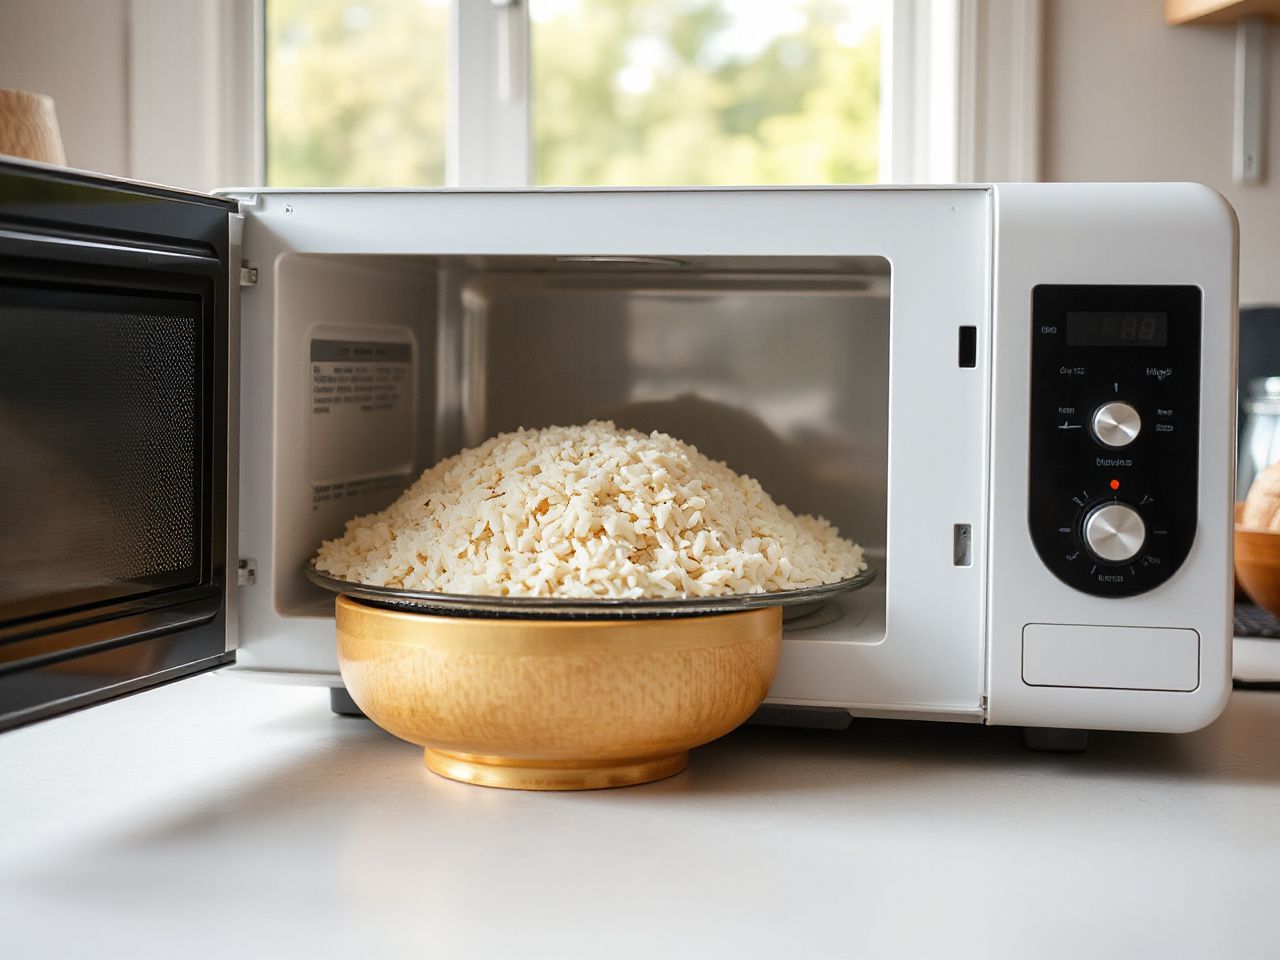
Rice varieties do not absorb water in the same way. Grain length, age, surface starch, and processing all affect the finished texture, so a single universal ratio is a marketing shortcut rather than a dependable cooking rule.
Jasmine and basmati rice
Jasmine rice and basmati rice can require different treatment from ordinary white rice, even when both are sold as long-grain varieties. Use the package directions as the first reference, then adapt the microwave time to your oven and container. The verified 1-cup-to-2-cup method is a baseline for ordinary white rice; it should not be presented as a guaranteed jasmine or basmati formula.
Jasmine rice commonly produces a softer, more cohesive result than basmati under the same conditions, while basmati is often prepared with a looser grain structure. The important practical point is to judge the cooked grains after the full covered rest rather than opening the dish halfway through and adding water by guesswork.
For more on how grain type changes absorption and texture, see the guide to what changes the cooking result with long-grain white rice.
Brown rice
Brown rice has a bran layer that changes water absorption and cooking behaviour. The verified white-rice method does not provide a brown-rice ratio or time, so a responsible guide cannot invent one. Follow the package instructions, use a container with ample headroom, and expect brown rice to need a separate calibration rather than a simple swap into a white-rice recipe.
If your goal is brown basmati, the grain variety and the brown outer layer both matter. The article on what changes with brown basmati rice provides useful context, although microwave cooking still requires adjustment for the vessel and oven.
Instant rice
Instant rice is processed for faster hydration and is not interchangeable with dry ordinary rice. Do not use the 1-cup rice and 2-cup water method automatically for instant rice. The packet instructions take priority because the product has already been partially cooked and dried.
Low-, medium-, and high-power settings
High power delivers energy rapidly and is the setting used by the verified baseline method. Lower power changes the rate at which energy is delivered, which may reduce foaming or give water more time to heat through the vessel, but power level does not create a fixed conversion from minutes to reliability.
A low-power setting may require more elapsed time than high power, while a medium setting can produce a different balance between bubbling and absorption. The microwave’s wattage, not just the selected percentage, matters. A lower-wattage oven may need additional time; a higher-wattage oven may boil more aggressively or finish sooner.
Microwave cooking time changes with wattage because the oven transfers energy at a different rate, but no trustworthy adjustment can be calculated from the supplied facts for every model. Start from the baseline only if your oven is close to 900 watts, then assess the grains after the covered rest and adjust in small steps on later batches.
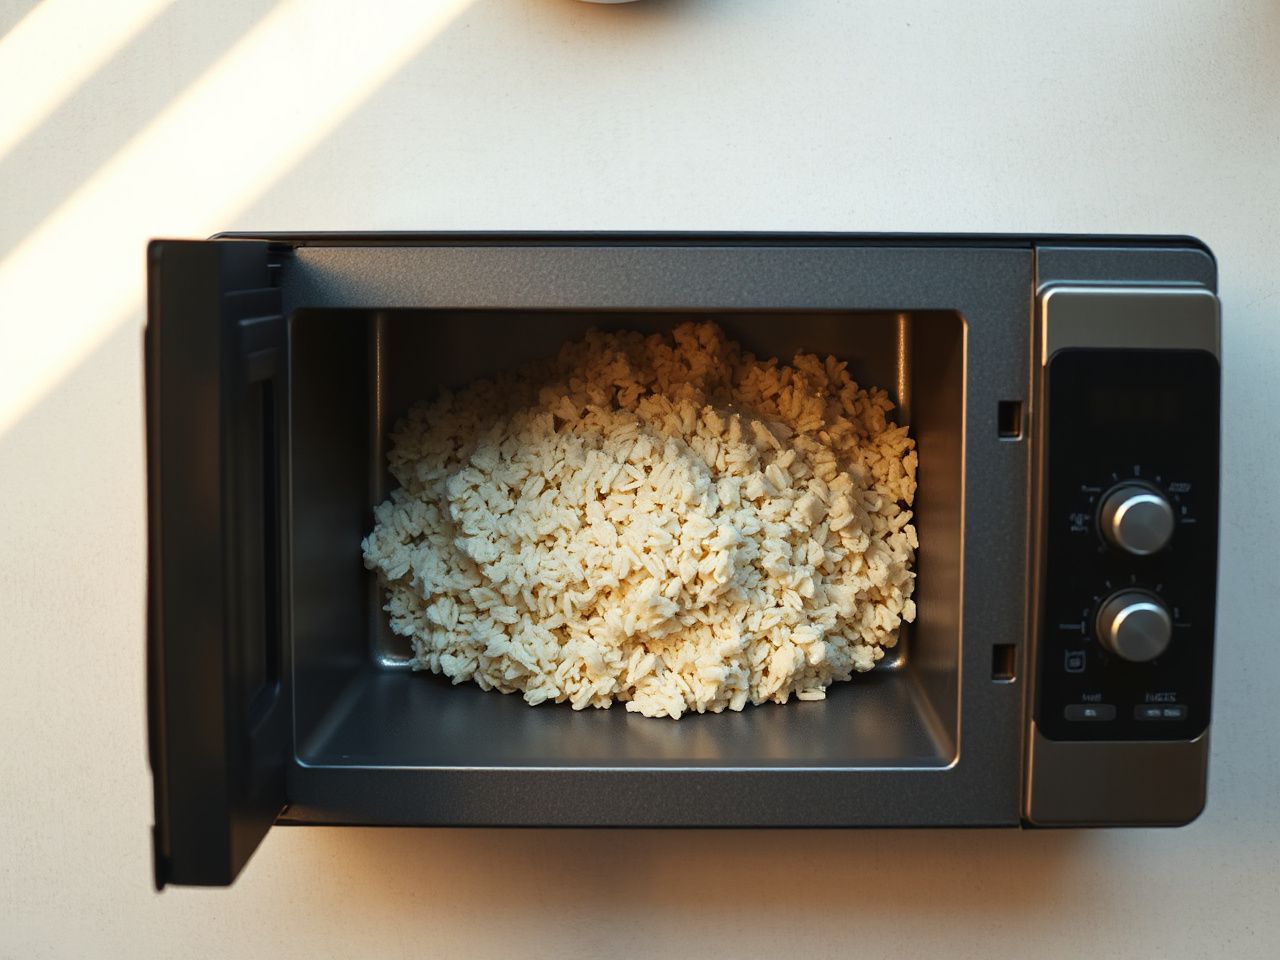
Why Microwave Rice Boils Over or Cooks Unevenly
Foam and boil-over
Rice water contains starch, and starchy water can foam as it heats. A container that is technically large enough for the dry ingredients may still be too small once bubbling begins. Narrow shapes also give foam less room than a broad, deep vessel.
Use a container that holds at least 1.5 quarts for 1 cup of dry rice in the baseline method. Leave additional headroom rather than filling the vessel close to its rim. If the rice repeatedly boils over, inspect the vessel shape, reduce the batch size, and check that the cover is not trapping steam.
Hard centres and wet surfaces
Hard rice usually means the grains did not receive enough usable moisture or heating time, but the cause can also be uneven distribution inside the vessel. Wet rice can mean that too much water remains, or that the surface has condensed steam while the centre has not finished absorbing it.
Do not stir halfway through unless the recipe specifically calls for it. Stirring can move hot and cool areas around without solving the underlying mismatch. Give the rice the full covered rest first. If the grains remain hard, add a small amount of water only when you have a clear reason to believe evaporation or insufficient hydration caused the problem, and record the change for the next batch rather than adding water blindly.
Uneven cooking
Uneven rice can result from an overfilled vessel, a deep pile of grains, a different rice variety, or a microwave that distributes energy differently from the reference oven. The container’s geometry matters because the water and grains are not exposed to energy in exactly the same way throughout the dish.
A wider heat-resistant vessel with adequate depth can be easier to manage than a narrow container, but the listing or label must still confirm microwave suitability. The test of placing cookware beside 1 cup, or 250 millilitres, of water and heating it for 1 minute at 100% power is a screening method from the supplied guidance: if the cookware heats while the water stays cool, do not use that cookware in the microwave.
That screening test does not replace the manufacturer’s microwave-use instructions. Discard or stop using a container that is cracked, damaged, or no longer clearly suitable for microwave use.
Covering, Containers, Cleanup, and Appliance Trade-Offs
Can you cook rice without a lid?
The baseline method begins without a lid, so rice can be started uncovered. The second stage and the resting period need a cover to retain steam, but that cover must vent or sit loosely. A fully uncovered method may lose too much moisture, while a sealed method creates unnecessary pressure.
Steam burns are a real handling hazard. Lift the cover away from your face and hands, use a dry cloth or heat-resistant mitt, and allow the first burst of steam to escape before leaning over the dish.
Can you use ordinary plastic?
Ordinary plastic is not automatically microwave-safe plastic. Use microwave-safe polypropylene only when the container is marked for microwave use and remains in good condition. Do not use a tightly sealed plastic container, even if the plastic itself is microwave-safe.
Pyrex glass and borosilicate glass may be suitable when the product labeling permits microwave use, but a glass dish still becomes hot through the food and water inside it. The safest conclusion from an unlabeled container is not to use it for this task.
Cleaning starch and lingering smells
Starch residue is easier to remove after soaking the container rather than allowing it to dry into a hard film. Wash the container and vented cover according to their care instructions, paying attention to the underside of the lid where condensed starch water can collect.
If the microwave smells of rice, clean splashes from the interior and the turntable after the appliance has cooled. Odor usually persists because a small amount of food residue remains in a seam, on a cover, or beneath the turntable, not because the microwave has acquired a permanent rice smell.
Microwave versus stovetop and electric rice cookers
A microwave can reduce the amount of active stovetop attention and may simplify cleanup because the cooking happens in one microwave-safe vessel. The supplied facts do not establish a universal energy or time saving, so claims that microwave cooking is always faster or cheaper are not justified.
An electric rice cooker is designed around a dedicated cooking vessel and an automatic program, while a microwave depends more heavily on oven wattage, container geometry, venting, and manual timing. That makes the microwave method flexible but less predictable across kitchens. For readers comparing appliance power, Rice Cooker Wattage Made Simple explains why a wattage figure needs context rather than marketing praise.
The better choice depends on the amount being cooked, the consistency required, and whether active adjustment is acceptable. I prefer the microwave for a small, closely observed batch; I would favour an electric rice cooker when repeatability and hands-off operation matter more than using one existing appliance.
Storage, Reheating, and Food Safety
Cooked rice can support growth of Bacillus cereus if it remains warm for too long. Cool leftovers promptly, refrigerate them, and reheat them thoroughly rather than leaving a covered container on the counter for an extended period.
The FDA publishes the FDA Food Code, which addresses time and temperature control for foods that can support bacterial growth. The Code is a public food-safety reference, not a reason to treat every home kitchen as a regulated food-service operation, but its time-and-temperature principles are useful when handling cooked rice.
Reheat only the portion you intend to eat. Cover it loosely or use a vented cover, stir if the food format allows, and make sure the centre is hot before serving. The exact reheating time depends on portion size, container shape, starting temperature, and microwave wattage, so the supplied facts do not support one universal reheating time.
The U.S. Consumer Product Safety Commission provides consumer safety information for household products, including general microwave-use concerns; follow the microwave and container manufacturers’ instructions for safe operation. Never use metal cookware or a tightly sealed container for this method.
Practical Diagnosis: Dry, Wet, Hard, or Boiling Over
Use the finished texture as evidence rather than changing the recipe at random. A written note about the rice type, container, water amount, power setting, and result gives you a way to isolate one variable during the next attempt.
- Dry or hard: The batch may need more water, more heating, or a longer covered rest. Check whether the container was too shallow or whether the oven differs substantially from the 900-watt reference.
- Wet: The batch may contain excess water, or the rice may need more time to absorb moisture. Rest it covered before deciding that the recipe failed.
- Hard in the centre but wet on top: Avoid early stirring. The moisture has not redistributed evenly, so allow the covered rest before making a measured adjustment.
- Boiling over: Use more headroom, a suitable wider vessel, and a vented rather than sealed cover. A smaller batch may also be necessary.
- Uneven from batch to batch: Keep the rice variety and vessel unchanged while adjusting the time or power. Grain age and package instructions can also explain variation.
Small-batch cooking still needs a container sized for expansion and foam. One person may cook less rice, but a half-filled cup measure does not remove the need for adequate headroom or a safe venting arrangement.
Frequently Asked Questions
Can I cook ordinary white rice in a microwave with water?
Yes. The supplied baseline uses 1 cup of ordinary white rice with 2 cups of cold water in a microwave-safe dish holding at least 1.5 quarts. Heat uncovered on high for 10 minutes, cover and heat for 4 minutes, then rest covered for 5 minutes. Use those figures as a starting point for a 900-watt microwave, not as a guarantee for every oven.
How much water do jasmine, basmati, brown, and instant rice need?
No single ratio is reliable for all four types. The verified 1-cup rice to 2-cup water method is a reference for ordinary white rice, not a universal jasmine, basmati, brown, or instant-rice formula. Use the package directions for the specific product, then calibrate the microwave time and rest while keeping the vessel and rice amount consistent.
Why does rice boil over in a microwave?
Starchy water foams as it heats, and a vessel with too little headroom allows that foam to spill. Use a heat-resistant microwave-safe container with generous capacity; the baseline calls for at least 1.5 quarts for 1 cup of dry rice. Begin uncovered, then switch to a loosely placed or vented cover rather than sealing the dish.
Is cooking rice in a microwave safe for leftovers?
Cooked rice can support Bacillus cereus growth if held warm for too long. Cool leftovers promptly, refrigerate them, and reheat the portion thoroughly before eating. Use a vented cover during reheating, avoid tightly sealed containers, and rely on the food and container instructions for handling. The FDA Food Code is a useful reference for time-and-temperature control principles.
Can I microwave rice in a metal bowl or sealed container?
No. Do not use a metal bowl for this method, and do not tightly seal the container. Choose a genuinely microwave-safe glass or polypropylene vessel with sufficient headroom and a vented cover or loosely placed lid. If cookware heats while 1 cup, or 250 millilitres, of water stays cool during the stated screening test, do not use that cookware in the microwave.
How long should microwave rice rest before fluffing?
The baseline method calls for a 5-minute covered rest after the final 4-minute heating stage. Resting lets moisture redistribute through the grains, so early fluffing can leave the centre firm and the surface wet. Lift the cover carefully because trapped steam escapes as soon as the cover is moved.
Does a special microwave rice cooker make the result automatic?
A dedicated microwave rice cooker may provide a container and venting system designed for this task, but it cannot remove differences between microwave wattages, rice varieties, grain age, and batch size. The listing for a particular cooker would need to state its capacity and instructions. Treat any special vessel as part of the cooking system, not as a guarantee of identical results.