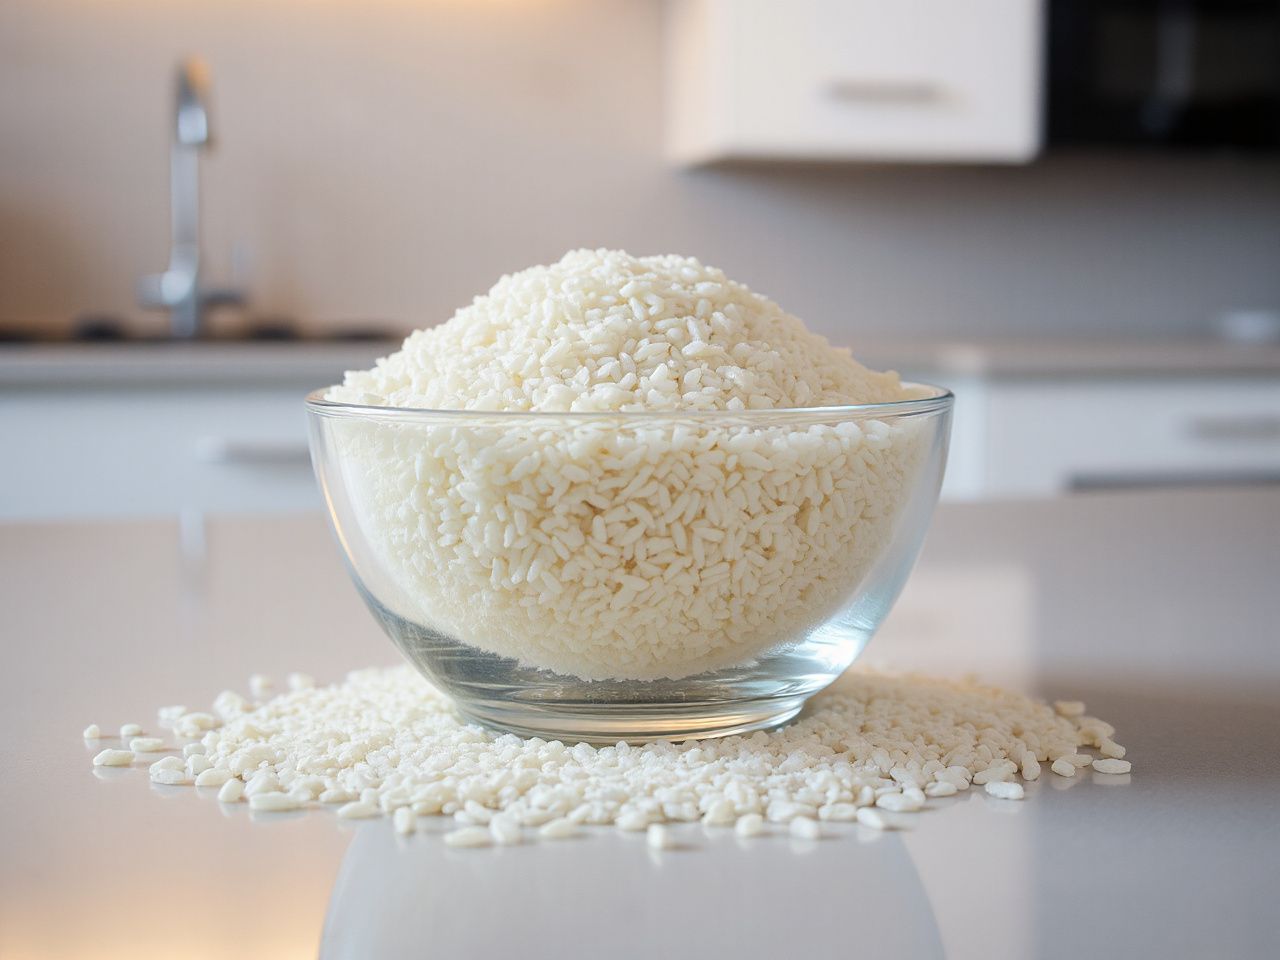
Why can the same cup of rice turn out fluffy in one cooker and sticky in another? The key distinction is between grain length and cooking behavior: long grain white rice generally aims for separate grains, but amylose level, variety, milling, rinsing, and parboiling can change the result more than the label alone suggests. A practical guide should explain how to use the cooker’s own cup and pot markings, then treat water adjustment, resting, and fluffing as controlled variables rather than presenting one universal ratio.
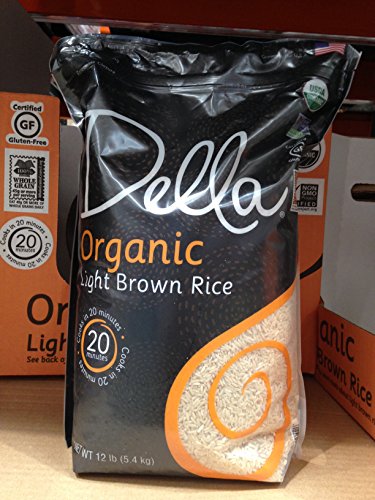
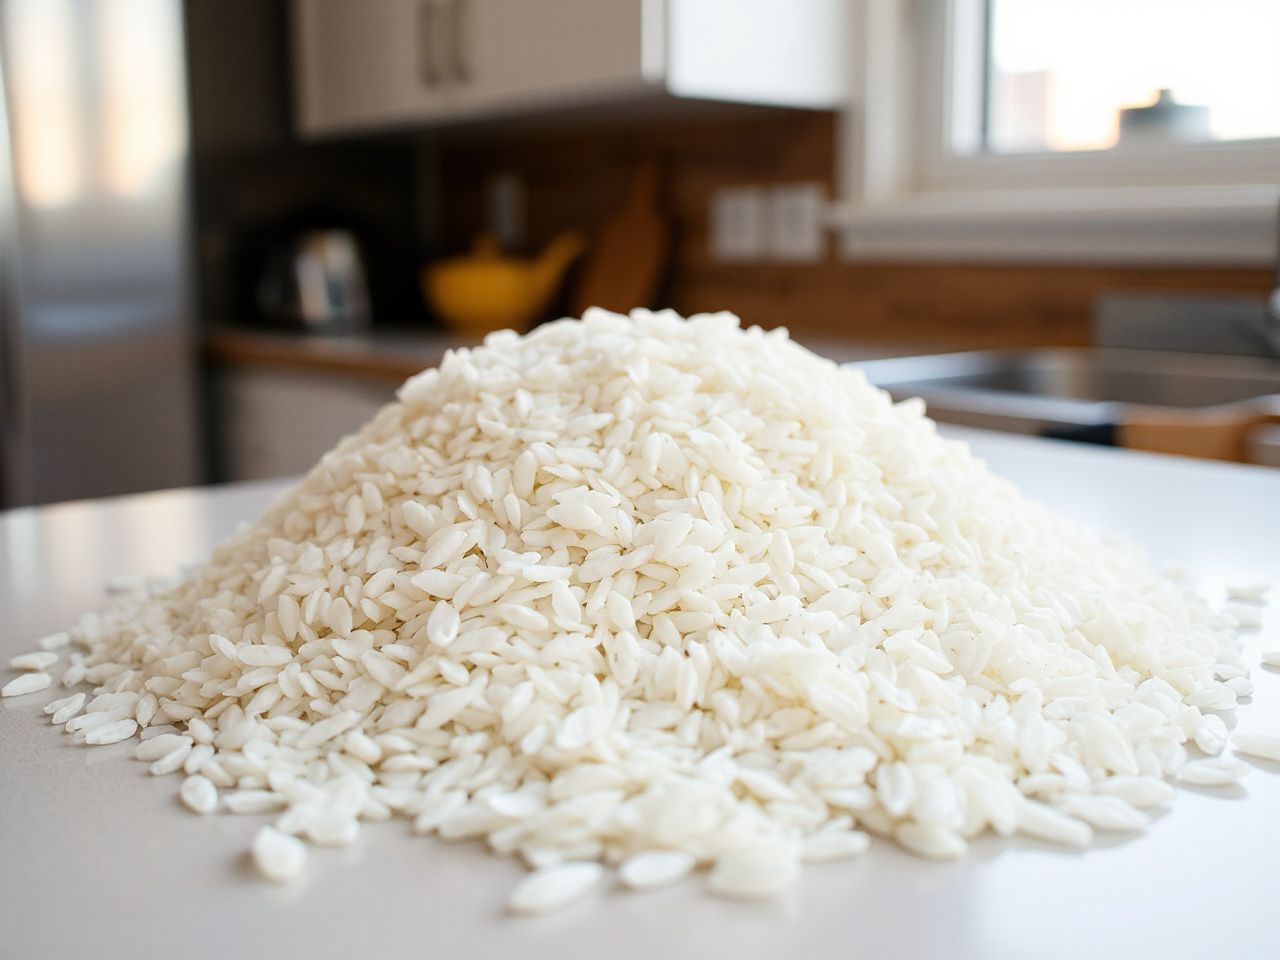
In practical terms, long grain white rice is white rice from Oryza sativa with the bran layer and rice germ removed, leaving the starchy endosperm. That description still covers ordinary American long-grain rice, basmati, jasmine, and parboiled rice, all of which can need different treatment. I am Brian Sutton, a Kitchen Appliance & Electrics Analyst with a mechanical-engineering perspective, so I focus on heat transfer, sensor behavior, load, cleanup, and the details that determine whether a cooker remains predictable.
Key Takeaways
- Use the cooker’s included cup and matching pot line before applying a separate ratio.
- Rinsing, water level, resting, and fluffing are variables that directly affect clumping and texture.
- Varieties such as basmati, jasmine, and parboiled rice should not automatically share one setting.
In this guide
Long Grain White Rice Starts With Grain Behavior
Length does not tell the whole story
Long grain white rice tends to remain more separate than medium-grain or short-grain rice because the grain shape and starch balance encourage a less clumped result. Amylose matters as well. A grain with different amylose behavior can absorb water and release surface starch differently, so two bags carrying the same broad length description may not cook identically.
Medium-grain and short-grain rice generally produce a softer, more cohesive texture in the same appliance. That does not make one category better. It means the cooker’s water line and expected result should match the rice placed in the pot.
White rice is milled to remove the bran layer and rice germ, leaving the rice endosperm. The milling difference changes the cooking category compared with brown rice, so a brown-rice program or separate water guidance should not be treated as interchangeable with a white-rice program.
Basmati, jasmine, ordinary long grain, and parboiled rice
Basmati rice is a long-grain variety, but it is not automatically a substitute for ordinary long-grain white rice. Basmati is commonly soaked before cooking for **30 minutes to two hours**, and that soaking changes how much water the grains already carry into the cooker. A cooker instruction written for unsoaked rice therefore may not give the same result after soaking.
Jasmine rice is also long-grain rice, yet its aroma, grain structure, and absorption behavior can produce a softer or more cohesive result than a cook expects from ordinary long grain. Parboiled rice has been processed differently before milling, so it may need different water guidance or a different program. The bag’s instructions and the rice cooker manual take priority over a generic label.
Long grain white rice is a category, not one uniform cooking material. That single point explains why a universal ratio can be useful as a starting reference but unreliable as a permanent rule.
How the cooker changes the result
A basic thermostat rice cooker usually works by sensing the temperature of the cooking vessel and changing out of cook mode when the water has been absorbed or boiled away enough for the pot temperature to rise. The exact control design varies, and the listing may not disclose the sensor arrangement, heating-element wattage, or control calibration.
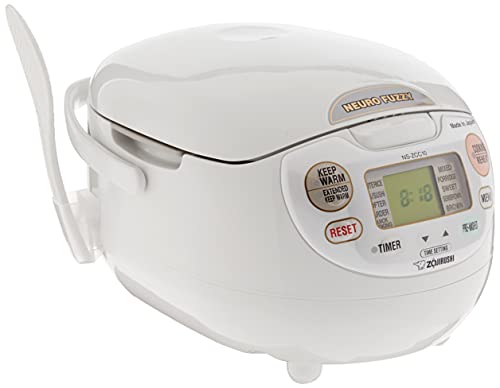
A fuzzy-logic rice cooker uses electronic control to adjust cooking behavior from sensor readings and the selected program. That can give the appliance more opportunity to account for different rice types, soaking, or cooking stages, but fuzzy logic does not remove the need for correct measurements. A wrong quantity still creates a wrong thermal load.
The thermostatic temperature sensor is central to both designs. If the pot has too little water, the rice can become hard before the grains hydrate fully. If the pot has too much, the grains can become soft and the cooker can spend longer managing steam and residual moisture.
How to Measure and Cook Long Grain White Rice
Step 1: Use the cooker’s own measuring system
Start with the measuring cup supplied with the rice cooker. The included rice-cooker cup is commonly smaller than a standard kitchen cup, and the pot markings are designed to work with that cooker’s cup and the specified number of measures. Filling the supplied cup, adding rice to the inner pot, and then adding water to the matching line is usually more reliable than combining a standard cup with a cooker marking.
For a cooker without useful markings, the general reference for long-grain white rice is **1 cup of rice to 1.5 cups of water**. That ratio is a starting point, not a command that overrides the manual. Rinsing, soaking, rice age, variety, and the shape of the cooking pot can alter the water already present or the way steam circulates.
The included rice-cooker cup and matching inner-pot line form one measurement system. Substituting a standard kitchen cup for either part can shift the rice-to-water balance before cooking begins.
Step 2: Rinse with a consistent method
Rinsing removes loose surface starch and can reduce clumping. Place the dry rice in a fine mesh strainer or the inner pot, cover it with water, move the grains gently, and drain consistently. The aim is repeatability rather than chasing a particular water clarity.
Rinse water does not vanish from the process. If the grains remain wet after draining, some water enters the cooker along with the rice. A long soak adds more retained water and changes the starting condition again. That is why a rinsed, well-drained batch and a soaked batch should not automatically use the same adjustment.
Rinsing is optional for some dishes and varieties, but it is useful when separate grains matter. If the rice package gives its own rinsing or soaking instruction, follow that instruction before changing the cooker’s marked water level.
Step 3: Fill the pot and check the maximum
After measuring, put the rice in the inner pot and add water to the line that matches the number of cooker cups. Keep the rice level even so the water contacts the bed consistently. Do not rely on the advertised total cup count if the rice cooker manual states a lower limit for the specific rice program.
Overfilling can cause starchy foam to enter the steam vent. Foam is more likely to become a cleanup problem when the pot is filled beyond the stated maximum or when excess surface starch remains on the grains. The maximum capacity in the manual matters more than a broad capacity claim on a carton or sales listing.
Step 4: Select the appropriate program
Choose the white-rice setting when the manual identifies one for the rice being used. A basic thermostat cooker may have little adjustment beyond cook and warm, while a fuzzy-logic cooker can divide cooking into more controlled stages. Neither system can infer whether soaked basmati or unsoaked parboiled rice is in the pot unless the program or manual accounts for it.
For basmati, check whether the package calls for soaking before cooking; the verified preparation range is **30 minutes to two hours**. For jasmine, begin with the variety-specific guidance rather than assuming the ordinary long-grain line will deliver the preferred texture. Parboiled rice should be treated as its own category, and brown rice should not be substituted into a white-rice program without separate instructions.
The cooker’s heating element supplies energy to the pot, water, and rice, while the sensor responds to the changing temperature of that assembly. More rice creates a larger thermal load, so a machine’s stated capacity matters mechanically as well as cosmetically.
Step 5: Respect the warm transition
When the cooker switches to warm, do not open the lid immediately unless the instructions require it. Resting allows moisture and heat to redistribute through the grain bed. For stovetop long-grain rice, the verified method calls for **12 to 15 minutes** of steaming until the liquid is absorbed, followed by **10 minutes** of resting; a rice cooker may use its own programmed sequence, so the manual remains the controlling instruction.
Open the lid after the cooker’s specified transition, then fluff from the bottom with a rice paddle or silicone spatula. Lift and turn the grains rather than pressing down on them. A narrow utensil can scrape a coated pot, while a hard edge can damage the surface and create future release problems.
Resting after cooking helps distribute moisture before fluffing. Opening the lid too soon can release steam before the rice has finished settling, while aggressive stirring can turn separated grains into a sticky mass.
Fixing Hard, Mushy, Sticky, or Uneven Rice
Hard or crunchy grains
Hard rice usually points to insufficient available water, inadequate resting, an incorrect program, or an amount that exceeds the cooker’s intended load. Rinsing and draining can also change the starting water balance. Check the cup first, then confirm that the water line corresponds to the number of cooker cups rather than standard kitchen cups.
If the batch is hard after the cooker switches to warm, keep the lid closed during the instructed rest instead of repeatedly releasing steam. For the next batch, change one variable only. A small water adjustment is more informative than changing variety, rinse method, and program together.
Mushy or wet rice
Mushy rice usually reflects excess water, too much retained rinse water, soaking without a corresponding adjustment, or a variety that naturally produces a softer result. The inner pot may also have been filled beyond the rice type’s stated maximum. Remove the guesswork by draining the rinsed rice consistently and returning to the marked line.
Do not add more dry rice to a wet batch after cooking has started. The added grains will not share the same hydration history, and the cooker’s sensor will not be controlling a uniform mixture.
Sticky or clumped rice
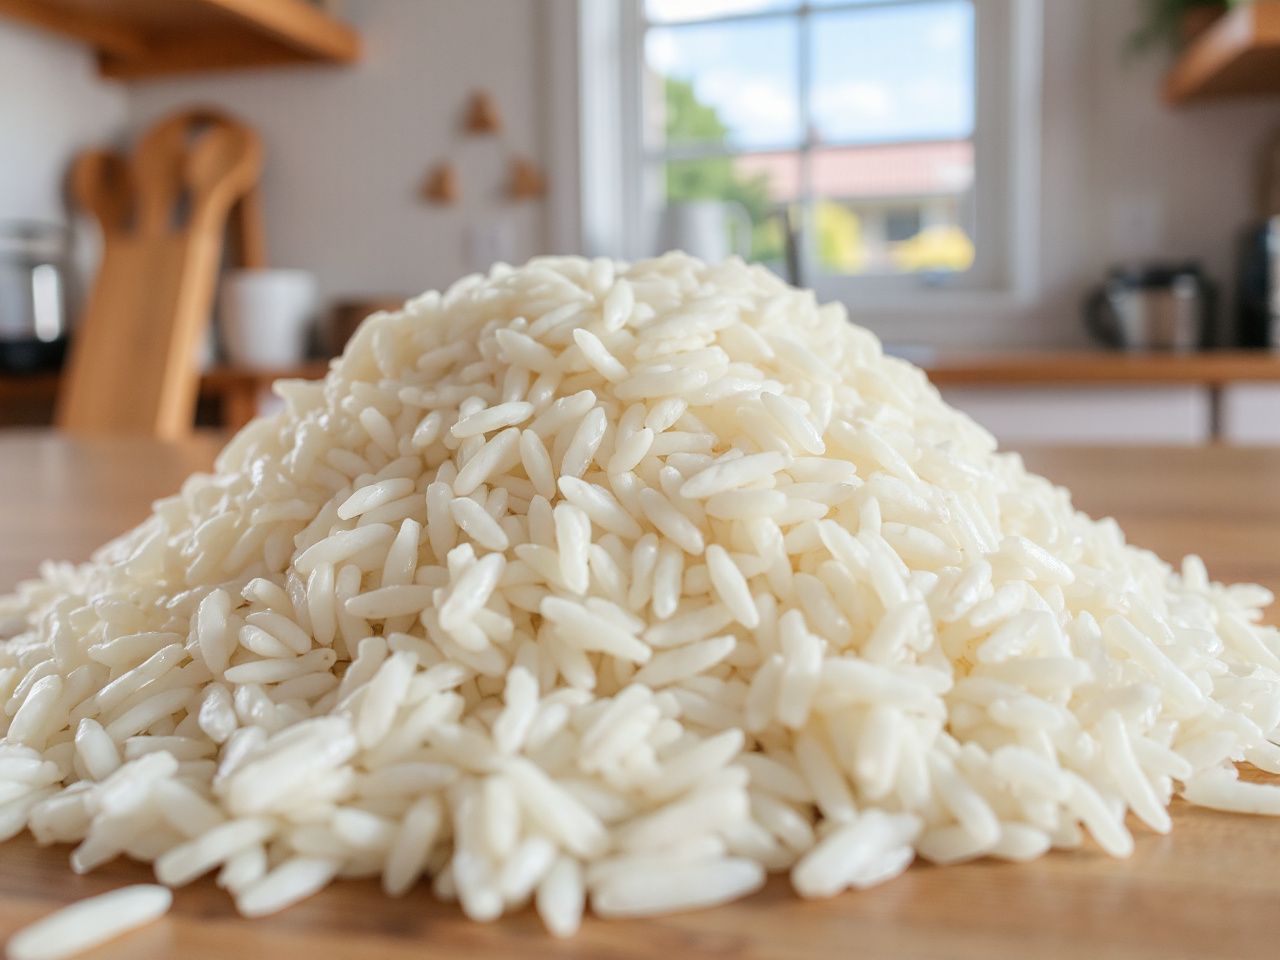
Sticky rice can result from loose surface starch, insufficient rinsing, excess water, early opening, or rough handling after cooking. Long grain rice is intended to be relatively separate, but separate does not mean dry or rigid. The rice variety, amylose behavior, and milling condition still govern the texture.
Rinse consistently, drain in the same way, allow the batch to rest, and fluff gently. A coating or smooth inner-pot surface can improve release, but it cannot correct an incorrect ratio. Stainless-steel inner pots may need more careful release and cleaning, which is discussed in this guide to stainless steel rice cookers.
Unevenly cooked rice
Uneven rice can come from an overfilled pot, an uneven bed of grains, incorrect water distribution, or a lid that does not close as intended. Spread the rice across the bottom before closing the lid. Confirm that the inner pot sits correctly on the heating surface and that the steam vent is clean.
A cooker’s sensor reads the vessel and its contents, not an abstract recipe. A thick layer at the center and a thin layer at the edge can expose the appliance to a different heat-and-water pattern than the program expects.
Cleaning, Materials, Energy, and Leftovers
Inner pot and lid care
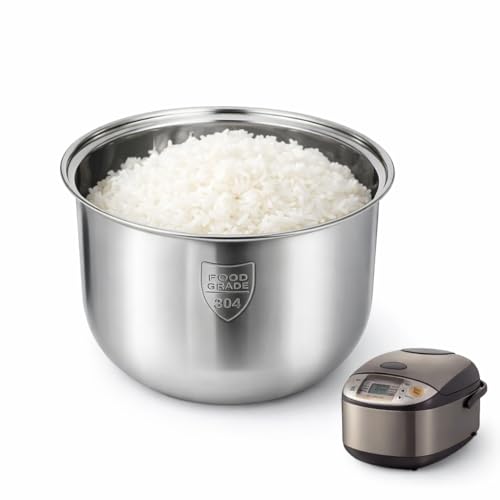
Clean the inner pot after the rice has been removed. Soak stuck starch according to the manual, then use a soft sponge or cloth that will not scratch the surface. Avoid treating a nonstick coating like bare metal. Stainless steel has different release behavior, so dried starch may need more soaking and gentle lifting.
Wipe the lid, steam vent, and condensation collector after cooking. Starch buildup can obstruct the vent path or create old odors in the collector. Removable parts should be reassembled only when clean and dry, following the manufacturer’s instructions for what may be immersed.
The steam vent and condensation collector need regular cleaning because rice starch can collect outside the inner pot. Cleaning only the bowl leaves the cooker’s steam path unfinished.
Does the inner-pot material affect cooking?
The material and coating affect how rice releases and how cleanup proceeds, but the cooker’s sensor, heating element, lid seal, and program also shape the result. A coated pot can make gentle fluffing easier, while stainless steel can require more attention to soaking and scraping technique. The material does not create a substitute for the correct water level.
Read the manual before using metal utensils, abrasive cleaners, or dishwasher cycles. The listing may identify the pot material or coating, but it may not explain every care limit. Missing care information is a reason to use the least aggressive cleaning method rather than assume compatibility.
Rice cooker or stovetop?
A rice cooker concentrates the task in one vessel and can switch to warm automatically, while stovetop cooking requires active heat control and a covered saucepan. The verified stovetop reference is **1 cup of rice to 1.5 cups of water**, with **13 minutes** of heat and **10 minutes** of standing time in one stated method; another long-grain method uses the lowest heat for **15 minutes** and then **10 minutes** of rest.
A microwave method uses **2 cups of water for every 1 cup of rice**, showing why a ratio cannot be transferred between appliances without adjustment. Cleanup depends on the vessel, lid, venting, and overflow rather than on the rice name alone. A rice cooker can reduce active monitoring, but its removable parts still need cleaning after starchy steam passes through the lid.
The useful lesson is the same: the appliance, vessel, load, and control method work as one system.
Keeping and reheating cooked rice
Cooked rice should not remain at room temperature for an extended period. Cool leftovers promptly, refrigerate them, and reheat them thoroughly before eating. Prolonged keep-warm use can dry or harden the grains, so warm mode should not become a substitute for proper leftover storage.
Follow the cooker manual for the keep-warm function and local food-safety guidance from the U.S. Food and Drug Administration. The FDA provides food-safety information for handling and storing prepared foods, while the rice cooker manual explains the limits and intended operation of the appliance’s warm setting.
Frequently Asked Questions
What makes long grain white rice different from medium-grain rice in a rice cooker?
Long grain white rice generally aims for separate grains, while medium-grain and short-grain rice tend toward a softer, more cohesive texture. Amylose level, milling, rinsing, and variety still matter, so grain length alone cannot predict the final result. Use the rice cooker’s markings for the specific rice category, then adjust only one variable if the texture is too firm or soft.
How much water should I use for long grain white rice?
The broad reference is **1 cup of rice to 1.5 cups of water**, but the cooker’s included cup and matching inner-pot marking should take priority. The supplied cup is commonly smaller than a standard kitchen cup. Rinsing, draining, soaking, and variety change the amount of water entering the pot, so do not transfer a stovetop or microwave ratio directly to a rice cooker.
Can basmati, jasmine, and parboiled rice use the same setting?
They should not automatically share one setting or water amount. Basmati may be soaked for **30 minutes to two hours**, jasmine can produce a different absorption and texture result, and parboiled rice is processed differently before cooking. Start with the package and cooker instructions. If you make an adjustment, keep the cup, rinse method, and program fixed so the result remains readable.
Why does rice foam over or stick to the bottom of the pot?
Foam can enter the steam vent when the pot is overfilled or when loose starch remains on the grains. Sticking can follow excess heat after moisture is absorbed, an incorrect water level, or a surface that needs gentler release and cleaning. Rinse consistently, respect the manual’s maximum capacity, keep the vent clear, and use a soft utensil that matches the pot’s coating.
How long can cooked rice stay warm or at room temperature?
Cooked rice should not be left at room temperature for an extended period. Promptly cool leftovers, refrigerate them, and reheat them thoroughly; prolonged keep-warm use can make the grains dry or hard. The exact warm-hold limit belongs to the cooker manual and applicable food-safety guidance. If the rice has been left out too long, discard it rather than trying to rescue the texture.