Is it possible to get a fork-tender pot roast that releases cleanly from the pan every single time? It is the question that decides which braising equipment is worth owning, from springform pans to enameled cast iron. Across kitchen gear generally, the pieces that last are never the flashiest — they are the simplest, heaviest, and most boring-looking tools in the drawer, because there is less on them to warp, delaminate, or wear out. The same principle applies to your ingredients. A packet of onion soup mix might not win any beauty contests, but when you understand how to harness its concentrated flavors inside a properly heated Dutch oven, you can create a pot roast with onion soup mix in the oven that rivals any from-scratch stock reduction. The real magic isn’t in a secret ingredient; it’s in mastering even heat, timing, and the vessel itself.
Key Takeaways
- Choose a heavy, tight-lidded Dutch oven — even browning and moisture retention depend on mass and seal, not brand names.
- Searing in stages is non-negotiable — overcrowding drops pan temperature and steams the meat instead of developing the deep crust that anchors flavor.
- Onion soup mix acts as a multi-layered flavor base — it delivers salt, caramelized onion notes, and umami, but only if you balance it with enough liquid and a low oven near 300°F (150°C).
- Resting and straining the jus after a long braise separates the dish from a weeknight meal and applies the same precision you’d use when choosing a cake pan — thoughtful finishing makes the difference.
In this guide
Why a Dutch Oven Transforms Pot Roast with Onion Soup Mix
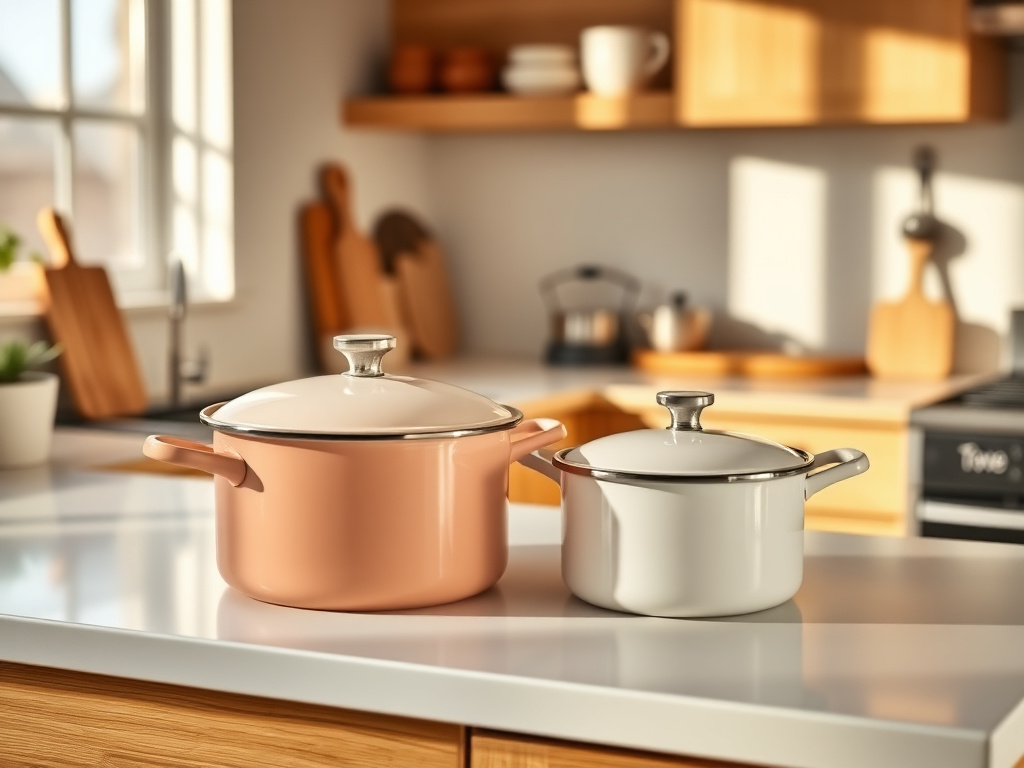
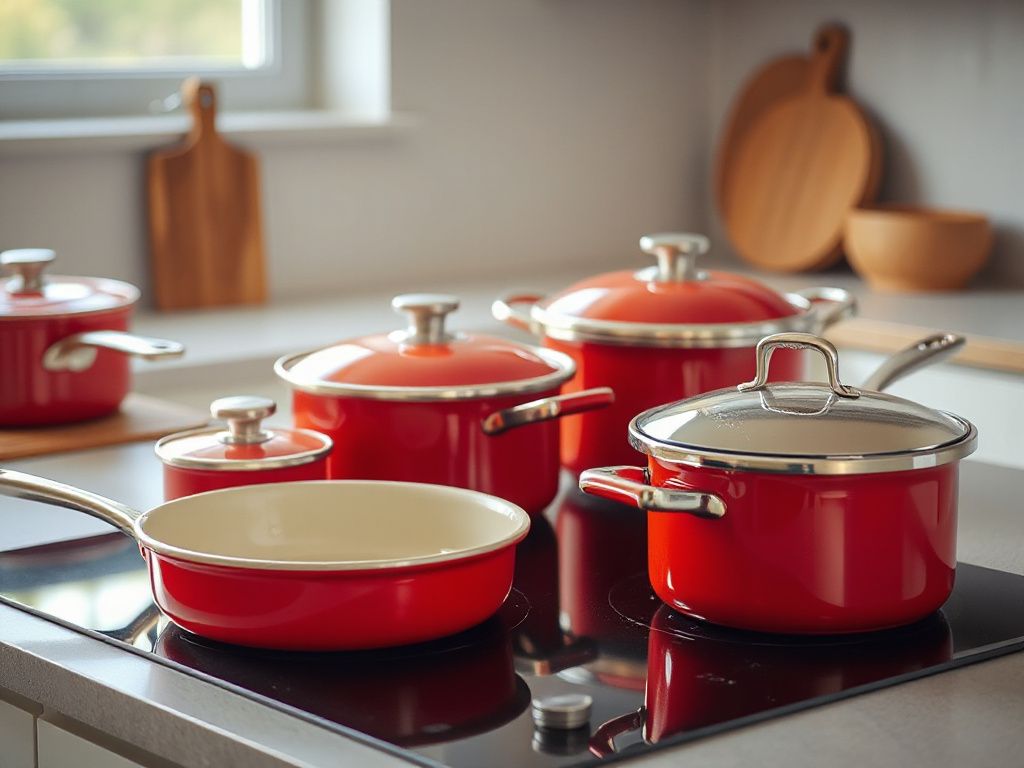
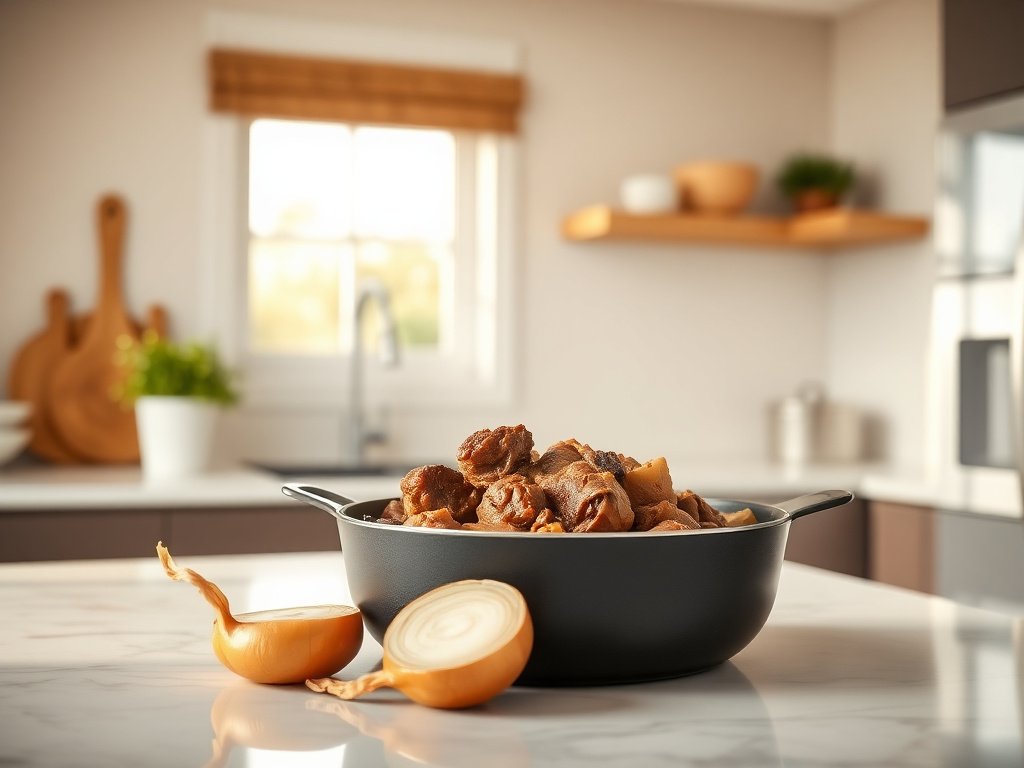
Your oven’s thermostat might claim 325°F, but what really happens inside a thin roasting pan is a cycle of hot spots, rapid evaporation, and inconsistent browning. A Dutch oven made of enameled cast iron shifts the physics in your favor. Its thick floor and sidewalls act as a thermal battery, absorbing ambient oven heat and radiating it evenly from all angles — including upward from the base. This gentle, three-dimensional heat prevents the bottom of the pot from scorching while the top remains underdone. For a long braise like a pot roast with onion soup mix, that consistency is everything.
Onion soup mix itself is a carefully dehydrated blend of onion flakes, beef stock powder, salt, and often a bit of sugar or yeast extract. When hydrated in a closed, humid environment, those dried aromatics rehydrate and slowly meld with the natural juices from the chuck roast. A properly sealed Dutch oven — one that shows no gap between lid and rim — traps steam, raising the internal humidity to near-saturation. That moisture barrier keeps the meat’s surface from drying out over four hours, while the steady 280–300°F environment gently breaks down collagen without squeezing out every last trace of moisture. If you’ve ever needed to open the oven door to spray a sheet pan with water, you’ll understand what a sealed braising vessel saves you. That’s why many precision bakers I know — and you can see similar logic in the 4 best cake pans for perfect baking in 2026 — treat vessel choice as a primary ingredient. A cake won’t rise evenly in a thin, warped pan, and a roast won’t braise evenly in one either.
Step-by-Step: Mastering Oven-Braised Pot Roast Using Onion Soup Mix
1. Selecting and Drying the Chuck Roast
Begin with a 3–4 pound chuck roast. Look for even thickness with generous marbling — those white streaks of intramuscular fat are what lubricate the meat slices after cooking. Pat the entire surface dry with paper towels. Two rounds of blotting are better than one. Water is the enemy of browning; it must boil away before the surface can exceed 212°F and start the Maillard cascade. While you’re drying, take a moment to examine your Dutch oven’s interior enamel. The surface should be smooth, with no cracks or crazing. A roughened bottom will grab proteins during searing, and the last thing you want after hours of braising is to leave half the crust stuck to the pot.
Tie the roast with butcher’s twine at 1½-inch intervals. This isn’t just cosmetic. A compact, uniform cylinder conducts heat at the same rate from end to end. Untied, the thinner tail of a chuck roast can overcook and shred before the thicker center reaches 195–205°F (90–96°C), the window where collagen has dissolved into gelatin. Season aggressively with kosher salt and cracked black pepper on all sides. The onion soup mix will add salt later, but this initial layer draws moisture to the surface for better browning, and it seasons the interior, which the mix alone cannot penetrate.
2. The Precise Sear — and Why Pan Material Matters
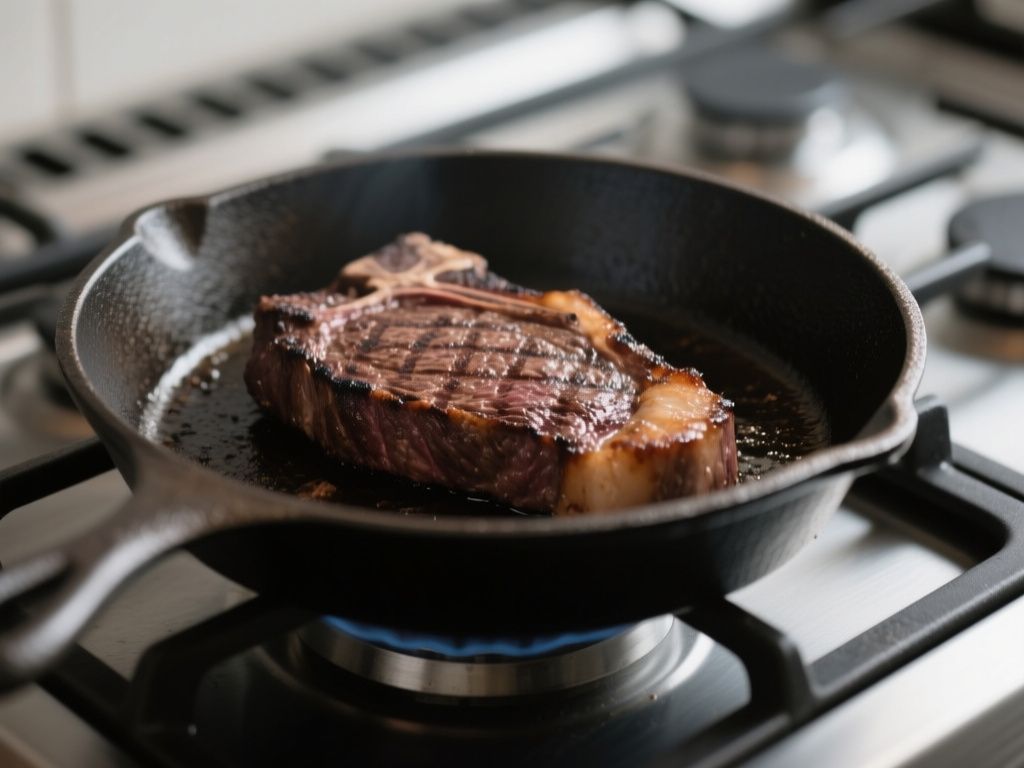
Set your pot over medium-high heat and add 2 tablespoons of a neutral, high-smoke-point oil — avocado or refined peanut oil, not extra-virgin olive oil which will burn before you’ve got color. Wait until the oil shimmers and just begins to ripple. Lay the roast in gently, moving away from you. Listen for an immediate, assertive sizzle; silence means the pot wasn’t hot enough, and you should lift the meat and wait another 30 seconds. Sear the first side untouched for 4–5 minutes, until it releases easily and you see a deep, reddish-brown crust. If you try to flip early and the meat sticks, it wasn’t ready.
Why does the release matter? Proteins bond to unseasoned metal or dull enamel early in cooking, then naturally let go once a proper crust forms. That’s why I prefer heavy-gauge enameled cast iron that’s been maintained properly — the same surface longevity that matters in pie baking. Much like choosing a pie baking pan where a worn non-stick yields a soggy bottom, a Dutch oven with a chipped or overly polished base will cling to your roast. Sear all sides, including the ends, for a total of about 15 minutes. Remove the roast to a plate.
3. Building the Braising Foundation
Reduce heat to medium. The fond — those browned bits — is pure flavor and should be a rich amber, not black. Toss in 1 large onion, sliced thickly, and 3 whole cloves of garlic, smashed. Sauté for 3–4 minutes until the onion softens and starts to pick up color, scraping the fond with a wooden spatula. Now add 1½ cups of low-sodium beef broth, ½ cup of water, and the contents of one envelope of onion soup mix (typically 1 ounce or 28 grams). Whisk to dissolve the powdery mix completely. This is where many recipes go wrong: they sprinkle the dry mix directly onto the meat, which can burn on the pot floor and turn gritty. By dissolving it in the liquid, you prevent scorching and ensure the flavor melds evenly into the braise.
Taste the liquid. It should be savory but not piercingly salty. If it’s harsh, add an extra ¼ cup of water. Return the roast to the pot, along with any juices that have accumulated on the plate. Spoon some of the liquid over the top. The liquid should come about one-third to halfway up the sides of the roast — never submerge it completely, or you’re stewing, not braising. The exposed top will gently brown in the moist heat, developing a different texture from the submerged bottom, which gives you a pleasing contrast in each slice.
4. Oven Placement and Temperature Management
Slide the lid onto the pot, ensuring it’s firmly seated. No parchment foil under the lid is needed if the seal is good; if your lid wobbles, a layer of heavy-duty aluminum foil over the pot, then the lid pressed into it, creates a near-perfect seal. Place the pot on the middle rack of a preheated oven set to 300°F (150°C). Do not use a convection setting unless you reduce the temperature by 25°F, because the moving air accelerates evaporation and may dry out the top. This is a low, slow, still-air braise. For those who want to dive deeper into oven accuracy, I’ve found that even a 10°F discrepancy can extend or shorten the braise by 45 minutes — something I cover in my guide to the best ovens for home baking. An oven thermometer left in the corner pays for itself in a single Sunday roast.
Bake undisturbed for at least 3½ hours. Every time you lift the lid, you vent steam and drop the pot’s internal temperature by 20–30°F, which the oven then has to recover. That cycle can add a full 30 minutes to your cook time. Trust the process. After 3½ hours, test by inserting a fork into the thickest part of the roast. If it slides in and twists with only slight resistance, it’s done. If the meat feels springy or fight back, reseal and return for another 30 minutes. The target internal temperature for fall-apart tenderness is 200–205°F (93–96°C), but in practice the fork-tender test is more reliable than a probe, because different roasts break down at slightly different collagen melting points.
5. Resting and Jus Perfection
Carefully transfer the roast to a cutting board and tent loosely with foil. Let it rest for at least 15 minutes — a full 20 is better. During this time, the muscle fibers relax, redistributing their internal moisture. If you slice immediately, that moisture spills onto the board, and you’ll have dry meat. Meanwhile, tilt the pot and skim the fat from the surface of the cooking liquid with a wide spoon. Or pour everything into a fat separator. Taste the defatted jus; if it’s too thin, bring it to a simmer on the stovetop for 5–10 minutes to concentrate. If it’s already nicely viscous, simply adjust salt and pepper. For a glossier finish, whisk in a tablespoon of cold butter off heat — this emulsifies into the liquid and adds a silky body.
Slice the roast against the grain into thick slabs. Arrange on a warm platter, spoon the jus over the top, and serve. The resulting meat should show long, clean strands pulling apart but still holding together on the fork. A clean release from the pot, a deeply savory aroma from the rehydrated onion mix, and a surface with no burnt patches — that’s what a well-managed Dutch oven braise delivers.
Advanced Tweaks and Flavor Variations
Once you’ve nailed the core method, small adjustments can push the dish in fascinating directions. The onion soup mix provides a savory baseline, but a tablespoon of tomato paste added to the aromatic onions caramelizes into a rich, almost Bolognese-like depth. If you stir the paste into the hot vegetables and let it cook for a full minute before adding liquids, you’ll eliminate any raw canned tang and unlock a new layer of umami. Similarly, a splash of red wine — about ½ cup — reduced for two minutes with the aromatics before the broth goes in, contributes acidity that brightens the heavy, fatty notes of the chuck. Just compensate by reducing the total liquid slightly so the roast doesn’t drown.
Herb additions work best with restraint. A single bay leaf and two sprigs of fresh thyme tied together with kitchen twine can be lifted out cleanly before serving. Avoid dried herbs here; the long cooking time extracts bitter compounds from dried rosemary and oregano that fresh versions don’t release. A few whole peppercorns and a star anise pod, if you’re feeling adventurous, add a background note that people won’t identify but will miss when absent. The precision baker in me treats these non-measured additions like an extra pinch of salt in a pie dough — you don’t taste it directly, but the crust flattens without it.
Vegetable choice also matters beyond timing. Waxier potatoes, like Yukon Gold, hold their shape better than starchy russets. Carrots should be scrubbed but not peeled; the skin contains a subtle earthy flavor that complements the deep beefy notes. Celery root, cut into 1-inch cubes and added with the other root vegetables, offers a creamy, aromatic bite that regular celery stalks cannot provide after hours of cooking. Whatever you add, cut pieces to a uniform size. This is the same sizing discipline you’d apply when baking — a mixed-size cake layer leaves you with uneven stacks, and mixed-size vegetables leave you with some crunchy and some disintegrating pieces.
Troubleshooting Your Dutch Oven Braise
Roast tastes dry despite long cooking. This almost always means the heat was too high. Even a 25°F overshoot at 325°F instead of 300°F can wring moisture from the muscle fibers before the collagen finishes melting. Check your oven’s actual temperature and reduce accordingly. A second culprit is an insufficiently sealed pot; if you noticed steaming around the lid edge constantly, too much moisture was escaping. Use the foil trick next time.
Jus is bitter or scorched. Burnt fond is the likely cause. If your searing oil smoked heavily or you saw black specks instead of brown, the pan was too hot. Next time, lower the heat slightly and watch the oil’s shimmer more carefully. A quick fix now: strain the jus through a fine-mesh sieve, add a peeled, halved potato to the liquid, and simmer for 20 minutes. The potato absorbs some of the bitterness. Discard it, taste, and adjust.
Meat stuck badly to the pot during searing. Two possibilities: you didn’t preheat the oil fully, or your pot’s surface has microscopic pitting. Lightly sanding enamel is not recommended; instead, use a bit more oil next time and ensure the roast’s surface was bone-dry. If sticking persists, a well-seasoned bare cast iron Dutch oven may actually perform better for searing, though you lose the acid resistance of enamel for long braises with tomatoes or wine.
Leftovers taste bland the next day. Oddly, onion soup mix braises sometimes need a freshness boost after refrigeration. As the fats solidify and the gelatin firms up, the salt perception drops. Reheat slices gently in a covered pan with a few tablespoons of the defatted jus, and finish with a squeeze of lemon juice or a teaspoon of Dijon mustard stirred into the liquid. The acid reactivates the aromatics.
Frequently Asked Questions
Can I make a pot roast with onion soup mix in the oven without a Dutch oven?
Yes, but you’ll need to compensate for heat loss. A heavy roasting pan sealed tightly with heavy-duty foil can work. Double the foil layer, crimp the edges firmly, and place the pan on the lowest rack. Check liquid levels at the 2-hour mark because foil seals are never as airtight as a cast iron lid. Expect a slightly drier edge. For absolutely no Dutch oven, a slow cooker on low adapted from this method works, but you’ll miss the deep oven-browned top notes.
What cut of beef is best when using onion soup mix as a seasoning?
Chuck roast is ideal, specifically from the chuck shoulder. It has dense connective tissue that transforms into luscious gelatin after hours of braising. Brisket flat can also work, but it tends to be leaner and may need a slightly higher final internal temperature around 205–208°F. Avoid round or rump roasts — they lack enough fat and collagen, and no amount of onion soup mix will create richness that isn’t there. The package label should say “chuck” clearly; a 3-pound boneless chuck feeds four generously.
How can I thicken the braising liquid if it’s too thin after cooking?
Simmer the strained liquid uncovered in a saucepan for 10–12 minutes to reduce by about a third. This concentrates flavors naturally. For a body that coats the back of a spoon, make a slurry using 1 tablespoon cornstarch whisked into 2 tablespoons cold water, then drizzle it into the bubbling jus while whisking. Let it boil for 1 minute to fully thicken and lose any starchy taste. Do not add flour directly — it will clump. A reduction alone often suffices if the temperature stayed steady at 300°F and the lid was tight; too-thin liquid often signals a seal leak or excess added water.