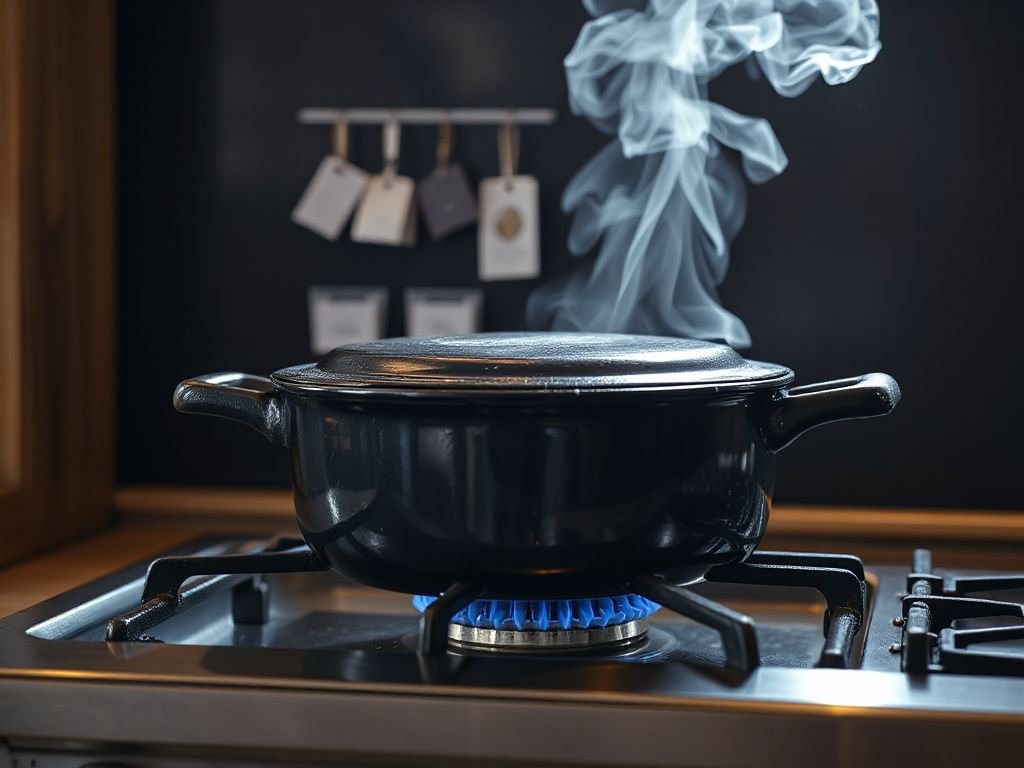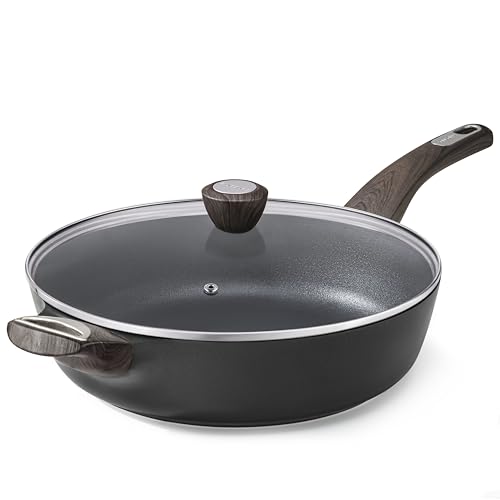
Plenty of expensive ingredients get ruined in a cast iron Dutch oven for one recurring reason: the pot gets treated like any other pot. A Dutch oven isn’t just a heavy vessel—it’s a precision baking environment that can flawlessly brown a chicken or shatter your sourdough dreams if misused. Most mistakes with a pot this heavy come from rushing. The extra 30 seconds to check your setup saves hours of cleanup or regret. Understanding what to cook in a cast iron Dutch oven begins with respecting its unique thermal mass and moisture-sealing lid. Get that right, and you unlock decades of reliable performance.
Key Takeaways
- Versatility spans stove to oven: A single cast iron Dutch oven braises, bakes, fries, and simmers—reducing the need for specialty cookware.
- Moisture control is everything: The heavy lid traps steam for tender meats and springy bread; cracking it open transforms a stew into a reduction glaze.
- Skill scales with heat management: Beginner cooks start with soups; advanced bakers harness precise preheats for crackling sourdough crusts.
In this guide
Beginner-Friendly Dishes to Build Confidence
If you’re new to cast iron cookware, start with forgiving, one-pot meals that highlight heat retention without demanding elaborate technique. The Dutch oven’s thick walls distribute warmth evenly across the entire base, minimizing hot spots that scorch delicate ingredients. A well-seasoned surface also releases food easily after a proper preheat, so your first attempts come out clean.
Hearty Soups and Stocks
Few things showcase a Dutch oven’s ability better than a pot of chicken stock simmering gently for hours. The cast iron’s mass holds a steady 180°F to 200°F bubble, extracting collagen without boiling violently and clouding the broth. Add aromatics, bones, and cold water, then leave the lid slightly ajar. Return two hours later to a kitchen that smells like a farmhouse.
Vegetable soups like butternut squash or tomato basil equally benefit. Sauté onions in oil until translucent, then toss in cubed squash and broth. The lid traps steam, softening fibrous flesh in 25 minutes rather than the 40 a conventional pot needs. Test doneness with the tip of a paring knife—if it slides out without resistance, the soup base is ready for blending.
No-Knead Bread (The Gateway Bake)
My precision baking background finds immense joy in a Dutch oven’s ability to mimic a commercial steam-injected oven. For a first bread, mix 400g bread flour, 300g water, 1g instant yeast, and 8g salt the night before. Cover and forget it. Next morning, the dough will have quadrupled in volume with a shaggy, web-like gluten structure.
Preheat the pot inside a 475°F oven for at least 45 minutes. The cast iron must reach a surface temperature of 500°F—verify with an infrared thermometer. Gently tip the dough onto a floured surface, shape it into a rough ball, and drop it onto a square of parchment. Lower the parchment into the scorching pot, add three ice cubes between the paper and the wall for extra steam, then clamp the lid on. Bake covered for 30 minutes, then uncovered for 15-20 minutes until the crust is deep mahogany. The result is a loaf with an open crumb and a crackling, blistered exterior that rivals any bakery’s.
Baking bread reveals why comparing Dutch ovens to standard cast iron pans matters—a skillet lacks the vertical walls and sealed dome needed to trap steam.
Braised Chicken Thighs
Bone-in, skin-on chicken thighs are practically designed for a Dutch oven. Start by patting the skin completely dry—moisture is the enemy of crispiness. Heat a tablespoon of neutral oil until shimmering, place thighs skin-side down, and do not move them for 7-8 minutes. The rendered fat will audibly sizzle, and the skin will release freely when properly seared. Flip, cook 3 minutes more, then remove the chicken.
Deglaze the fond with a splash of white wine or stock, scraping with a wooden spatula to dissolve the caramelized bits. Add sliced onions, garlic, and a can of diced tomatoes. Nestle the thighs back in, skin facing up, and transfer the whole pot to a 350°F oven. The enclosed heat braises the meat to spoon-tender doneness in 40-50 minutes while the exposed skin continues to crisp. A thermometer plunged into the thickest thigh should read 175°F.
Intermediate Techniques That Elevate Your Cooking
Once you’re comfortable with hands-off recipes, move to dishes demanding more thermal control and layering of flavors. The Dutch oven now becomes a tool for multi-phase recipes where you sear, sauté, and then slow-cook without dirtying extra pans.
Classic Pot Roast with Root Vegetables
A 3-pound chuck roast, generously salted and left at room temperature for an hour, is the ideal canvas. Brown it aggressively on all sides in the Dutch oven—this is where the heavy pot excels, holding heat even after a cold roast hits the surface. The Maillard reaction creates a crust that enriches the braising liquid. Remove the beef and sauté chopped onions, carrots, and celery in the rendered fat until they shrink slightly and take on color.
Stir in two tablespoons of tomato paste and cook until it darkens, about 2 minutes. Pour in a cup of red wine, scraping the bottom clean, then add beef broth to come halfway up the roast. The liquid quantity is critical: too much and you’re boiling, too little and the exposed meat dries out. Tuck in sprigs of thyme, cover, and slide into a 300°F oven for 3 to 3.5 hours. The pot’s natural basting action—condensation dripping from the lid back onto the meat—keeps the surface moist. Add potatoes and carrots during the final hour so they retain shape but absorb the rich jus.
Perfectly Cooked Dried Beans
Canned beans can’t rival the creamy texture of dried beans simmered in cast iron. The even heat prevents the skins from bursting while the interiors turn buttery. Soak beans overnight in salted water—salt at this stage softens the skins rather than toughening them, a persistent myth I’ve debunked through side-by-side tests. Drain, add fresh water to cover by two inches, and bring to a gentle simmer. A lid left askew permits evaporation, thickening the pot liquor into a velvety bean broth as starches release.
Season halfway through cooking with a bay leaf, a dried chili, and a halved onion. Salt at this stage, not the beginning, to avoid leathery skins. Total time varies from 1 hour for lentils to 2-3 hours for chickpeas. The Dutch oven’s steady 200°F simmer is exactly where tough cellulose breaks down without mechanical agitation from boiling.
Deep Frying Without a Deep Fryer
A 5-quart Dutch oven doubles as the safest vessel for home frying. The tall sides minimize splatter, and the thermal mass stabilizes oil temperature when cold food is added. Fill no more than halfway with oil—I use refined peanut oil for its neutral taste and 450°F smoke point. Clip a probe thermometer to the side and heat until the needle hits a steady 350°F to 375°F depending on the recipe.
Fry in small batches to prevent the temperature from plunging, which results in greasy, oil-soaked food. A batch of chicken wings should recover to target heat within 60 seconds if the pot is properly preheated. After frying, let the oil cool completely in the covered pot before straining through cheesecloth. The Dutch oven’s tight lid keeps the house from smelling like a fast-food kitchen.
Advanced Projects for the Ambitious Cook
Now we enter the territory where the Dutch oven becomes an irreplaceable tool for precise, artisan-level dishes. Temperature control, timing, and an intimate knowledge of your specific pot’s behavior separate success from failure here.
Sourdough Boules with a Blistered Ear
A properly preheated Dutch oven is the single most important piece of equipment for home sourdough bakers. No other baking vessel comes close to the oven spring a 5-quart cast iron pot produces, because a thin tin or a glass dish cannot store and re-radiate heat the way several kilograms of iron can. The key is understanding that the pot itself acts as a heat battery, radiating energy from all sides and sealing in the steam that keeps the crust elastic during the first third of the bake.
Preheat the pot at 500°F for a full hour. Cold dough straight from an overnight refrigerator proof goes onto a parchment sling. Score deeply with a lame held at a 30-degree angle—a vertical cut seals immediately, while an angled slash creates a lifting ear. Transfer the dough into the blazing pot and immediately cover. The trapped humidity from the cold dough hits the hot iron and flash-evaporates, creating a steam burst that inflates the gluten network. Bake covered 20 minutes, then uncover and drop temperature to 450°F for 25 more minutes until the crust is deep chestnut. For more on this technique, see our deep dive into baking sourdough in a Dutch oven.
Duck Confit – A Test of Patience
Traditional confit requires submerging duck legs in fat and cooking them at a barely perceptible poach for hours. A Dutch oven’s ability to hold 185°F to 200°F for extended periods makes it ideal. Cure the legs overnight with salt, thyme, and garlic, then rinse and dry thoroughly. Melt duck fat in the pot over low heat—you need enough to fully submerge the legs. Slide in a candy thermometer to monitor the liquid fat’s temperature.
The legs cook for 2.5 to 3 hours until the meat practically falls from the bone. The gentle heat renders tough connective tissue into gelatin without leaching moisture—observe the fat bubbling only intermittently. Remove and chill the legs in the strained fat. When ready to serve, crisp the skin in a hot skillet until it crackles. The confit keeps refrigerated under its fat cap for months.
Deep-Dish Fruit Pie with a Lattice Crust
Few realize a Dutch oven bakes an extraordinary pie. The cast iron radiates bottom heat, eliminating the soggy bottom that plagues glass dishes. Line the cold pot with pastry, fill with macerated peaches or apples, and top with a woven lattice. Bake at 425°F for 20 minutes, then reduce to 375°F for 40 minutes until juices bubble thickly through the gaps.
The lid can be used in reverse as a pedestal under the pot to promote airflow, but I prefer placing the pot directly on a preheated baking steel or stone. The captured steam from the fruit condenses on the underside of the domed lid if you tent with foil early on, which I avoid—open baking allows excess moisture to evaporate, concentrating the filling. A probe thermometer testing the core of the fruit should read above 195°F for fully activated pectin and a clean slice.
Mastering the Dutch Oven for Skillet-Free Cooking
Some recipes bypass traditional stovetop pans entirely by leveraging the Dutch oven’s unique shape and material. These are the dishes that save counter space while delivering restaurant-quality results.
Steamed Mussels with Wine and Herbs
The deep well of a Dutch oven holds two pounds of mussels with room to spare. Sweat shallots in butter, add wine and a splash of cream, then pour in the shellfish. Clamp the lid shut and shake the pot gently. In exactly 4 minutes, every mussel will yawn open, having steamed in a concentrated aromatic bath. The thick iron retains so much energy that the liquid returns to a boil within seconds of adding the cold mussels, a crucial factor for even cooking.
One-Pot Pasta with a Creamy Finish
Measure exactly 4 cups of liquid per pound of dried pasta, toss everything together cold—uncooked noodles, broth, chopped vegetables, and seasonings—and bring to a boil. Stir twice during the 10-minute cook, and the starch released from the pasta combines with the reducing liquid to create a luscious, no-drain sauce. The Dutch oven’s superior heat capacity means the liquid bubbles evenly around every strand, preventing the clumping that bedevils narrower pots.
Low and Slow Caramelized Onions
Five pounds of sliced onions, a tablespoon of butter, and a Dutch oven on the lowest flame. Stir every 15 minutes for about an hour and a half, and you’ll be rewarded with a jammy, mahogany mass. The heavy bottom diffuses heat so gently that the onions release their sugars slowly, never scorching at the edges. Stored under oil in a jar, they’ve been my secret ingredient in everything from sandwiches to scrambled eggs.
When considering which pot to use for these projects, understanding the differences between cast iron and enamel Dutch ovens becomes essential, especially for acidic ingredients that can degrade regular cast iron seasoning.
Frequently Asked Questions
Can I cook acidic foods like tomato sauce in a cast iron Dutch oven?
Limited contact with acidic ingredients is fine for a well-seasoned pan, but long simmering of tomato sauce or wine-heavy stews can strip the seasoning and impart a metallic tang. Enameled cast iron is the superior choice for such dishes. If using bare cast iron, avoid simmering acidic food for more than 30 minutes and re-season the pot afterward with a thin layer of oil baked at 450°F for an hour.
What’s the best way to clean a Dutch oven after baking bread without ruining the seasoning?
Brush out any burnt flour particles with a stiff nylon brush while the pot is still warm. For stubborn spots, add a cup of water and simmer covered for 5 minutes to steam-loosen residue. Never use soap, steel wool, or a dishwasher—those strip the polymerized oil layers that form the nonstick surface. Dry immediately on a low burner and rub a few drops of flaxseed oil into the interior.
Is it safe to refrigerate food inside the Dutch oven overnight?
Yes, provided the pot has cooled completely before refrigeration to avoid thermal shock. However, I recommend transferring food to glass or plastic containers first. Condensation inside the fridge can lead to surface rust on bare cast iron if the pot isn’t dried promptly after removal. An enameled Dutch oven handles this better, but food odors may linger in the lid’s porous edge.
Why does my no-knead bread always burn on the bottom?
This usually happens when the pot is preheated directly on the oven floor or the lowest rack, or when the oven runs hotter than indicated. Use an oven thermometer to verify actual temperature. Place a small baking sheet on the rack below the Dutch oven to deflect direct heat. Adding a tablespoon of cornmeal to the parchment before loading the dough also insulates the bottom crust.