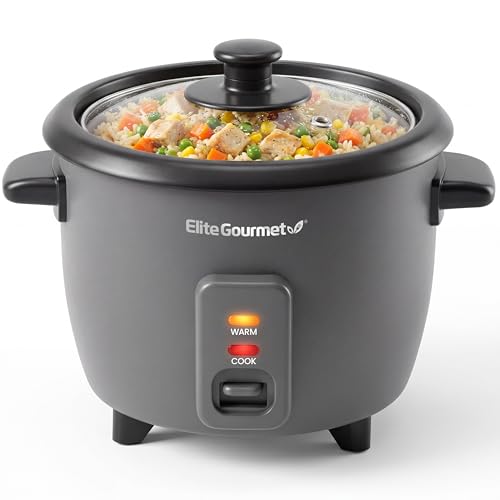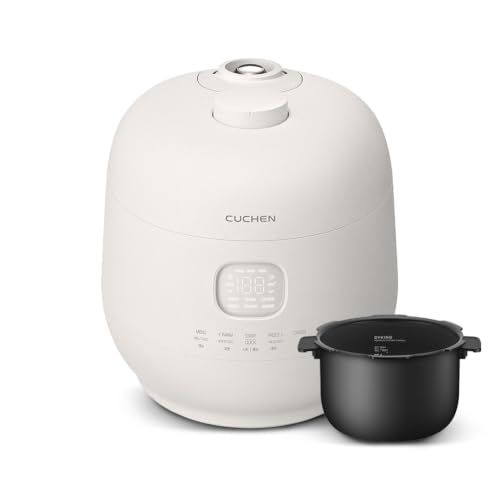
Why does the same scoop of brown rice turn out firm in one rice cooker and wet in another? The practical distinction is between rice variety and cooker program: brown rice’s bran layer changes how quickly the grain absorbs water, but the correct amount also depends on the cooker’s heating and sensing behavior. A reliable guide should treat the manufacturer’s brown-rice markings as the starting point, then explain how rinsing, soaking, batch size, resting, and the desired texture affect the result instead of claiming one fixed ratio works for every cooker. This guide focuses on brown rice in a rice cooker, with special attention to texture, residue, dishwasher-safe parts, and the cleaning work left behind.
Key Takeaways
- Start with the cooker’s brown-rice water line, then adjust for variety, soaking, and texture.
- Use the brown-rice program when available; the regular setting usually takes about 45 minutes to 1 hour.
- Clean the inner pot, lid, and steam vent promptly because bran residue can cling more heavily than white-rice starch.
In this guide
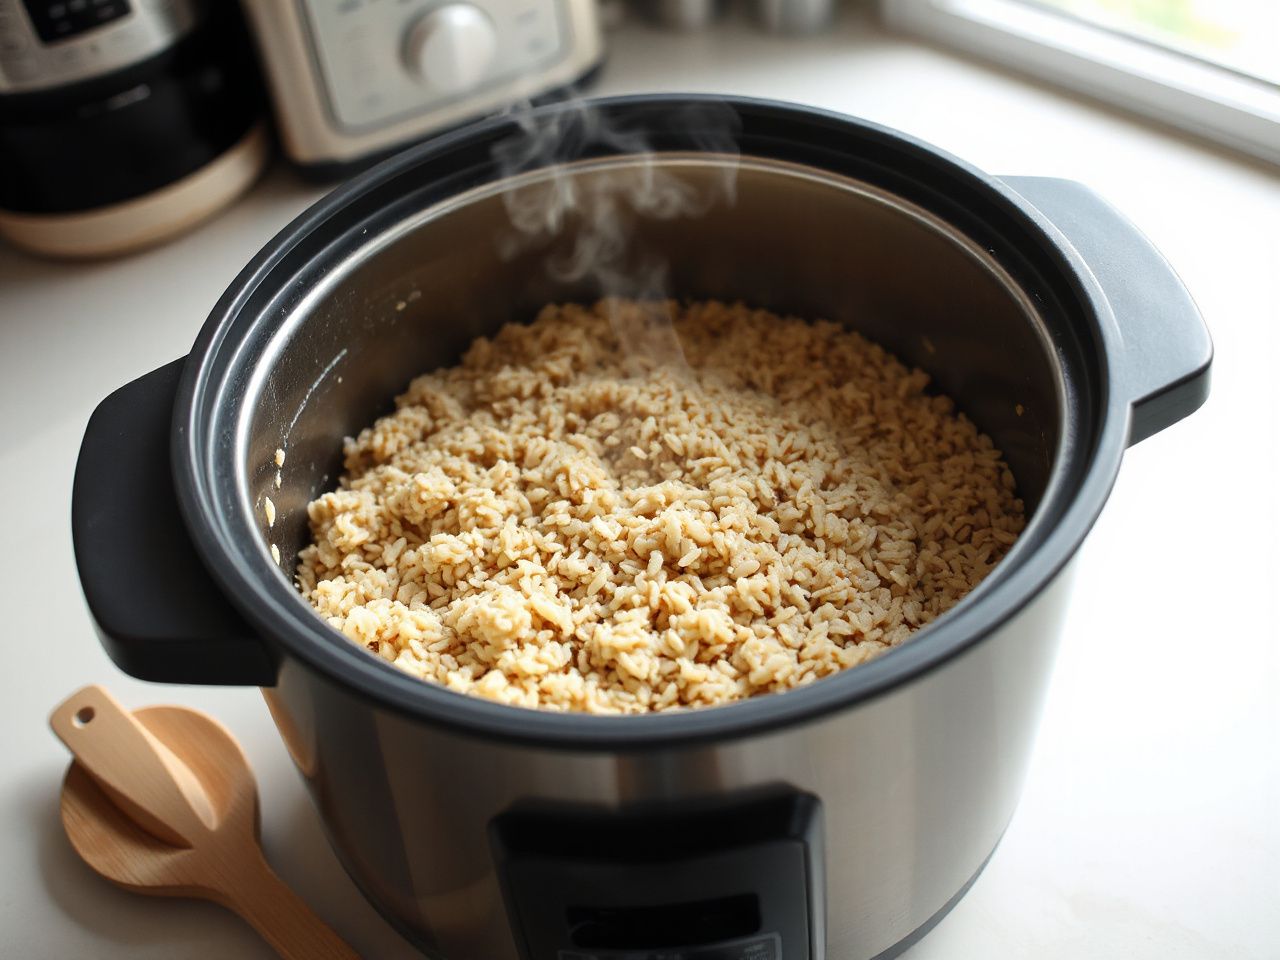
Brown Rice in a Rice Cooker: The Basic Method
Brown rice keeps its bran layer, so the grain hydrates more slowly than white rice. That layer changes the cooking task before the heating system even starts. Long-grain brown rice tends to remain more separate, while short-grain brown rice usually produces a softer, more cohesive spoonful. Amylose content also affects how firm or sticky the cooked grain feels, so a water setting that suits one variety may not deliver the same texture with another.
The cooker’s program matters just as much as the grain. A brown-rice cycle may include a longer soaking phase or a different heating profile rather than simply applying more heat. A rice cooker that uses fuzzy-logic control can also adjust its cycle around sensed conditions, while a basic cooker may follow a simpler heat-and-switch pattern.
Step 1: Measure the rice and water
Use a dry measuring cup for the rice and a liquid measuring cup for water. As a practical starting point, combine 1 cup of brown rice with 1 2/3 cups of water when the cooker does not provide a clear brown-rice line. For softer rice, 1 3/4 cups of water per 1 cup of rice is the stated adjustment.
Those figures are starting points, not a universal guarantee. Water requirements vary with brown-rice variety, the age of the rice, soaking, batch size, and cooker design. The manufacturer’s marked brown-rice line should take priority because the line reflects the heating and sensing behavior of that particular inner pot and appliance.
One dry measuring cup of short-grain brown rice weighs 191 grams, while one dry measuring cup of long-grain brown rice weighs 178 grams. The difference is a useful reminder that volume does not describe every grain in exactly the same way.
Step 2: Rinse, then decide whether to soak
Place the rice in a stainless steel strainer and rinse it until loose bran dust and surface starch are reduced. Rinsing is not the same as soaking. It removes material from the grain’s surface, while soaking gives water more time to enter the bran-covered kernel before the main cooking phase.
Soaking brown rice for 10 to 30 minutes can improve hydration, especially when the regular rice setting is the only available program. Drain the rice thoroughly afterward. Water that remains in the bowl or strainer becomes part of the cooking liquid, so adding the full amount again can leave the finished rice wet.
Step 3: Choose the correct program
Select Brown Rice when the control panel provides that option. Brown rice requires a longer hydration period than white rice, and a dedicated program may build that extra time into the cycle. If the cooker has no brown-rice setting, the normal setting can still work; 1 cup of brown rice generally finishes in 45 minutes to 1 hour on that setting.
Do not judge readiness by the clock alone. A program designed for white rice may switch earlier because its assumptions suit a grain with less bran. The finished rice should be assessed after the programmed cycle and resting period, not by forcing the lid open repeatedly during cooking.
Step 4: Rest, loosen, and serve
Allow the cooked rice to sit with the lid closed for a short resting period before fluffing. The remaining steam helps moisture distribute through the batch. Use the cooker’s rice paddle or another utensil that will not damage a PTFE nonstick coating.
Fluff from the edges toward the center rather than scraping forcefully across the bottom. That method separates the rice while reducing the chance of lifting a compacted or scorched layer into the serving bowl.
A rice cooker’s brown-rice program is designed around the slower hydration of bran-covered grains. That program is usually a better starting point than the white-rice setting when both options are available.
Choosing the Grain and Adjusting the Water
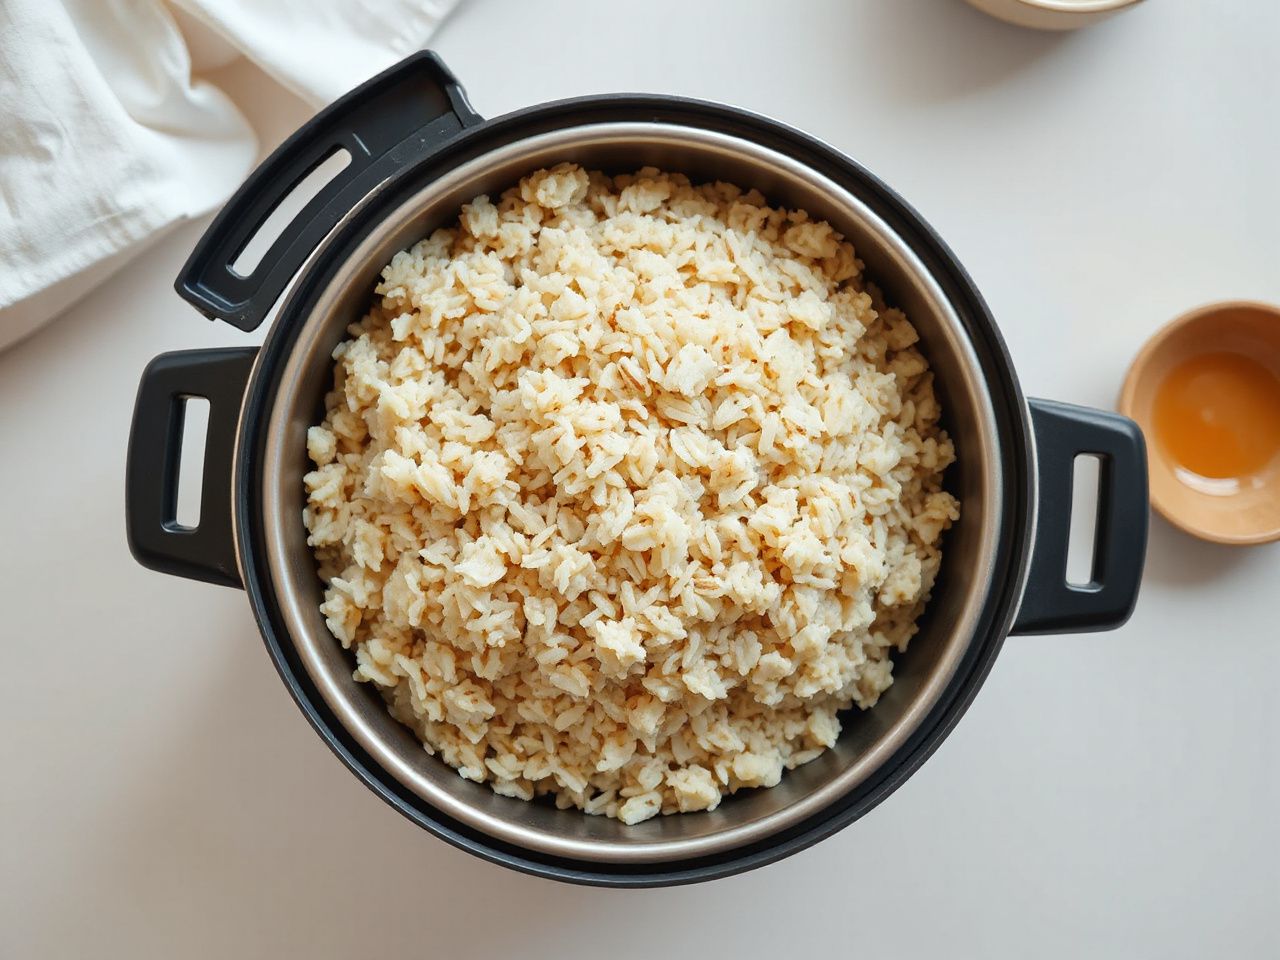
Long-grain brown rice
Long-grain brown rice is the straightforward choice for a loose, separate texture. The verified starting ratio for one dry measuring cup is 10 fluid ounces of water, which is also the stated ratio for short-grain brown rice. The identical water volume does not mean the finished texture will be identical; grain shape and amylose content still influence how the rice eats.
For a more detailed look at the aromatic version, see what changes when brown basmati rice is cooked in a rice cooker. Basmati belongs in the long-grain discussion, but its texture and aroma deserve separate handling from ordinary long-grain brown rice.
Short-grain brown rice
Short-grain brown rice tends to produce a more cohesive texture. One dry measuring cup weighs 191 grams, compared with 178 grams for long-grain brown rice, so measuring by volume does not remove every variable. If the grains come out too firm, use the softer-water guidance rather than making a large change at once.
Short-grain brown rice is useful for bowls and dishes where the grains need to hold together. It can also leave more starch and bran residue around the lid and vent, which makes cleanup more important.
GABA brown rice and specialty programs
GABA brown rice is associated with a preparation that may require a dedicated appliance program. Do not assume that a standard brown-rice cycle has the same soaking or heating behavior as a GABA setting. Follow the markings and instructions supplied with the cooker for that mode.
The same caution applies to mixed-grain rice and wild rice. A program calibrated for ordinary brown rice may not account for grains with different sizes, shells, or hydration rates. Keep the total load below the cooker’s brown-rice or overall capacity marking.
Should white rice and brown rice share one pot?
Cooking brown and white rice together is difficult because the grains do not hydrate at the same rate. Brown rice needs more time, while white rice can become soft before the brown grains finish. Separate cooking is the dependable method.
Vegetables and beans create a similar problem. They add bulk and water at different rates, and they can interfere with the cooker’s sensing behavior if the load becomes too dense. If a recipe specifically gives a mixed-rice method for your cooker, follow that method; otherwise, cook the brown rice separately and combine it afterward.
Why Texture Goes Wrong
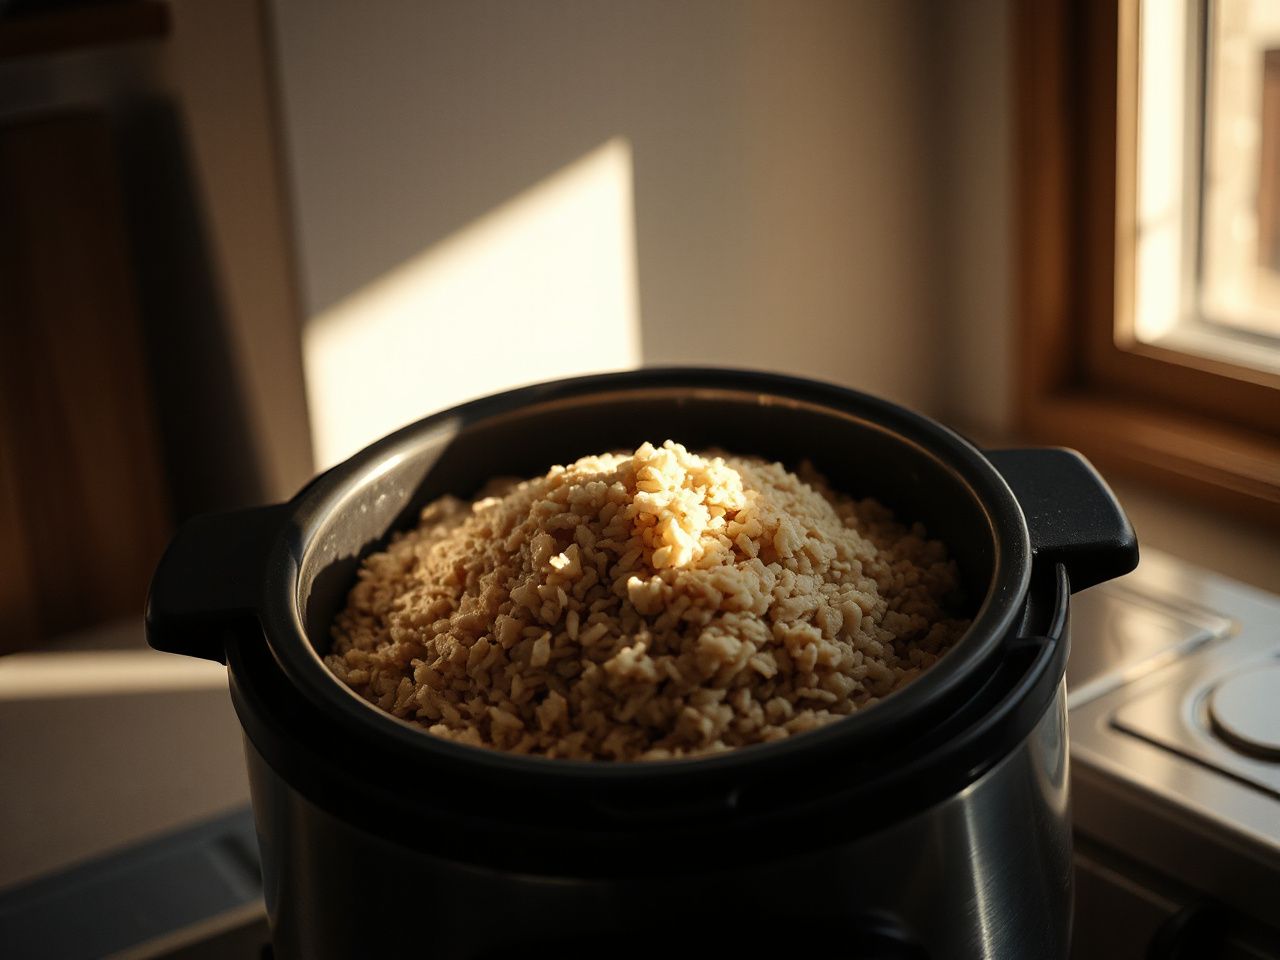
Hard or chewy brown rice
Hard rice usually points to insufficient hydration, an unsuitable program, an incorrect water line, or a batch that was opened before the cycle and rest were complete. The bran layer slows water movement into the grain, so a white-rice method can leave brown rice underdone.
- Use the cooker’s Brown Rice setting if one exists.
- Check whether the rice was rinsed and drained without accidentally removing part of the intended cooking water.
- For the next batch, move from 1 2/3 cups toward 1 3/4 cups of water per cup of rice if softer rice is wanted.
- Try a 10-to-30-minute soak and drain it well before cooking.
A cooker that repeatedly produces hard rice may be using a white-rice cycle that ends too soon for the grain. The appliance’s model-specific markings and instructions should settle that question before further ratio changes.
Wet or mushy brown rice
Wet rice commonly results from excess liquid, undrained soaking water, a small batch in a cooker calibrated for a different load, or opening the lid before steam has redistributed. Additions such as broth, vegetables, or beans also change the liquid balance.
Reduce changes gradually. If you soaked the rice, drain it fully and return to the marked line. Avoid compensating for a wet batch by switching immediately to a very low water amount, because the next batch may become hard around the center.
Unevenly cooked rice
Uneven rice can come from an overloaded pot, an uneven bed of grains, mixed varieties, or a water measurement that does not match the cooker’s cup markings. Brown rice should sit level in the inner pot. The cooker should never be filled above its brown-rice or total-capacity marking.
Use one rice variety per batch while adjusting the method. Once the texture is consistent, mixed grains can be approached as a separate recipe rather than treated as a small variation of plain brown rice.
Sticking and scorching at the bottom
A compact layer at the bottom can form when the rice settles against the heated surface after the available water has been absorbed. A small batch may also spread thinly across the base, while a large batch may cook unevenly near the edges. Salt, broth, and dense additions can further change how the grains contact the pot.
Do not scrape a hot PTFE nonstick coating with a metal spoon or fork. Let the pot cool, soak residue with water, and use a soft sponge or the utensil guidance supplied by the manufacturer. If the cooker has a stainless inner pot, residue may require more rubbing, but abrasive pads can still leave scratches.
Brown rice sticking is not automatically a cooker failure. The bottom layer is often a sign that water, batch size, program, or surface care needs attention.
How a Rice Cooker Knows Brown Rice Is Done
A basic rice cooker generally relies on the relationship between heat, water, and the temperature at the inner pot. While free water remains, the pot stays near the boiling range; once the water has been absorbed or evaporated, the temperature changes and the cooker can switch modes. More advanced controls may use fuzzy-logic control to adjust the cycle around those sensed conditions.
That explanation does not mean every cooker uses the same sensor, algorithm, or program. Pressure cooking changes the environment by raising pressure and allowing water to reach a higher temperature, so a pressure cooker follows a different process from a standard rice cooker. The appliance’s manual remains the authority for program selection and capacity.
The cooker may switch to keep-warm after sensing that the cooking phase is complete, but keep-warm is not a substitute for prompt food handling. Cooked rice should not remain warm or at room temperature indefinitely because Bacillus cereus can multiply in improperly handled rice.
Rice cooker, saucepan, or pressure cooker?
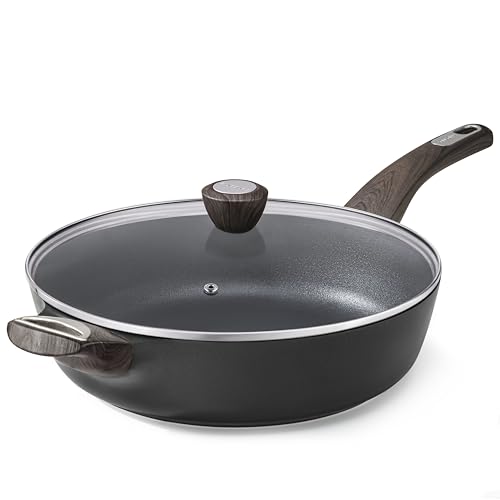
A saucepan gives the cook direct control over the simmer and evaporation, but it requires active attention. A rice cooker automates the heat transition and keeps the cooking vessel contained. Pressure cooking changes cooking conditions again and may shorten the process, but it requires following the pressure cooker’s own instructions for liquid, release, and capacity.
For a cleanup-conscious kitchen, the appliance’s parts matter as much as the cooking method. A rice cooker with a removable inner pot and detachable lid components is easier to maintain than one with residue trapped around a fixed lid or vent. The listing should state which pieces are dishwasher-safe; if it does not, assume hand washing is required until the manufacturer confirms otherwise.
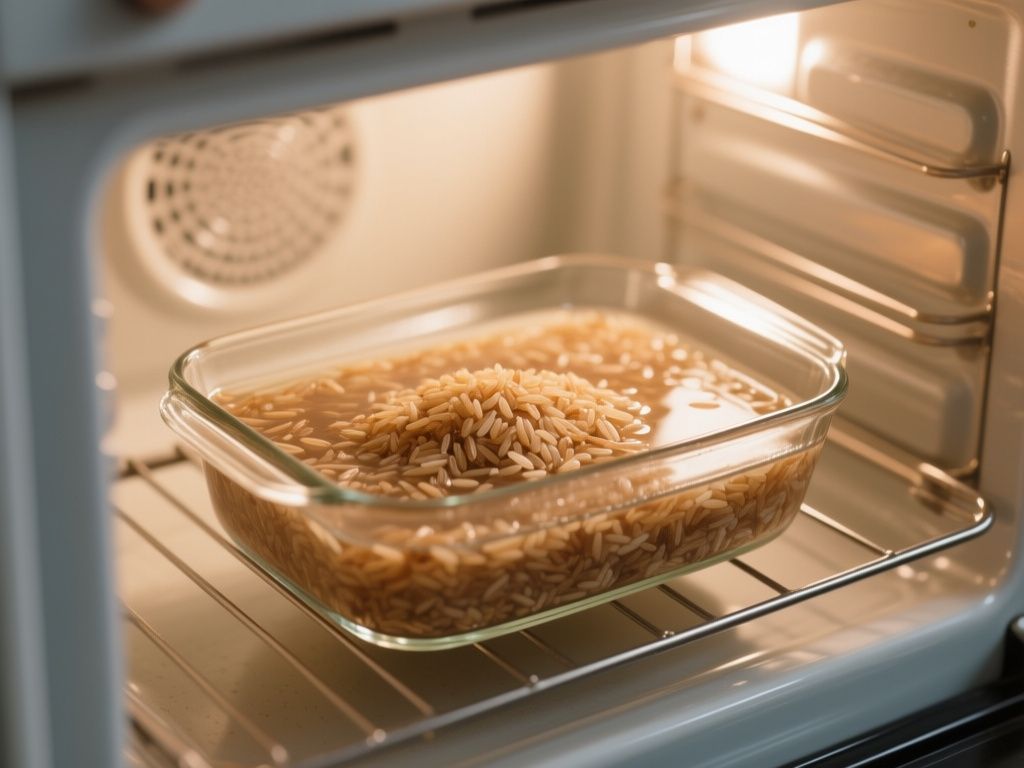
For an alternative method using a conventional oven, this brown rice oven method overview helps clarify what changes when the cooker no longer controls the heat automatically.
Cleanup That Prevents Brown-Rice Residue
Clean the inner pot first
Remove the inner pot and let it cool before washing. Brown-rice residue contains bran and starch, so dried patches can cling more firmly than the film left by white rice. Warm water and a soft sponge are the sensible first tools.
Never assume the pot is dishwasher-safe because the cooker has a removable bowl. The pot’s coating and the manufacturer’s care instructions determine whether a dishwasher is permitted. A PTFE nonstick coating needs particular care because scratching the surface can make future cleaning harder.
Wash the lid and steam vent
Inspect the underside of the lid, the steam vent, and any removable steam cap after every brown-rice batch. Bran dust can collect in narrow openings and later fall into the next batch or obstruct steam release. Remove only the parts designed to detach.
Dishwasher-safe status must be confirmed piece by piece. The lid, gasket, vent cap, condensation collector, and inner pot may have different care instructions. If the listing does not identify a component as dishwasher-safe, hand wash it with mild detergent and dry it fully before reassembly.
Clean the cooker body safely
Unplug the cooker before wiping the exterior and heating area. Keep water away from electrical controls and the base. The heating plate should be wiped rather than submerged, and any grain that falls beneath the pot should be removed before the next use.
The U.S. Consumer Product Safety Commission provides consumer guidance for household appliance safety, including safe handling around electrical products. A cooker should be dry on the outside and correctly reassembled before it is plugged in again.
For food-contact and food-safety information, the U.S. Food and Drug Administration is the appropriate government body to consult. Rice handling also deserves attention after cooking: transfer leftovers to a sealed container, cool them promptly, and refrigerate them rather than leaving them at room temperature indefinitely.
Storage and reheating
Cooked brown rice can be kept in an airtight container in the refrigerator for up to 1 week. It can also be stored in a freezer-safe bag for up to 1 month. Labeling the container with the cooking date makes the limit easier to follow.
Keep the cooker’s keep-warm function for short, deliberate holding rather than indefinite storage. Reheat only the portion needed, and discard rice that has been handled or stored in conditions you cannot verify.
Practical Adjustments for Better Results
For a firmer bowl
Begin with the marked line or the 1 2/3-cup starting ratio. Rinse the rice, drain it well, and avoid soaking unless the grains remain hard after the first batch. Long-grain brown rice is usually the more natural fit for a separate, firm texture.
For softer brown rice
Use the Brown Rice program and consider the 1 3/4-cup water guidance per cup of rice. A 10-to-30-minute soak can also help, but drain the soaking water before measuring the final cooking liquid. Short-grain brown rice may feel softer and more cohesive even when the measured water is the same.
For a small batch
Small batches can spread across the bottom of the pot and cook differently from a fuller load. Use the cooker’s minimum and maximum markings as limits, and do not assume that scaling a ratio down produces the same result in every appliance. The manufacturer’s instructions should control whenever they differ from a general ratio.
For flavor without upsetting the balance
Salt or broth can add flavor, but broth counts as liquid. A recipe such as brown rice prepared with chicken broth in a rice cooker needs the broth included in the total liquid rather than poured in addition to the full water amount.
Keep added ingredients light while dialing in the plain rice method. Once the grain, water, and program are reliable, seasonings can be changed without confusing a flavor problem with a hydration problem.
Frequently Asked Questions
How much water should I use for brown rice in a rice cooker?
Start with the cooker’s marked brown-rice line. If no line is provided, use 1 2/3 cups of water for 1 cup of brown rice, or 1 3/4 cups for a softer result. Variety, soaking, rice age, batch size, and cooker design change the outcome. Drain soaked rice first, because retained soaking water contributes to the final liquid.
Should I use the Brown Rice setting or the regular setting?
Use the Brown Rice setting when the cooker has one because brown rice hydrates more slowly than white rice. The dedicated program may include a longer soaking phase or another heating profile. Without that setting, the normal program can work, and 1 cup generally takes 45 minutes to 1 hour. Texture, not the clock alone, determines whether the method suits your cooker.
Why does brown rice come out hard, chewy, wet, or uneven?
Hard rice usually needs more hydration, soaking, or a longer program. Wet rice often contains excess liquid from soaking, broth, or an overfilled pot. Uneven rice can result from mixed varieties, an uneven layer, or a batch outside the cooker’s intended markings. Change one factor at a time so the cause remains clear.
How should I clean and store cooked brown rice?
Wash the inner pot, lid underside, steam vent, and removable accessories after the cooker cools. Confirm dishwasher-safe status for each part rather than assuming all removable pieces qualify. Store cooked rice in an airtight container in the refrigerator for up to 1 week or in a freezer-safe bag for up to 1 month, and avoid indefinite room-temperature holding.