

I’ll be honest with you. I was not always a banana pudding person.
Traditional cooked custards always felt too heavy to me. Too dense. Sometimes weirdly artificial in a way I couldn’t quite put my finger on. I’d eat a spoonful, shrug, and move on.
Then I tried this version.
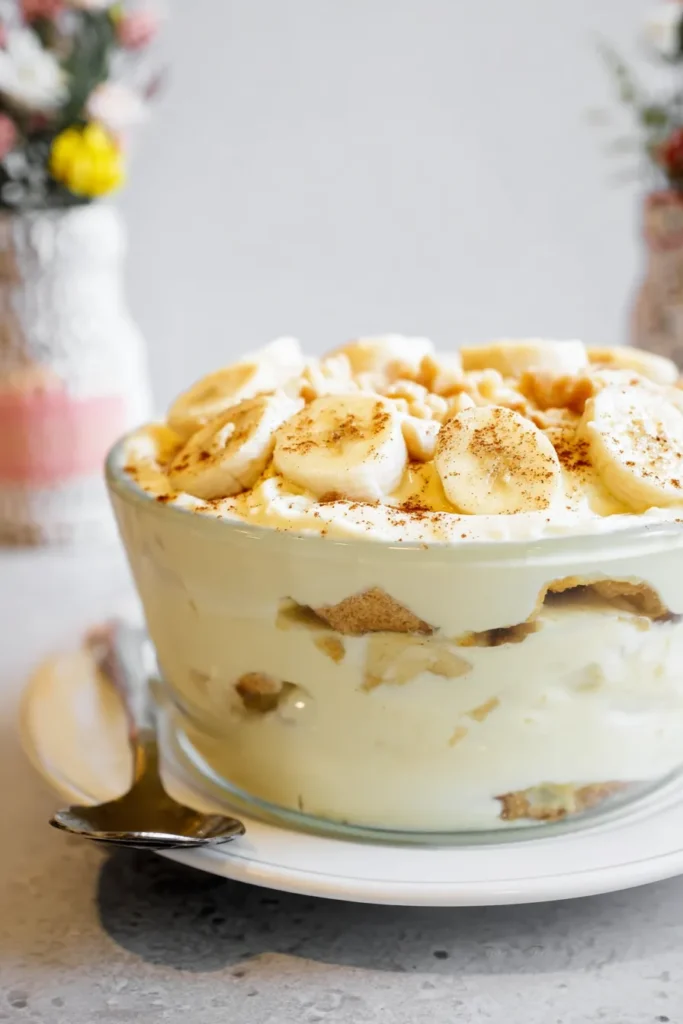
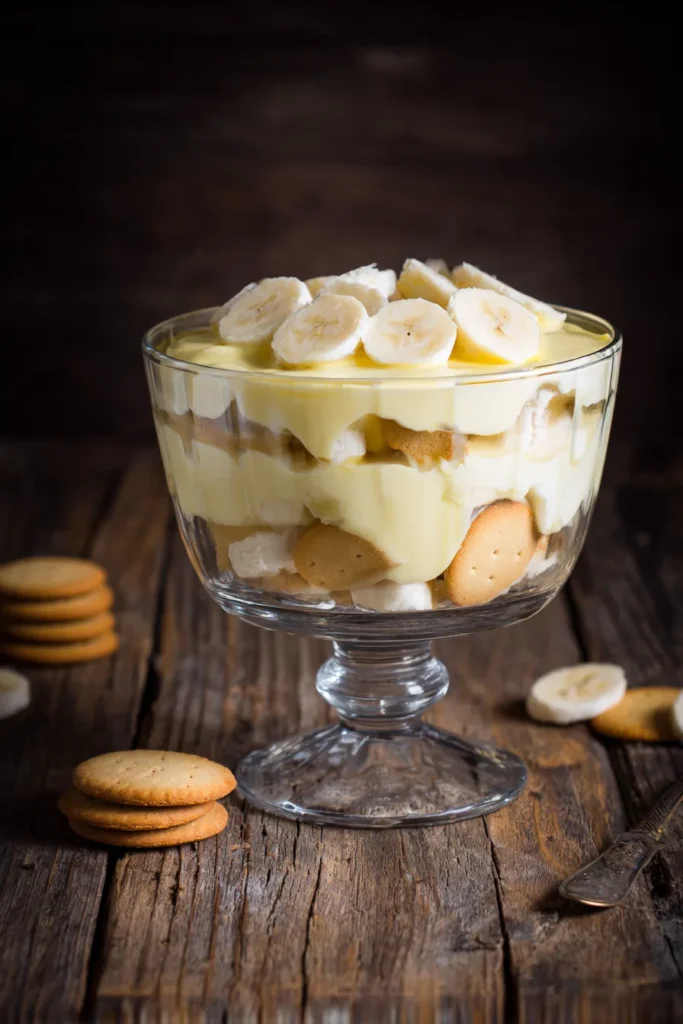
Everything changed with that first bite. The texture was light. Airy. Almost cloud-like in a way that felt too good to be true for a dessert this simple. It had this perfect balance of sweet creaminess and fresh fruit brightness that I had never tasted in a banana pudding before.
I immediately knew I had to figure out how to make it at home.
Today, I’m walking you through every single step of this legendary copycat recipe. No culinary degree needed. No complicated techniques. Just a handful of store-bought ingredients and a little patience.
Prep Time: 10 minutes | Cook Time: 15 minutes | Total Time: 25 minutes Servings: 4 | Difficulty: Easy
The Secret Behind That Magical Texture
Here’s what makes this pudding different from every other recipe you’ve seen.
We skip the traditional warm egg-based custard entirely. Instead, we use a cold-set method that guarantees silkiness every single time. Combining instant pudding mix with rich sweetened condensed milk creates an ultra-thick, luscious base. The ice-cold water dissolves the crystals quickly without activating any gummy starches.
The result? A cream that is firm enough to hold clean layers but soft enough to melt on your tongue.
But the ingredients matter a lot here. Let me be specific about a few things before we start.
The cream: Use heavy whipping cream with at least 36% fat content. Anything less won’t hold stable peaks, and your layers will slide into each other.
The water: It must be thoroughly chilled. Not cool. Cold. Ice-cold liquid is what helps the instant mixture set into a firm, sliceable cream.
The bananas: This one is more important than most people realize.
Look for bananas that are fully yellow with just the tiniest hint of green at the stems. They should feel firm when you press them gently. Avoid anything with large dark bruises or deep brown patches.
Overly ripe bananas will turn mushy inside the layers and release too much liquid. Under-ripe bananas won’t have the sweetness or fragrance you want. The right banana sits right in that sweet spot, and it makes all the difference in the final flavor.
Chef’s Pro Tip: Chill your mixing bowl and metal beaters in the freezer for ten minutes before whipping the heavy cream. Cold tools help fat molecules trap air much faster, giving you stable, voluminous peaks with less effort.
What You’ll Need
Here’s a clean breakdown of every ingredient and exactly why it belongs in this recipe.
| Ingredient | Quantity | Notes |
|---|---|---|
| Sweetened condensed milk | 1 can (14 oz) | Provides a rich, sweet, velvety foundation |
| Ice cold water | 1¼ cups (297ml) | Must be thoroughly chilled to help the pudding set |
| Instant vanilla pudding mix | 1 box (3.4 oz) | Make sure it says instant, not cook-and-serve |
| Heavy whipping cream | 3 cups (704ml) | Use real dairy cream with at least 36% fat |
| Nilla Wafers | 1 box (12 oz) | Classic vanilla cookies that soften into delicious cake-like layers |
| Sliced bananas | 4 cups | About 5 to 6 medium, perfectly ripe bananas |
Let’s Make the Pudding Base
Pour the entire can of sweetened condensed milk into a medium mixing bowl. Add your measured ice-cold water directly into the thick, sweet milk. Then pour the instant vanilla pudding powder gently over the surface of the liquid.
Grab a hand mixer or a sturdy wire whisk.
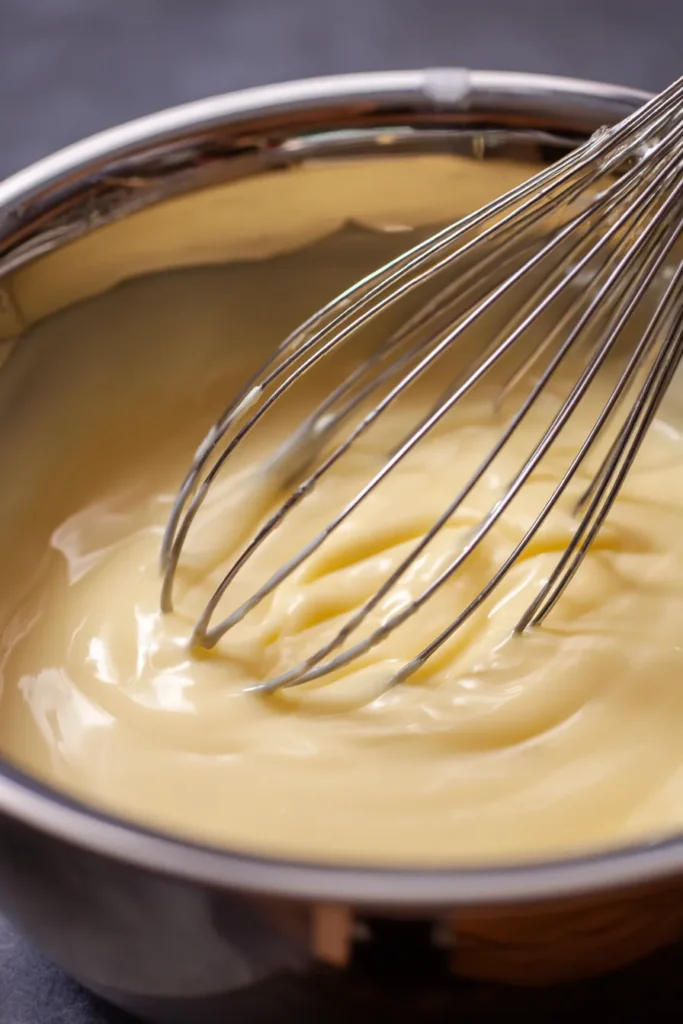
Beat on medium speed for about two full minutes. You want every bit of powder completely dissolved into the liquid. Scrape the sides of the bowl with a silicone spatula as you go. The liquid will transform quickly into a smooth, fragrant, pale yellow cream that smells absolutely wonderful.
Cover the bowl tightly with plastic wrap to prevent a skin from forming on top. Then put it in the refrigerator for at least three to four hours.
Here’s the thing though. If you can leave it overnight, do it. The extended rest allows the starches to swell and firm up beautifully. A firm base is critical for holding up those heavy layers of fruit and cookies later. If the pudding is still soft when you go to assemble, your dessert will collapse into a soupy mess.
Patience here pays off in a big way.
Whipping the Cream
Once your pudding base is firmly set, it’s time to handle the whipped cream.
Pour your chilled heavy whipping cream into a separate large, cold mixing bowl. Turn your mixer to high speed and beat with steady motions. Watch it carefully as it transitions from loose liquid to soft ripples to thick, billowy mounds.
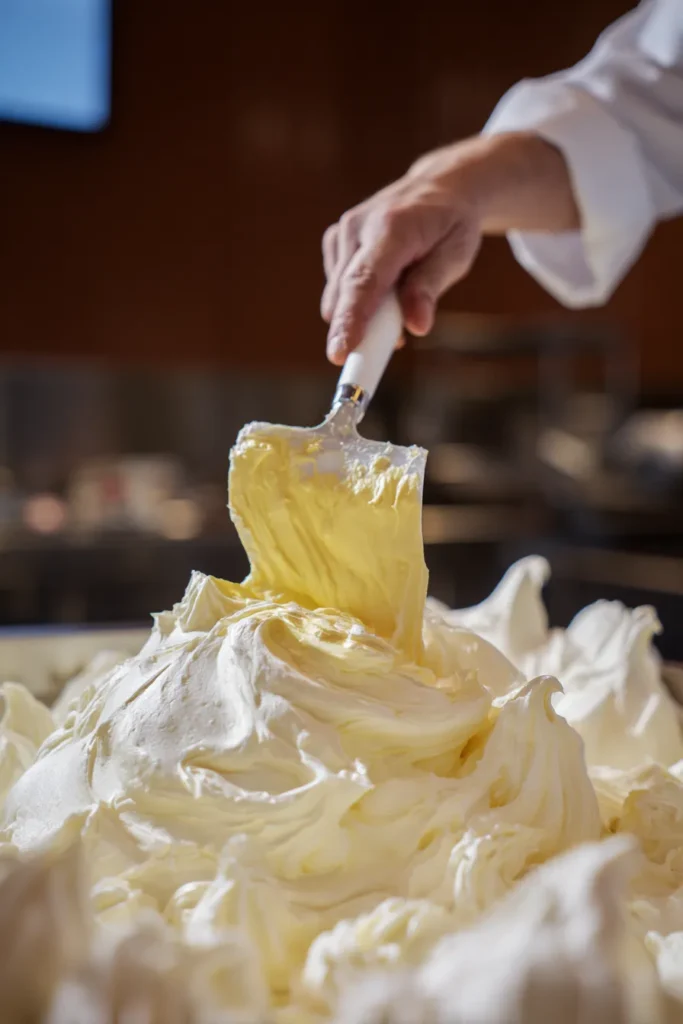
Keep beating until the cream holds stiff peaks that stand straight up without drooping.
Stop right there.
Overmixing even by thirty seconds can turn your beautiful whipped cream into chunky yellow butter. It happens fast. Keep an eye on it.
The Folding Technique That Changes Everything
Now we bring both mixtures together using a classic bakery folding technique. This step is where most people go wrong.
Spoon your firm, chilled pudding base into the large bowl of freshly whipped cream. Do not stir it. Stirring will knock out all the trapped air you worked so hard to build.
Instead:
- Cut straight down through the center of the bowl with your rubber spatula
- Sweep along the bottom and lift the mixture upward and over in one smooth motion
- Rotate the bowl slightly after each stroke
Continue folding until no white streaks remain. The final result should look like a voluminous, velvety vanilla mousse. Light. Uniform. Absolutely gorgeous.
Now slice your bananas into rounds about a quarter-inch thick. Keep the slices even for a balanced bite and a cleaner look through the glass.
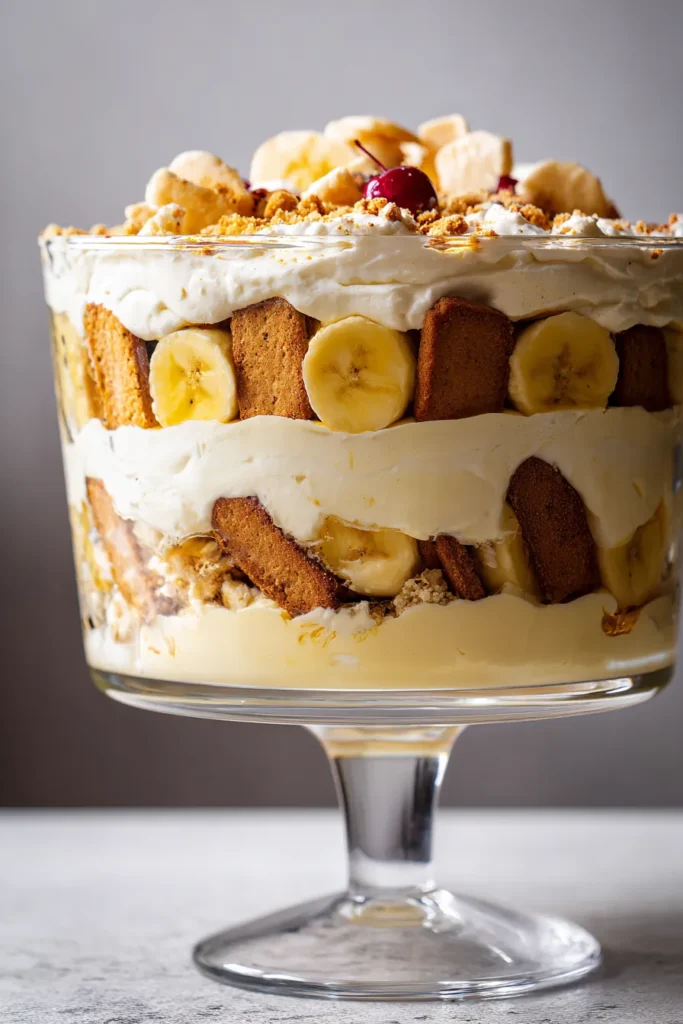
Building the Layers
Grab a large, deep glass bowl or a classic trifle dish. We’re building this in a simple repeating three-tier structure.
Layer One:
- One-third of your vanilla wafers across the bottom, overlapping slightly to create a solid floor
- One-third of your fresh banana rounds on top of the cookies
- One-third of the vanilla cream mixture spread evenly over the bananas, pressing gently to seal against the glass edges
Repeat that sequence two more times.
Finish by sprinkling a handful of crushed wafer crumbs over the top surface. It looks beautiful and gives a little textural hint of what’s hiding underneath.
The Final Chill (Don’t Skip This)
Your pudding is assembled. But it’s not ready yet.
Cover the dish tightly with plastic wrap and return it to the refrigerator for at least four more hours. This second chill is where the real magic happens.
The dry vanilla wafers absorb moisture from the cream layers and transform completely. They lose their snap and become soft, delicate, cake-like bites. The banana flavor spreads throughout every inch of the dessert. All the separate components meld into one cohesive, sliceable, deeply satisfying comfort food.
I recommend serving within eight hours of assembly for the very best results. Beyond that, things start to change.
After about 48 hours in the refrigerator, the bananas begin to oxidize and release dark moisture. That liquid bleeds into the cream and turns it grey and runny. The wafers get oversaturated and lose their texture. The whole thing falls apart visually and texturally.
This is a dessert meant to be made fresh and enjoyed quickly. That’s part of what makes it special.
Fun Variations Worth Trying
The classic version is hard to beat. But here are a few fun ways to mix things up:
- Swap the cookies: Try thin, buttery shortbread biscuits instead of Nilla Wafers for a richer, more delicate layer
- Make individual jars: Assemble the layers inside small half-pint mason jars for single servings. They look charming on a party table, prevent messy scooping, and keep the fruit better sealed from the air
Frequently Asked Questions
Can I freeze this banana pudding to make it last longer?
Please don’t. Freezing and thawing completely destroys the structure of the whipped cream. The bananas turn brown, mushy, and watery. The whole dessert becomes unrecognizable after a freeze-thaw cycle.
Can I use cooked vanilla pudding mix instead of instant?
No, and this matters. Cooked pudding requires heat to set properly and has a completely different chemical structure. Instant pudding thickens when mixed cold with condensed milk and water. That’s the entire foundation of this recipe. Use instant.
How do I keep my banana slices from turning brown?
The best method is to completely submerge each slice within the thick cream layers during assembly. Cutting off oxygen contact slows oxidation significantly. You can also toss the slices gently in a tablespoon of fresh lemon or orange juice beforehand for extra protection.
Can I use frozen whipped topping instead of heavy cream?
You can in a pinch. But real heavy whipping cream gives you a richer flavor and a much cleaner mouthfeel. If you want this to taste like a bakery made it, use the real thing.
Now you have everything you need to bring this legendary New York dessert straight to your own kitchen.
Make it for a gathering. Make it for a quiet Sunday. Make it just because you deserve something genuinely wonderful this week.
Watch the faces of the people you love when they dig their spoons into those soft, creamy, cake-like layers for the very first time.
Happy cooking. Enjoy every single bite.

Legendary Copycat Banana Pudding
Ingredients
Method
- In a medium bowl, combine sweetened condensed milk and ice-cold water. Pour instant pudding mix over the top and beat on medium speed for 2 minutes until smooth.
- Cover tightly and refrigerate for at least 3-4 hours (overnight is best) until firmly set.
- In a chilled bowl, beat heavy whipping cream on high speed until stiff peaks form. Be careful not to overmix.
- Gently fold the pudding base into the whipped cream using a spatula until uniform.
- In a trifle dish, layer one-third of the cookies, one-third of the bananas, and one-third of the cream. Repeat the process two more times.
- Sprinkle crushed wafers on top. Cover and refrigerate for at least 4 hours before serving to allow cookies to soften.