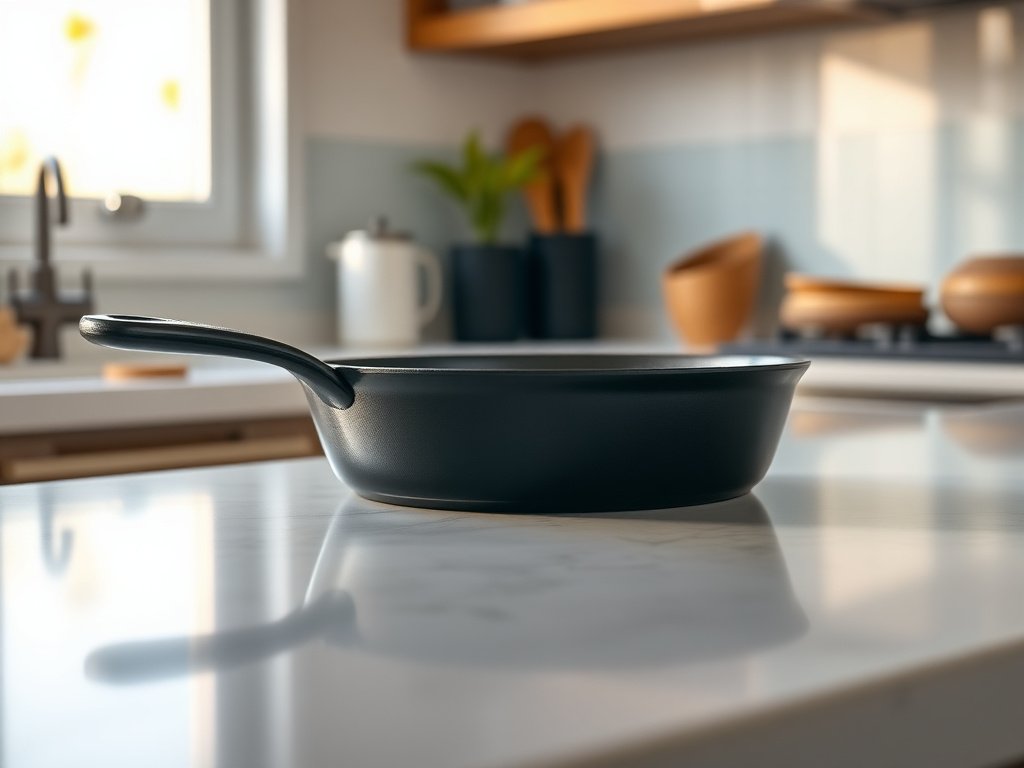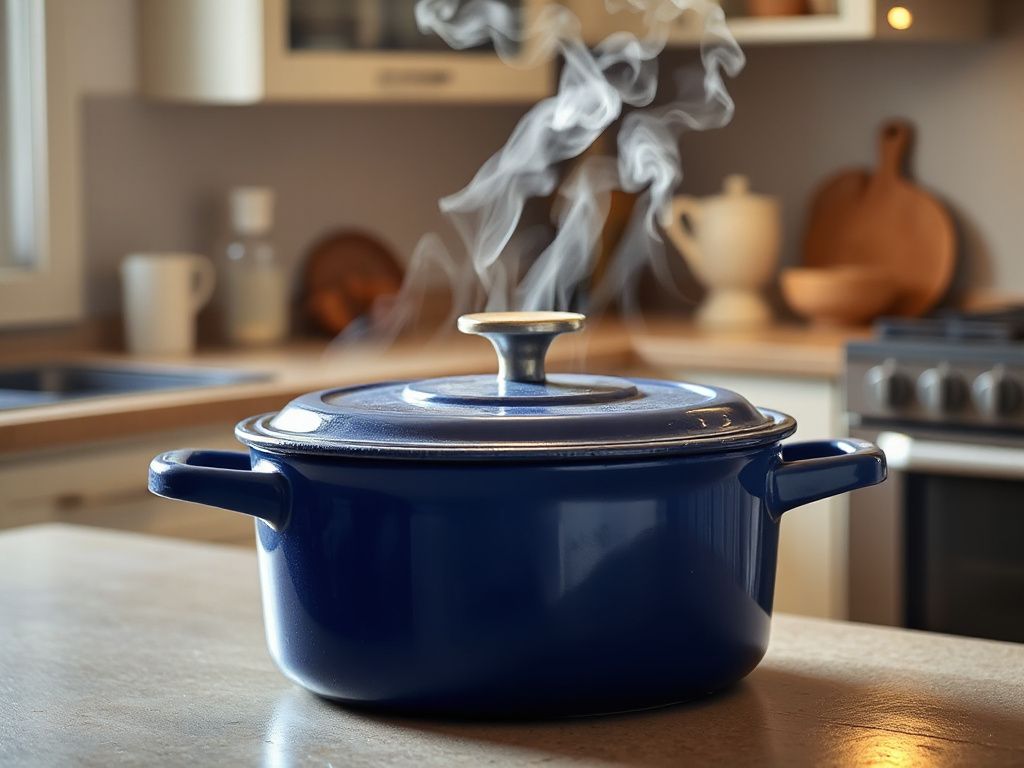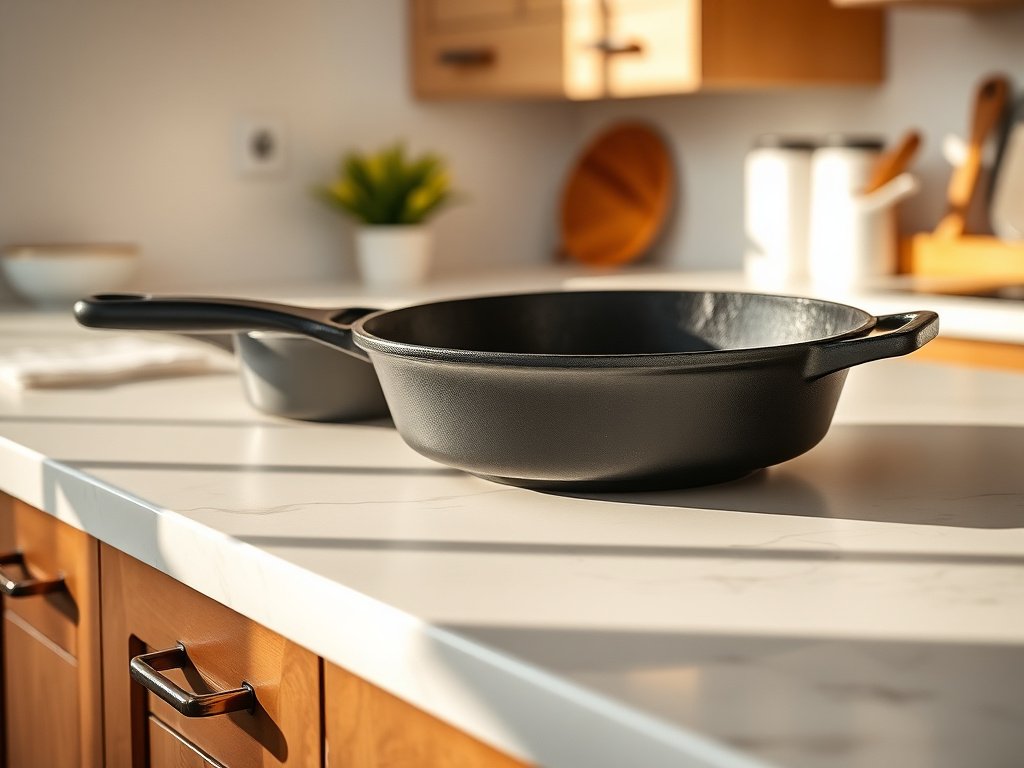
A quiet shift is taking place on dinner tables across the country. Where once polished ceramic or delicate porcelain reigned, more hosts are now reaching for something with grit and history. The warmth radiating from a well-seasoned skillet brought straight to the table has become a mark of thoughtful, confident cooking. For those who enjoy the ritual of food preparation as much as the meal itself, cast iron serving dishes bridge the gap between hearth and dining room in a way no flimsy alternative can.
Most kitchen mistakes come from rushing, and cast iron is less forgiving of haste than almost anything else in the kitchen. The extra 30 seconds to check your setup saves hours of cleanup or regret. This philosophy applies perfectly to serving in cast iron. It’s a material that rewards patience and punishes haste, yet the payoff is flavor retention, rustic beauty, and cookware that will outlast you. If you’ve ever stripped and reseasoned a neglected pan found at a flea market, you already understand the kind of lifelong relationship this material invites.
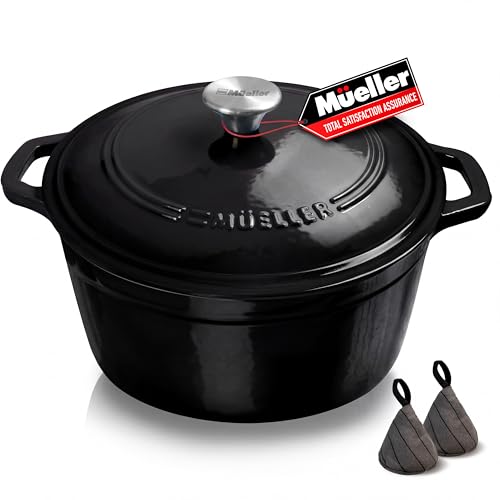
While many associate cast iron solely with cooking, the serving side of the equation often gets overlooked. A cast iron or enamel Dutch oven full of braised short ribs set in the center of the table doesn’t just keep food warm; it invites conversation. This article explores why heavy-gauge, traditionally built serving pieces are making a comeback, how to use them safely, and what it takes to keep them performing for decades without succumbing to rust or poor seasoning practices.
Key Takeaways
- Cast iron serving dishes excel at heat retention, keeping food warm for 20-30 minutes longer than ceramic or glass alternatives, which makes them ideal for family-style dining.
- Proper seasoning and immediate post-meal cleaning prevent rust and maintain a naturally nonstick surface that improves with each use.
- Integrating cast iron into your serving rotation reduces the number of dishes needed, as these pieces transition seamlessly from stovetop or oven directly to the table.
In this guide
- Why Heavy-Gauge Materials Trump Flashy Coatings for Serving
- Selecting the Right Cast Iron Pieces for the Dinner Table
- Preparing Your Cast Iron for the Table: A Step-by-Step Routine
- Long-Term Care for Serving Dishes That Must Look Immaculate
- Integrating Cast Iron Serving into Outdoor and Camp Meals
- Common Problems and Their Simple Fixes
- Safety and Etiquette When Hot Metal Meets the Dinner Table
- Why Vintage and Heirloom Pieces Excel at Serving
- Frequently Asked Questions
Why Heavy-Gauge Materials Trump Flashy Coatings for Serving
Walk through any big-box kitchen store and you’ll see an avalanche of serving pieces coated in vibrant ceramic glazes or nonstick chemicals. Most begin to chip, scratch, or lose their appeal within a single holiday season. Bare cast iron behaves differently: pans cast a century ago still turn up with a mirror-smooth cooking surface, because the material itself does not degrade the way a coating does. That’s the difference between buying a tool and buying temporary decoration.
Thermal Mass: The Science Behind Keeping Food Hot
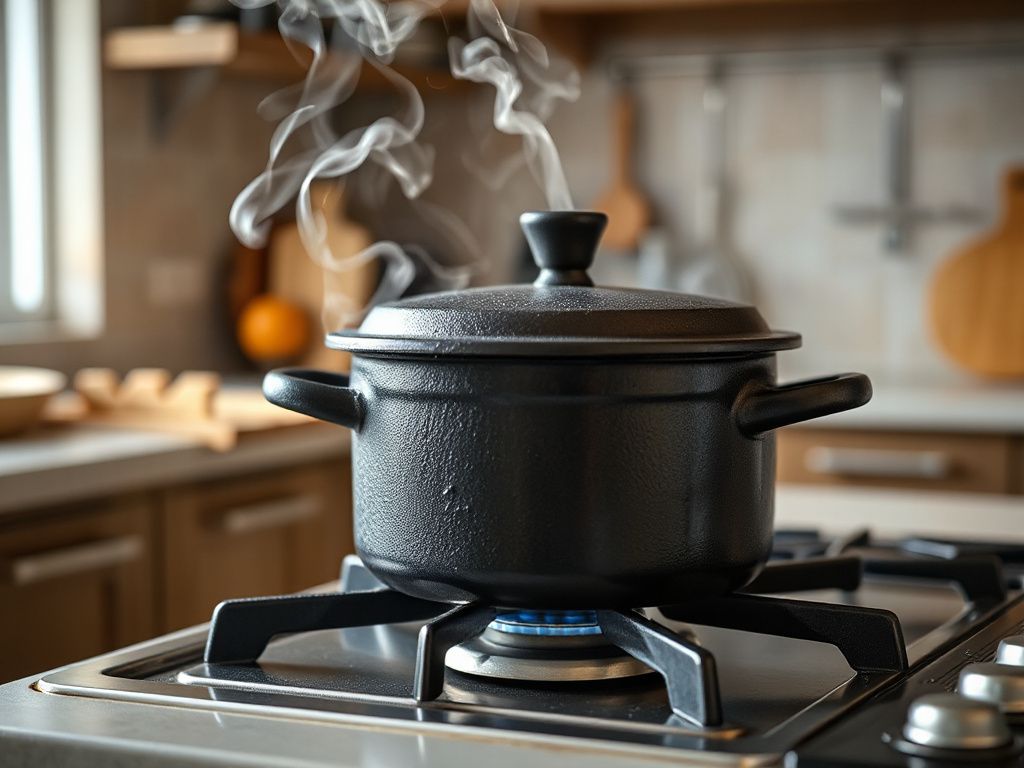
The reason a cast iron serving dish keeps mashed potatoes steaming long after the porcelain boat has gone cold comes down to thermal mass. Iron is dense; it absorbs a significant amount of heat energy and releases it slowly. When you preheat a skillet or Dutch oven base to around 200–250°F before loading it with food, you’re storing thermal energy that will radiate back into the meal for the next half hour. Ceramic and thin steel simply don’t have the molecular weight to hold that reservoir.
The difference shows up at the table. A preheated 10-inch cast iron skillet holds serving temperature far longer than a stoneware bowl of the same size, and owners consistently report that food is still steaming through second helpings. That prolonged warmth also has a food safety benefit, keeping hot foods above the 140°F danger zone during longer gatherings.
One Pan, No Waste: The Table-to-Fridge Workflow
Another strength of using cast iron for serving is the elimination of transfer steps. A cast iron rectangular pan that baked a focaccia can go from oven to table to cooling rack without ever needing to decant the bread onto a separate platter. Fewer dishes mean less water waste and less labor. The same applies to cobblers, gratins, and even roasted chicken pieces.
This is particularly useful when hosting large groups. After the meal, the pan cools, then goes directly into the refrigerator for leftovers, covered with a beeswax wrap rather than plastic. The seasoned surface won’t react with acidic foods stored overnight, provided the seasoning is mature and the dish isn’t a vinegar-heavy marinade. This seamless flow from cooking vessel to serving centerpiece to storage container is something enameled cast iron also excels at, especially with braised meats that need to stay submerged in their cooking liquid.
Selecting the Right Cast Iron Pieces for the Dinner Table
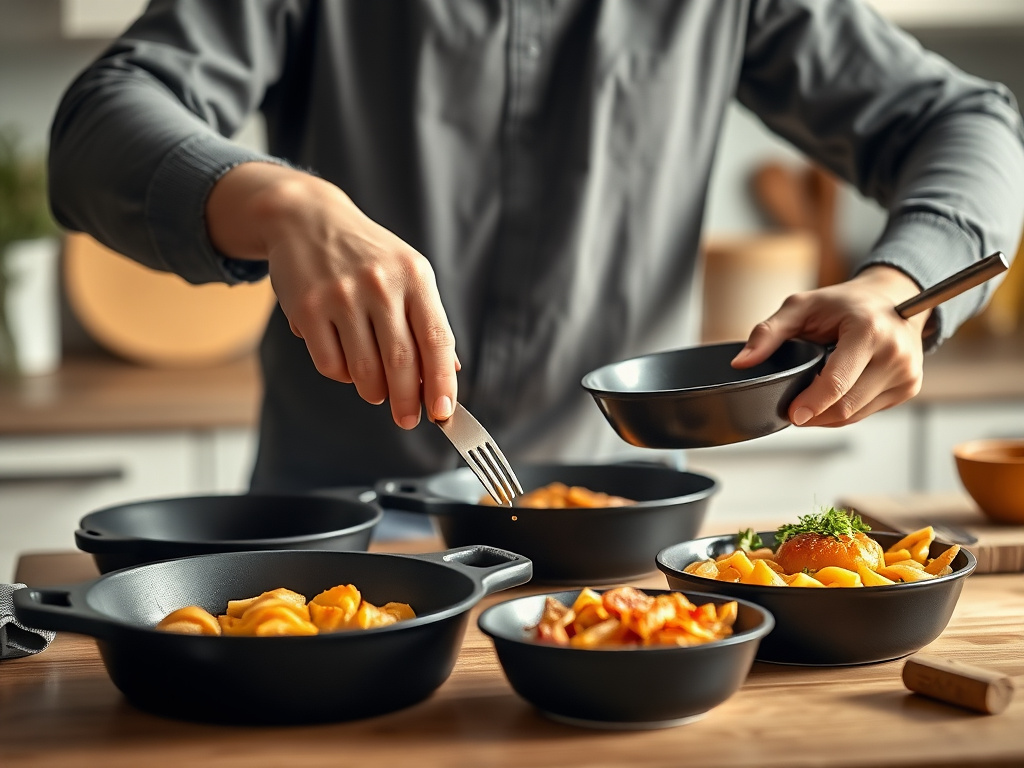
Not every cast iron skillet is meant to double as a platter. Some have helper handles that make them awkward, while others are so deep they obscure the food. A few specific characteristics enhance the dining experience without sacrificing functionality.
Profile and Pour Spouts
Skillets with dual pour spouts are a gift for serving pan sauces or deglazed juices alongside a roast. They allow you to tip out excess liquid into a gravy boat without a clumsy ladle. A flared rim also makes it easier to slide a spatula under a cobbler or a wedge of cornbread. For pure serving elegance, shallow 8-inch or 10-inch skillets are the better pick, because they present the food horizontally and encourage guests to help themselves.
Lodge, Victoria, and many vintage Griswold designs feature prominently spouted sides. Their weight hovers between 4 and 7 pounds for a manageable table presence. Anything much heavier, like a deep 12-inch pan, becomes a forearm workout to pass around a crowded table. A folded kitchen towel underneath can serve as a permanent trivet that also acts as a heat barrier for wooden surfaces.
Enameled vs. Seasoned Raw Iron for Serving
This is where the category of Dutch ovens influences the discussion heavily. An enameled interior, like those found in French-style ovens, doesn’t require the same seasoning maintenance as bare iron and can handle acidic foods like tomato-based stews without imparting metallic flavor. However, the exterior enamel can scratch if slid across rough surfaces. Raw cast iron with a deep black patina looks profoundly rustic and can be easily reseasoned if marred, but it demands more attentive cleanup and drying after the party ends.
For serving dishes that will hold acidic chutneys, pickled vegetables, or citrus-dressed salads, enamel-coated skillets or small cocottes are the safer choice. They provide the same heat retention without the interaction. For greasy or oil-rich dishes like roasted potatoes or meat platters, bare seasoned iron actually improves from the lube of fats and develops shine over repeated use.
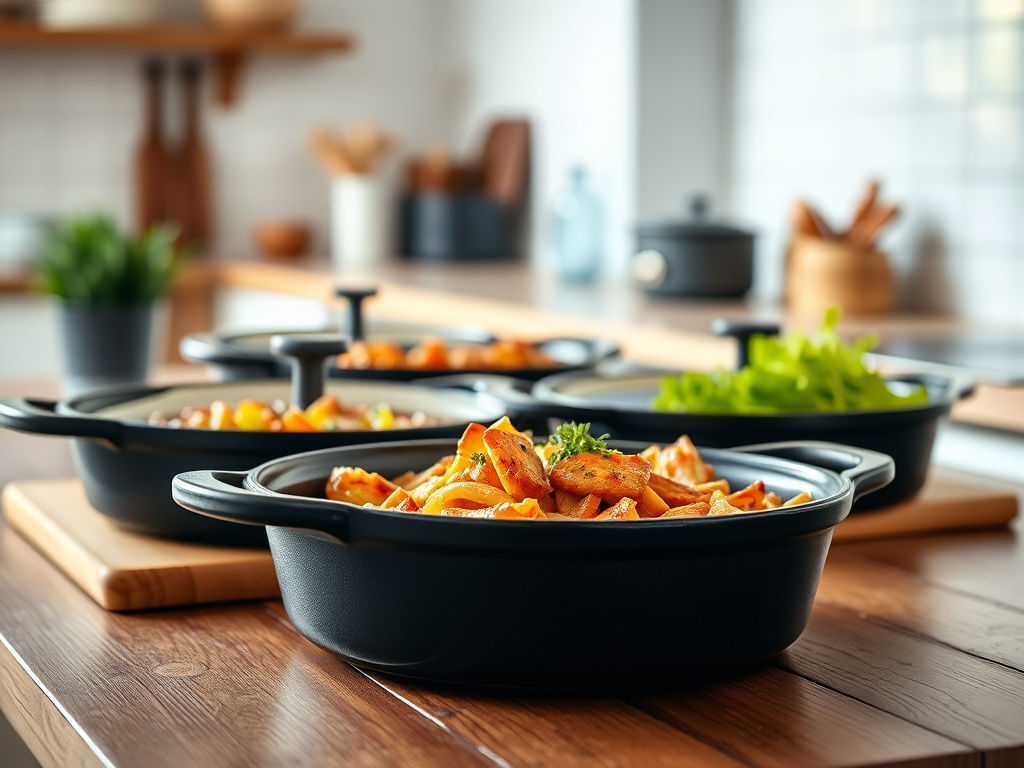
Preparing Your Cast Iron for the Table: A Step-by-Step Routine
Transitioning a piece from stovetop workhorse to dining centerpiece requires a few minutes of attention that pay off in presentation and safety. A short pre-service checklist accounts for seasoning integrity, temperature, and surface protection.
Step 1: Final Season Check
Just before plating, glance at the surface. If you see any dull, dry patches where the food sat during cooking, wipe a whisper-thin layer of high-smoke-point oil (grapeseed or flaxseed) over the interior while the pan is still warm. Buff it in with a lint-free rag so it looks glossy, not greasy. This quick refresh prevents that chalky appearance that can make cast iron look unappetizing on the table.
Step 2: Trivet Strategy
Never place a 350°F cast iron pan directly onto a wooden table or linen cloth. Thick, woven wool trivets and silicone mats are built to withstand direct contact with hot metal. Another approach is to serve from a wooden board that acts as a heat buffer. A rustic bread board underneath the skillet creates an intentional frame and catches any drips from the spout.
Step 3: Food Presentation and Garnish
Because raw iron is dark, lean into contrast: sprinkle fresh herbs, cracked pepper, or grated hard cheese just before setting the dish down. The steam and heat will release aromatics in a gentle cloud. Bright reds and greens pop against the black background and draw the eye toward the food rather than the pan. This visual cue prevents guests from fixating on the cookware itself, which is exactly the goal—unobtrusive, confident service.
Long-Term Care for Serving Dishes That Must Look Immaculate
Serving demands a higher aesthetic standard than stovetop cooking. A pan with flaky carbon buildup or uneven seasoning may cook fine but looks neglected when passed around guests. Maintenance comes down to preventing two enemies: rust and thick, sticky oil residue.
Immediate Post-Meal Cleaning Protocol
After everyone has eaten, allow the dish to cool until it’s warm but not scorching—about 15 minutes off the heat. Fill it with hot tap water and use a chainmail scrubber or stiff natural-bristle brush to loosen any food bits. For stubborn spots, a paste of coarse salt and a few drops of water works wonderfully as a mild abrasive that won’t strip the seasoning. Avoid soaking for longer than 20 minutes; extended submersion invites flash rust, especially on the unseasoned bottom.
Dry thoroughly with a towel, then set the pan over a low burner for 90 seconds to evaporate any invisible moisture from the pores. Apply a drop of seasoning oil to the interior and wipe it as if you’re trying to remove it all. That micro-coating polymerizes the next time the piece is heated and keeps the surface ready for its next public appearance.
Dealing with Accidental Acidic Exposure
If someone spoons a citrus-forward salsa or a splash of wine sauce directly into the seasoned pan and leaves it sitting, you may notice dull splotches after cleaning. This is the beginning of acid erosion. Don’t panic. Lightly scrub the affected area with a 400-grit sanding sponge just until the surface feels smooth, then apply three thin rounds of oven seasoning at 425°F for 1 hour each. The patch will blend into the rest of the pan within a few uses. This is the kind of durability that makes me appreciate raw cast iron over coated alternatives—you can always rebuild it.
Integrating Cast Iron Serving into Outdoor and Camp Meals
The joy of serving from heavy iron isn’t confined to indoor dining. If you’ve ever packed a camp stove and a trusty skillet for a weekend in the woods, you already know how cast iron camping cookware doubles as the plate. What many don’t realize is that the same principles of thermal retention make open-flame cooked foods seem to emerge from the pan at the perfect eating temperature long after the fire has died down to coals.
For campsite serving, a 12-inch skillet with a folding handle can be hung over a fire grate. After the steak or trout comes off, the skillet can be nestled into a shallow wooden box lined with insulating fabric, which creates a portable warming station. This keeps seconds hot for stragglers and draws curious eyes to the outdoor kitchen setup. The same approach works for backyard grill enthusiasts who want to present smoked wings or pulled pork in a vessel that’s already hot from the smoker.
Common Problems and Their Simple Fixes
Even experienced cooks run into hiccups when they first start bringing cast iron to the table. The solutions rarely require expensive tools or complicated re-seasoning projects.
Sticky or Gummy Surface After Serving
This happens when too much oil is applied before storage and the pan doesn’t reach the oil’s smoke point during the next heat cycle. The oil remains semi-polymerized, tacky to the touch. Fix it by baking the empty pan upside-down at 450°F for 90 minutes on a foil-lined rack. The high heat will complete the polymerization and turn the tack into a hard, smooth layer. Wipe again with a minimal oil coat afterward.
Unpleasant Metallic Flavor in Delicate Foods
Young seasoning or a freshly stripped pan can interact with egg-based custards or lightly dressed greens. To neutralize this, make a batch of sautéed onions or caramelized carrots in the pan for the first few uses. The natural sugars and fats build a more complex patina that seals off any reactive iron. After 5-6 cooking cycles, this problem disappears entirely.
Safety and Etiquette When Hot Metal Meets the Dinner Table
In the excitement of presenting a bubbling casserole tableside, it’s easy to forget that cast iron retains enough heat to cause a serious burn for up to 45 minutes after coming out of a 400°F oven. Announce the hot handles to guests and place a silicone handle cover on the pan’s main grip. For long-handled skillets, angle the handle toward the center of the table, or position it so it doesn’t extend past the table’s edge where an elbow could knock it.
Families with young children should consider placing the hot dish at the far end of the table, with a clear trivet. Teach older kids to use a thick pot holder or oven mitt before passing. A simple rule: If the pan just came out of the oven, no one under 12 handles it. These habits become second nature, and the presence of heavy metal on the table quickly normalizes into everyday practice.
Why Vintage and Heirloom Pieces Excel at Serving
Older cast iron, machined to a smoother cooking surface than most modern preseasoned pans, has an almost polished look that shines on a table. A 1930s Griswold, for instance, carries a glassy patina and a thinner wall than most contemporary equivalents. While not necessary, these thinner, smoother pieces are easier to pass and present a refined aesthetic that starts conversations. Collecting such pieces is a hobby that aligns with serving—every piece has a story, and dinner guests love to hear about the flea market find that once cooked on a woodstove.
If you inherit a rusty heirloom, a simple electrolysis tank or a lye bath can strip it to bare gray iron without pitting. From there, a careful grape-seed oil seasoning builds a jet-black finish that’s both functional and beautiful. That pan, once resurrected, will serve for decades of holiday meals and become part of your family’s narrative. No ceramic dish can offer that emotional weight.
Frequently Asked Questions
Can I use cast iron serving dishes for acidic foods like tomato sauce or citrus salads?
Yes, but with caution. Bare seasoned iron can leach metallic notes when exposed to high-acid ingredients for more than 20-30 minutes. For short service times, it’s fine. For longer buffets, choose enameled cast iron or transfer acidic foods to a separate bowl after initial presentation. Mature seasoning handles brief contact without issue.
How do I prevent rust on the underside of my serving skillet?
The unseasoned bottom of a skillet is vulnerable to moisture from wet trivets or condensation. After washing, dry the entire piece over low heat for a few minutes and apply a very light layer of oil to the bottom while warm. Store in a dry, open-air location. Never nest wet pans; if stacking, place a paper towel between them to absorb ambient humidity.
What’s the best size of cast iron dish for a family of four?
A 10-inch skillet or a 3-quart shallow Dutch oven works beautifully for entrées or side dishes for four people. It offers enough surface area for even portions without being unwieldy. If you roast whole chickens frequently, a 12-inch provides extra room for carving and resting juices.
Can I prepare the serving dish in advance and store it in the fridge?
Yes, but always bring the cast iron back to room temperature before heating or adding hot food to avoid thermal shock. You can assemble a gratin or cobbler in the skillet, refrigerate it covered, then slide it directly into a cold oven to heat gradually. Sudden extremes of temperature can warp or crack the iron.
How often should I reseason serving-specific cast iron that doesn’t get daily cooking use?
Seasoning that’s only used for serving and occasional oven reheating may need a maintenance re-season every 4-6 months if you notice dullness or light surface rust. A 1-hour cycle at 425°F with a thin grapeseed oil layer restores the protective finish. Regular gentle cleaning and thorough drying push that interval much longer.