A pale, tough-crusted loaf almost always traces back to a rushed preheat. The enamel Dutch oven warms through with the air around it long before its heavy iron core does, and a lump of iron that thick can still be barely past lukewarm when the oven thermometer says the cavity is ready. Most kitchen mistakes come from rushing, and this is the one that costs a whole bake. The extra 30 seconds to check your setup saves hours of cleanup or regret. Getting preheating an enamel Dutch oven for bread right isn’t just a checkbox — it’s the quiet, science-driven step that turns a dense hockey puck into a blistered, open-crumb artisan loaf.
Key Takeaways
- Full thermal soak matters. An enamel Dutch oven needs 45–60 minutes at 450°F–500°F (230°C–260°C) to store enough heat for explosive oven spring and a deeply caramelized crust.
- Steam generation depends on it. Only a thoroughly preheated vessel flash-steams the dough’s surface instantly, keeping the outer starch gel flexible while the interior expands.
- Precision checking beats guesswork. An infrared thermometer aimed at the interior surface confirms readiness and guards against the thermal shock that can craze enamel.
In this guide
Why Preheating an Enamel Dutch Oven Transforms Your Bread
Skipping a proper preheat might feel like a time‑saver, but it dismantles the three pillars of professional‑quality bread: oven spring, crust development, and even browning. When you slide dough into a cold or merely warm vessel, the cast‑iron core beneath the enamel never catches up. The dough begins baking in a tepid environment, the yeast exhausts itself prematurely, and the loaf spreads outward instead of soaring upward.
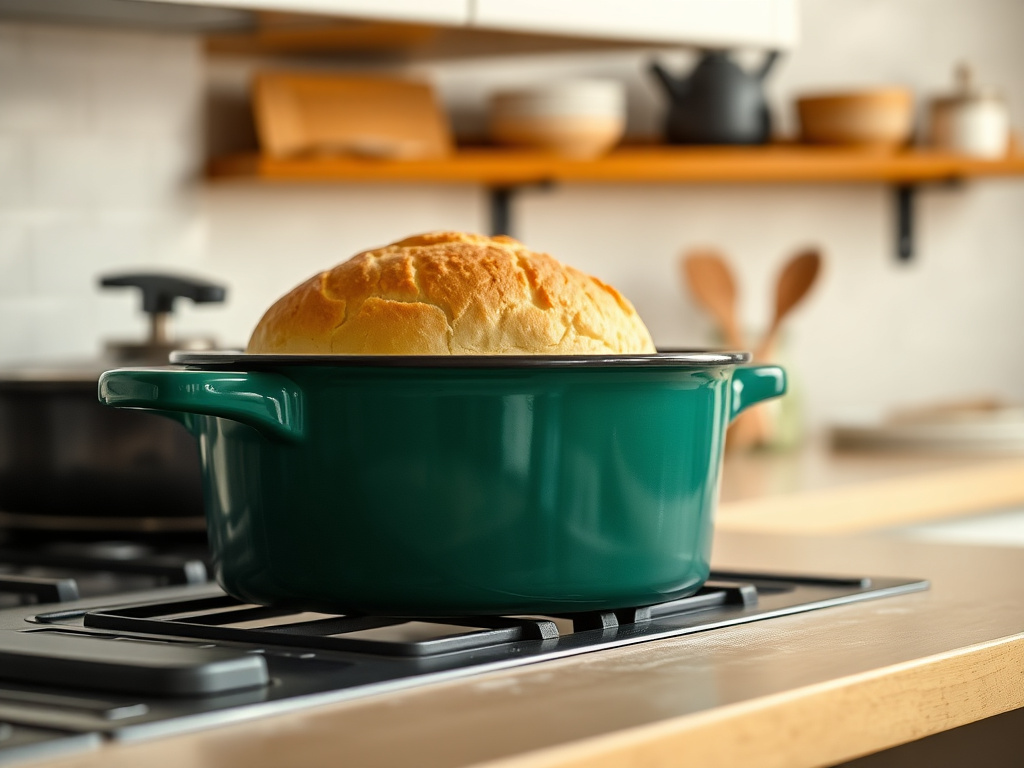
By contrast, a fully heated enamel Dutch oven behaves like a miniature brick oven. The thick walls and lid hold 450°F (230°C) reliably for 45 to 60 minutes, radiating steady heat from every direction. As soon as the moist dough hits that searing surface, water on the exterior vaporizes into a powerful steam pocket. That steam delays crust setting, allowing the gluten network to stretch dramatically before the starches gel. The result is a tall, ear‑splitting bloom and a thin, crackly shell.
Even browning also traces directly back to thermal mass. Many home ovens cycle on and off, causing temperature swings of 50°F (10°C) or more. A preheated enamel pot averages out those swings, so the bread bakes in a more stable environment. This is especially crucial for doughs enriched with whole grains or rye, which darken unevenly when heat fluctuates. If you’re serious about this craft, a reliable Dutch oven is non‑negotiable — our sourdough Dutch oven guide explains what to look for in terms of heat retention and lid fit.
Step‑by‑Step Guide to Preheating Enamel Dutch Ovens
Step 1: Select the Right Baking Temperature
Most artisan loaves thrive inside a Dutch oven preheated to 475°F (245°C). That temperature creates immediate steam without pushing the enamel dangerously close to its ceiling. Check your cookware manual: many enameled brands caution against dry heating above 500°F (260°C). The glass‑like finish can craze — a network of hairline cracks — if the temperature stays too high for too long. A few models explicitly forbid dry preheating above 450°F (230°C), so reading the fine print is time well spent.
If your recipe calls for a higher ambient oven temperature (say 500°F), it’s safer to preheat the Dutch oven at 475°F and let the extra 25°F come from the oven’s air after the initial blast of steam dissipates. For lean doughs with high hydration, I start at 450°F (230°C) and increase to 475°F after removing the lid 20 minutes in. That gentle arc prevents the bottom crust from scorching before the interior finishes baking.
Step 2: Position the Rack and Prepare the Vessel
Move the oven rack to the lower‑middle position. Placing the pot too high risks burning the top crust; too low can scorch the bottom. The goal is to nestle the Dutch oven in the center of the oven’s thermal zone, where air circulates evenly around the pot.
Before heating, remove any plastic knobs that aren’t rated for high heat. Many enamel Dutch ovens ship with a phenolic knob safe only to 375°F–400°F (190°C–205°C). Swap it for a stainless steel replacement, or simply unscrew the knob and leave the lid bare. The metal loop handle on the lid is almost always safe to 500°F, but a plastic knob can melt and off‑gas at bread‑baking temperatures.
Place the Dutch oven — base and lid together — on the rack while the oven is still cold. Preheating the vessel gradually inside the oven, rather than setting it on a hot stone mid‑cycle, prevents uneven thermal expansion that stresses the enamel‑to‑iron bond. Precision in bakeware sizing and material matters in every corner of the kitchen; for instance, selecting the right pie baking pan follows similarly strict thermal logic to avoid soggy bottoms and warping.
Step 3: Determine How Long to Preheat
I stand firmly on 45 to 60 minutes for any enamel Dutch oven weighing 5 pounds or more. The cast‑iron core beneath the porcelain enamel has a high heat capacity but a relatively slow thermal conductivity. It takes roughly twice as long for the core to reach equilibrium with the oven air as it does for the air itself. A convection fan accelerates this slightly, but I never shorten the soak below 45 minutes.
Here’s a quick rule‑of‑thumb table based on pot diameter:
- 4‑quart (9‑inch diameter): 45 minutes at 475°F (245°C)
- 5–6‑quart (10‑inch diameter): 50–55 minutes at 475°F
- 7‑quart or larger (11‑inch+ diameter): a full 60 minutes, possibly with the oven set to 500°F if your manual allows it for preheating, then reduce to baking temperature once the dough is loaded.
Step 4: Test for Heat Readiness
Guessing invites disaster. I rely on an infrared thermometer to measure the surface temperature of the interior base. Open the oven door briefly, point the laser at the center of the enamel floor, and look for a reading of 445°F–475°F (229°C–246°C). If the bottom is still 400°F (204°C), give it another 10 minutes and check again.
An even temperature reading across the bottom is the green light. If one spot reads 50°F cooler, your pot isn’t sitting level on the rack, or the oven’s heating element is causing a cold shadow. Rotate the pot 180 degrees and retest after 5 minutes. That extra minute of attention ensures the loaf browns uniformly and releases cleanly from the enamel surface later.
Step 5: Safely Transfer Dough into the Hot Dutch Oven
The real challenge: maneuvering sticky, proofed dough into a 475°F pot without singing your forearms. I use parchment paper as a sling. Trim a sheet so it fits the base with two long overhanging handles. Gently tip the proofed boule or batard from its banneton onto the parchment, score it, then lower the whole assembly into the preheated base. The parchment allows you to nestle the dough without deflating it, and the handles make lifting the finished loaf out painless.
If you prefer no paper, a sturdy wooden peel dusted with semolina works, but you must slide the dough quickly and decisively. A hesitant drop causes erratic oven spring because part of the dough sticks and tears. Immediately after loading, put the preheated lid back on — using heat‑resistant gloves rated to at least 500°F — and close the oven door within seconds. The steam pocket begins forming the moment the cold dough hits the hot enamel, so every lost second means less dramatic spring.
Common Preheating Pitfalls and How to Avoid Them
Preheating with the Lid Off or Ajar
One persistent myth suggests that leaving the lid slightly ajar or completely off accelerates heating. In reality, the lid helps the pot heat evenly. Without it, the top edge of the pot cools faster than the base, leading to uneven expansion. The lid also shields the interior from the oven’s upper heating element, which can blast the enamel with direct radiant heat and trigger localized overheating. Always preheat with the lid firmly in place.
Thermal Shock from Cold Liquids or Ice Cubes
Some bakers toss ice cubes into the hot Dutch oven to generate extra steam. If a single cube lands on the white‑hot bottom, the thermal shock can crack the enamel instantly. If you must add moisture, place a small, shallow metal pan on the oven floor during the preheat and pour hot water into it at the moment of loading. That generates ample steam without risking your pot. For the same reason, never pour cool water into a hot dry Dutch oven to “clean” it immediately after baking.
Using Enamel on a Stovetop for Preheating
Enameled Dutch ovens are not designed to be heated dry on a burner for bread preheating. Direct flame or an electric coil concentrates heat on a small area under the pot floor, creating extreme thermal gradients. The enamel can spall — chipping off in shards — because the iron expands unevenly. Always preheat inside the oven, where heat surrounds the vessel uniformly.
The Precision Baker’s Toolbox: What to Use When Preheating
A consistent preheating routine leans on a few inexpensive tools that pay off in every bake. An oven thermometer (analog, hung from the rack) is non‑negotiable. The dial on your oven is an average, not a guarantee. I also keep a digital probe thermometer with a wire lead on hand. Tucking its tip under the lid’s edge after the first 20 minutes of covered baking tells me the loaf’s internal temperature without disrupting the steam environment.
Long, wrist‑length leather or silicone welding gloves rated to at least 500°F prevent burns when angling the heavy lid on and off. Kitchen towels slip and can catch on the oven rack; proper gloves give you controlled confidence. An infrared thermometer rounds out the kit, turning the invisible heat into a hard number. If you nerd out over precision as much as I do, the same insistence on accurate tools applies to sweet bakes — a quality cake pan lineup can be the difference between an even crumb and a domed, cracked disaster.
Don’t overlook the proofing stage. Well‑preheated enamel can’t salvage dough that’s over‑ or under‑proofed. I shape and proof in a banneton lined with rice flour, which releases without tearing the delicate skin. The entire workflow — from autolyse to final shaping — must align with the preheating timeline, so start the oven before the final rise is complete.
Frequently Asked Questions
Can I preheat an enamel Dutch oven to 500°F for bread?
Many high‑quality enamel brands allow dry preheating up to 500°F (260°C), but you must confirm this in your specific manual. Exceeding the manufacturer’s maximum can craze the glass finish. If you need a 500°F bake, I suggest preheating at 475°F for 55 minutes, then raising the oven setting to 500°F just before loading the dough. The pot’s thermal mass will hold near 475°F while the steam phase begins, and the air temperature catches up without shocking the enamel.
Why does my bread stick to the enamel after preheating?
Sticking almost always traces back to insufficient heat at the base. When the enamel floor isn’t fully preheated, the dough’s moisture seeps into the micro‑pores of the surface before steam can lift it away. That moisture then gelatinizes and glues the loaf down. Using a parchment sling and verifying the base reads 445°F+ with an infrared thermometer eliminates the problem. A well‑seasoned enamel surface naturally releases when heat is truly searing.
Is preheating different for a bare cast‑iron versus an enamel Dutch oven when baking bread?
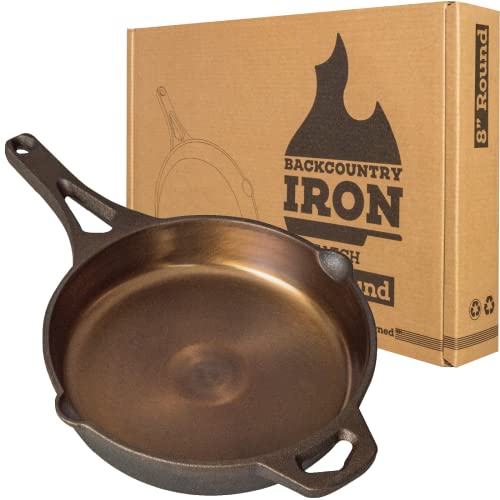
The principles are similar, but the temperature ceiling differs. Bare cast iron can withstand higher dry heat — often 550°F without issue — so you can preheat more aggressively. Enamel requires more cautious temperatures to protect the glass coating. However, both benefit from the same 45–60 minute soak and the same use of a thermometer. If you alternate between the two, the precision habits you develop with one carry straight over to the other. Our full sourdough Dutch oven resource covers both materials in depth.
Mastering preheating your enamel Dutch oven for bread ultimately means you’re treating the oven — and the pot — as baking instruments rather than simple containers. Each rise in temperature, every minute of soaked heat, and the care taken to avoid thermal shock add up in the final loaf. Stand in front of that glowing door next Saturday morning, thermometer in hand, and let the pot do what it was engineered to do.