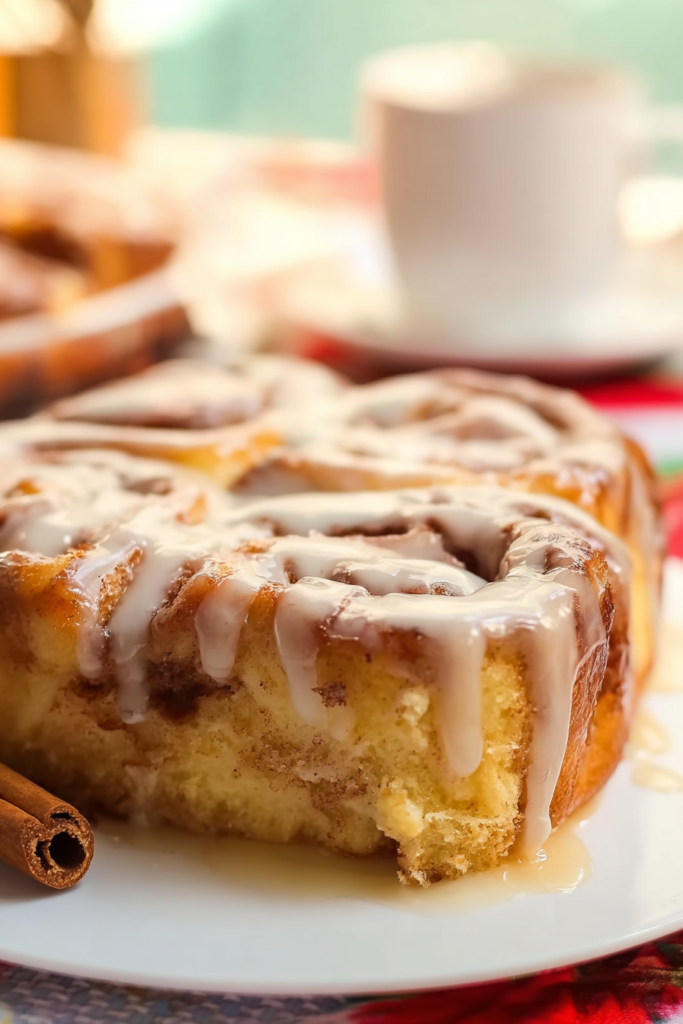
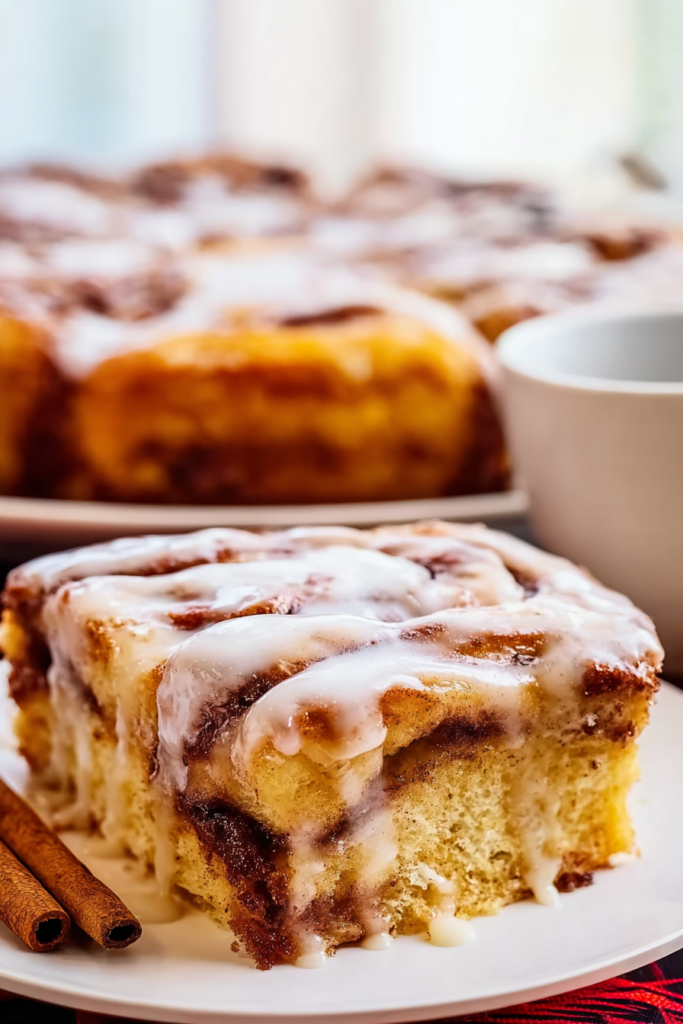
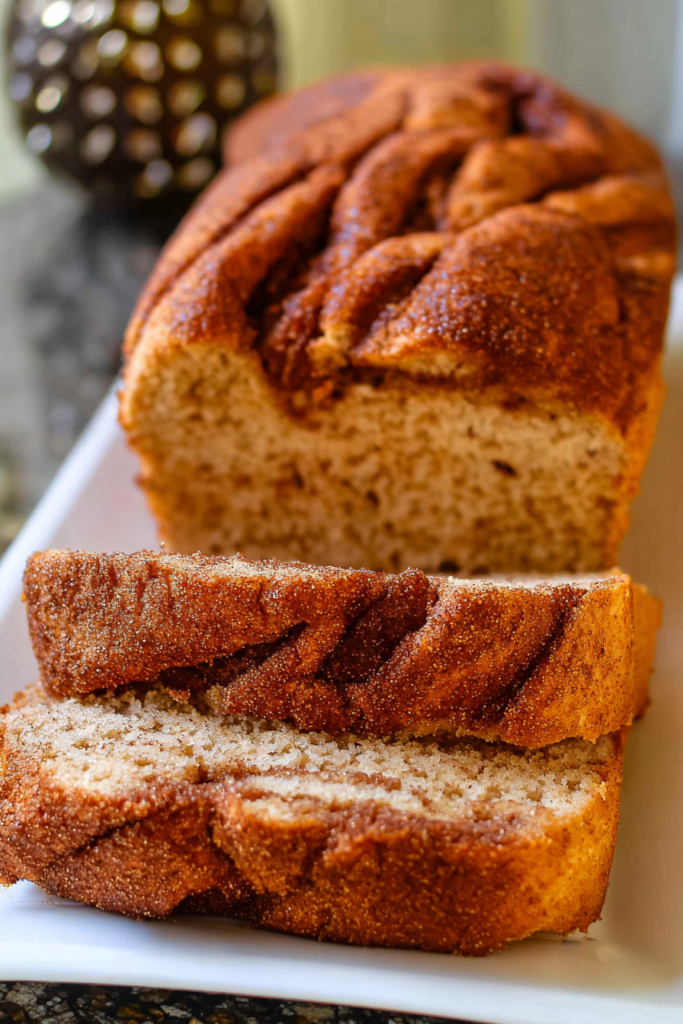
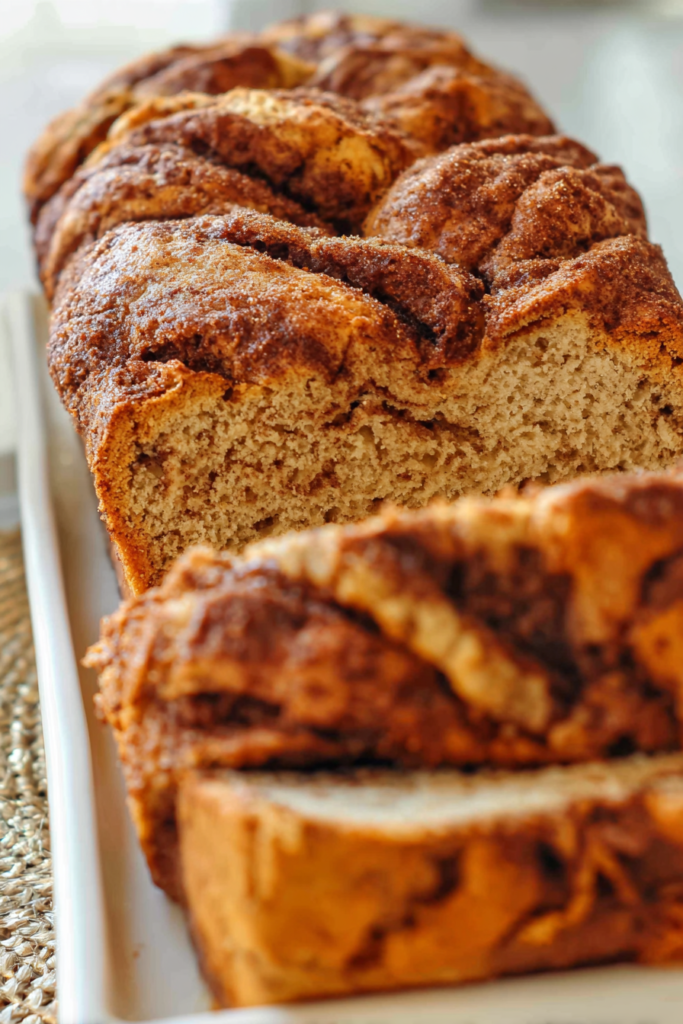
You know that moment when you slice into a loaf of cinnamon swirl bread?
Those gorgeous ribbons of cinnamon weaving through soft, tender crumb… chef’s kiss. Pure breakfast magic.
I’m about to share my favorite quick bread recipe with you. No yeast. No fancy techniques. Just simple ingredients and about an hour of your time.
Here’s what I love about this bread. While traditional cinnamon breads keep you waiting around for dough to rise (and rise again), this version? It comes together fast. We’re using baking powder and baking soda instead of yeast. Which means less waiting, more eating.
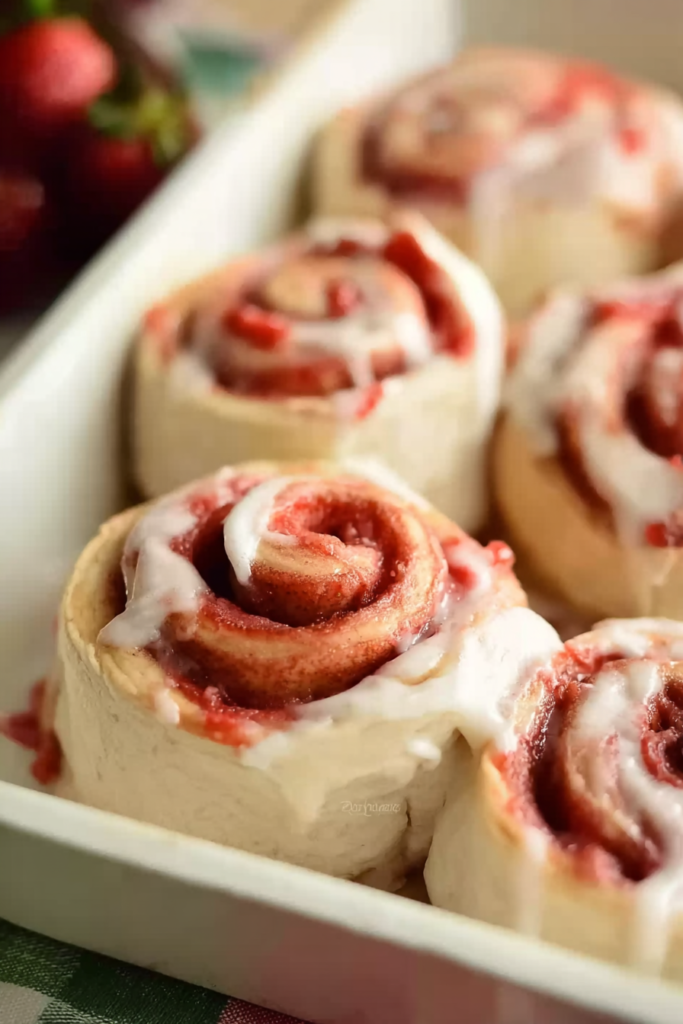
The swirl pattern in each slice looks like something from a fancy bakery. But between you and me? It’s surprisingly easy to pull off. Even if you’re new to baking.
I spent way too many weekends testing this recipe. My goal was simple. Create a foolproof cinnamon bread that works every single time. No matter who’s making it.
Mission accomplished.
Why This Recipe Works So Well
This bread hits differently than other quick breads I’ve made.
First off, it stays incredibly moist. The combo of milk and oil? That’s the secret. Your bread will still taste fresh three days later.
The flavor sits right in that sweet spot. Sweet enough to feel like a treat. But not so sugary you can’t enjoy it with your morning coffee. And that cinnamon smell while it’s baking? Your whole house will smell amazing.
Time-wise, we’re talking just over an hour from start to finish. But here’s the thing. You’re only actually working for about 15 minutes. The oven does the rest.
Want to know my favorite part?
This bread is versatile as heck. I’ve served it:
- Warm with butter for breakfast
- Toasted with cream cheese for afternoon snacks
- As French toast on lazy Sundays
- Cut into cubes for bread pudding
The possibilities? Endless.
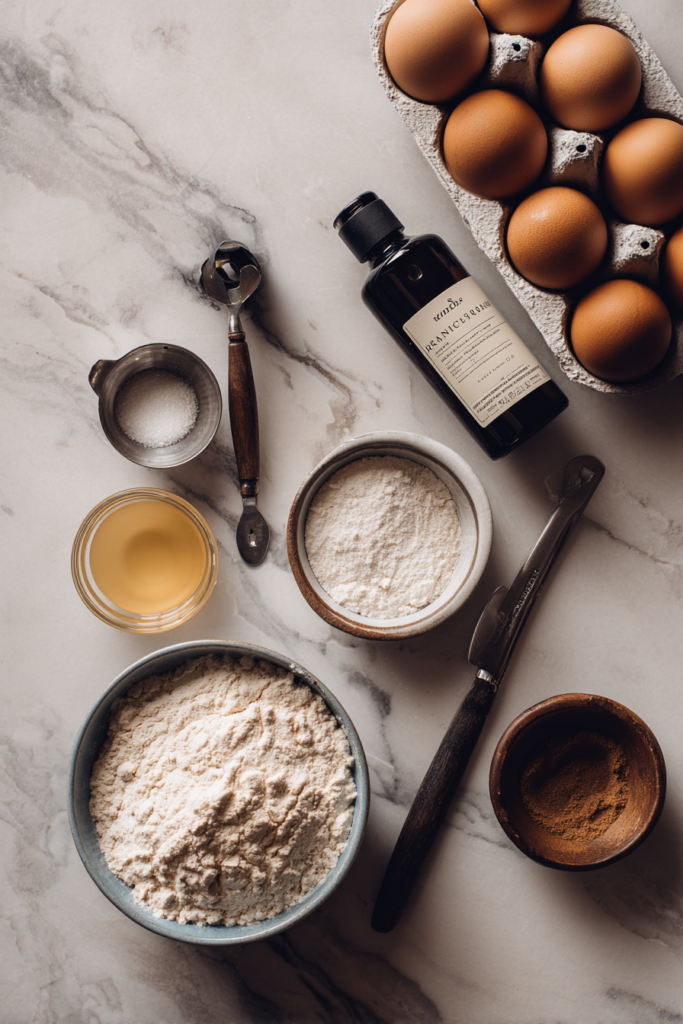
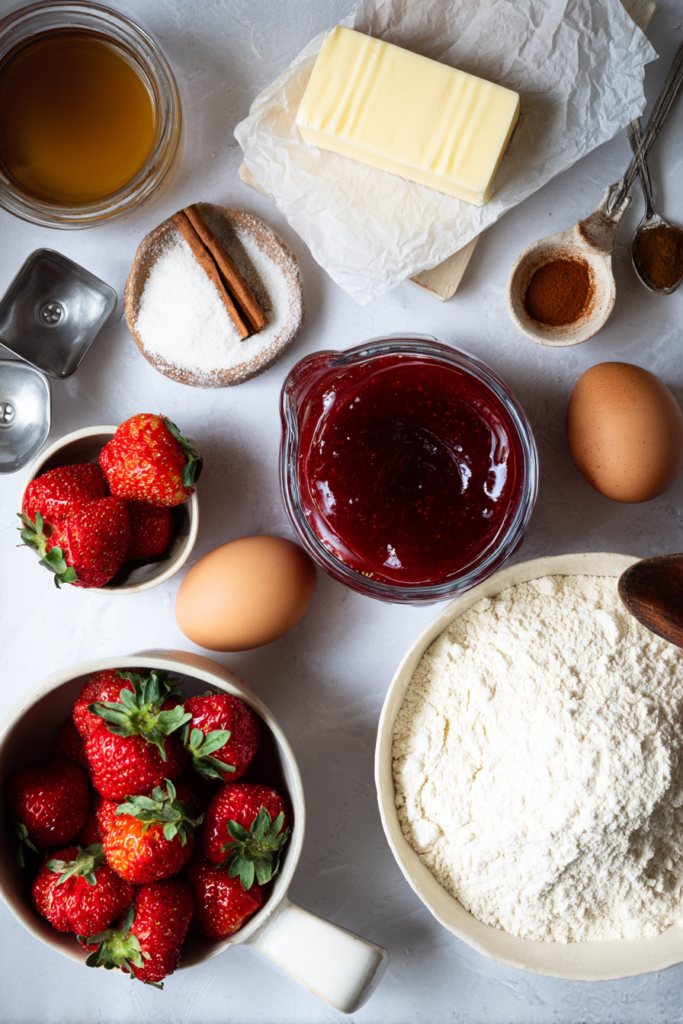
What You’ll Need
Let me walk you through the ingredients. Understanding what each one does will help you nail this recipe.
| Ingredient | Quantity | Notes |
|---|---|---|
| All-purpose flour | 2 cups | Spoon it into your measuring cup (don’t scoop!) |
| Granulated sugar | 1 cup | Makes the batter sweet |
| Baking soda | 1 teaspoon | Reacts with the acid |
| Baking powder | 1½ teaspoons | Gives extra lift |
| Salt | ½ teaspoon | Brings out all the flavors |
| Ground cinnamon | 1 tablespoon | For the batter |
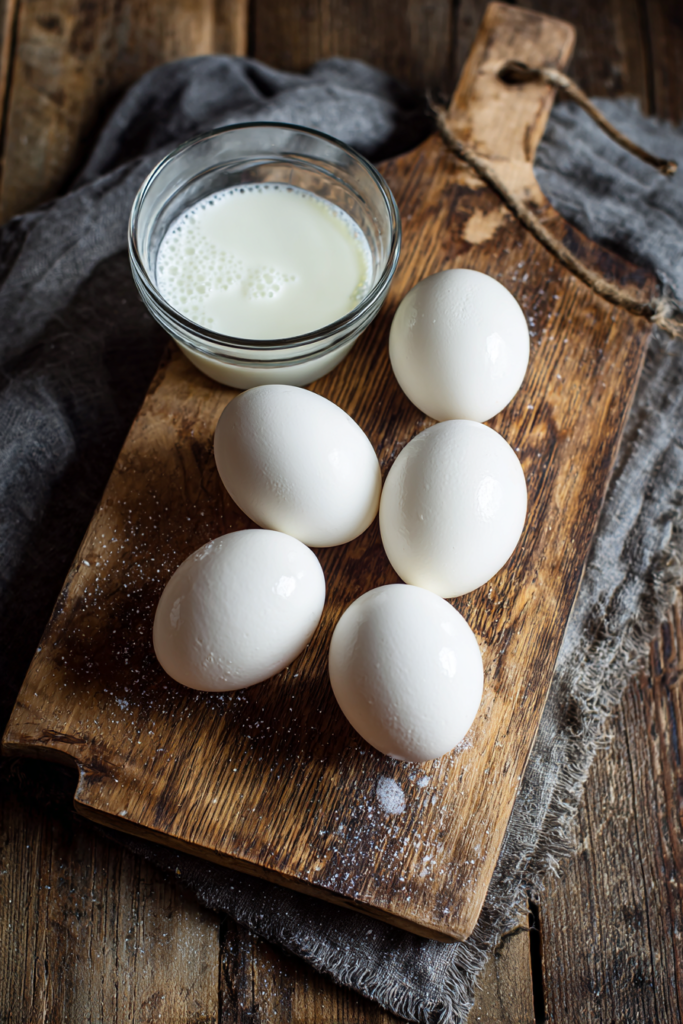
| 2% milk | 1 cup | Whole milk works great too |
| Lemon juice | 1 tablespoon | Makes instant buttermilk |
| Vegetable oil | ⅓ cup | Keeps everything moist |
| Vanilla extract | 1 teaspoon | Use the real stuff |
| Large eggs | 2 | Room temp is best |
| Brown sugar | 6 tablespoons | For that gorgeous swirl |
| Ground cinnamon | 1½ tablespoons | More cinnamon = better |
| Melted butter | 2 tablespoons | Holds the swirl together |
Recipe Timing:
Prep Time: 15 minutes | Cook Time: 50 minutes | Total Time: 1 hour 5 minutes
Servings: 10 slices | Difficulty: Easy
The Science Behind the Ingredients
Okay, quick baking lesson.
Flour creates structure. I always use all-purpose for this recipe. It gives you that perfect balance between tender and sturdy.
Pro tip: Spoon your flour into the measuring cup. Don’t scoop straight from the bag. Scooping packs way too much flour in there. Then you end up with dense, heavy bread. Nobody wants that.
Sugar does more than just sweeten things up. It tenderizes the crumb. Helps create that beautiful golden-brown color. And mixing white sugar in the batter with brown sugar in the swirl? That’s where the depth of flavor comes from.
The baking soda and baking powder team up for the perfect rise. Baking soda reacts with the lemon juice (that’s the acid). Baking powder provides backup lift throughout baking. Together they make your bread rise evenly with that nice domed top.
Now here’s a neat trick. Milk plus lemon juice equals instant buttermilk. Let it sit for five minutes. The acid makes the milk curdle slightly. This creates that tangy richness you get from real buttermilk. Plus it keeps your bread tender and moist for days.
Why oil instead of butter?
Oil stays liquid. It coats those flour proteins and stops them from forming tough gluten strands. Result? Softer, more tender bread. I usually use vegetable oil, but canola works just as well.
Let’s Make This Bread
Time to get baking. I’ll walk you through every step.
Getting Ready
Crank your oven to 350°F. Do this first. You want it fully heated before your batter’s ready.
Grab your 9×5-inch loaf pan. Spray it really well with nonstick baking spray (the kind with flour in it). Or grease it with butter, then dust with flour. Tap out the extra.
Trust me on this. Good pan prep means your gorgeous loaf won’t stick.
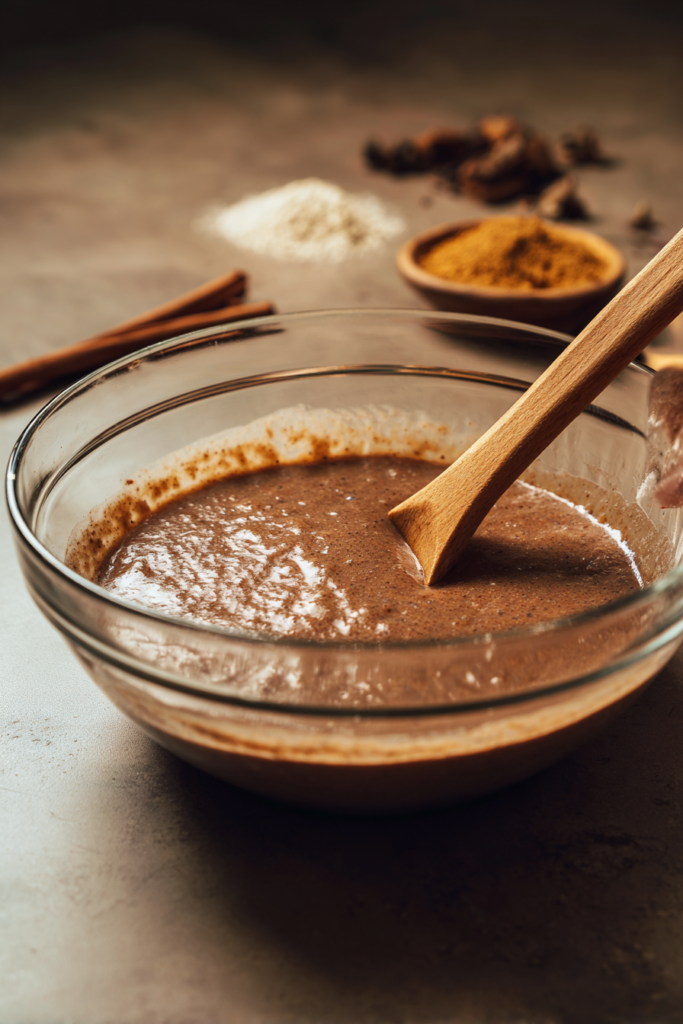
Making the Batter
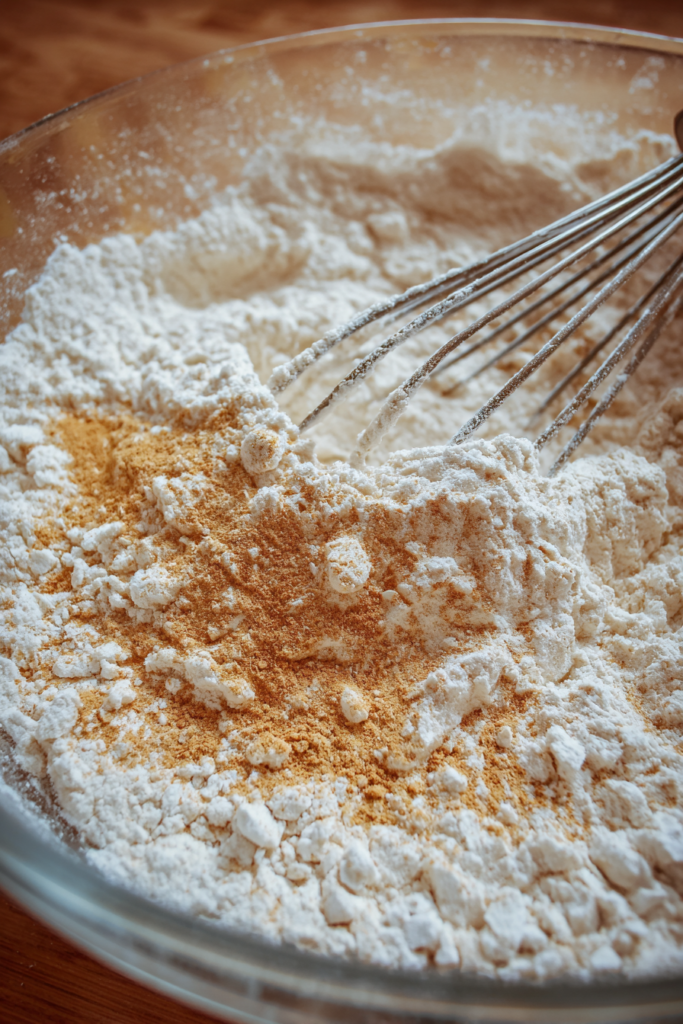
Get a medium bowl. Toss in your flour, sugar, baking soda, baking powder, salt, and one tablespoon of cinnamon. Whisk hard for 30 seconds.
This step matters more than you think. It spreads those leaveners evenly through the flour. Even rise = better bread.
In a big bowl, mix your milk and lemon juice. Set a timer for five minutes. Walk away.
When you come back, the milk will look a bit curdled. Perfect! That’s exactly what we want.
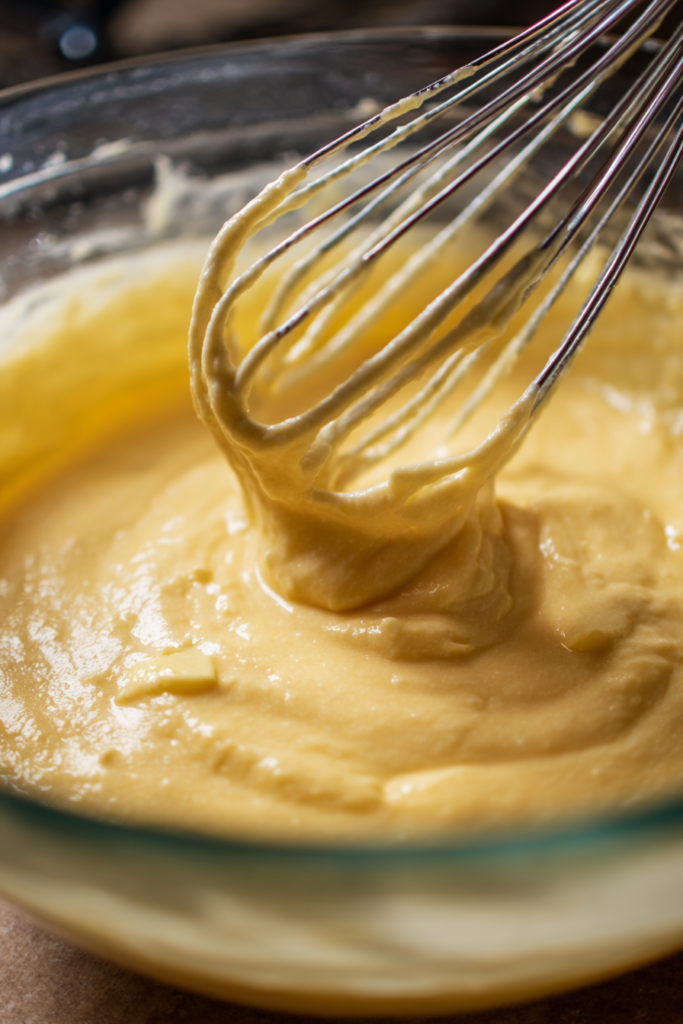
Add your oil, vanilla, and eggs to the milk mixture. Whisk until smooth.
Here comes the important part.
Add your dry stuff to the wet stuff. Do it in three batches. After each batch, stir just until the flour disappears. Then stop.
I know it’s tempting to keep mixing. Don’t. Overmixed quick bread = tough bread. See a few lumps? That’s fine. They’ll bake out.
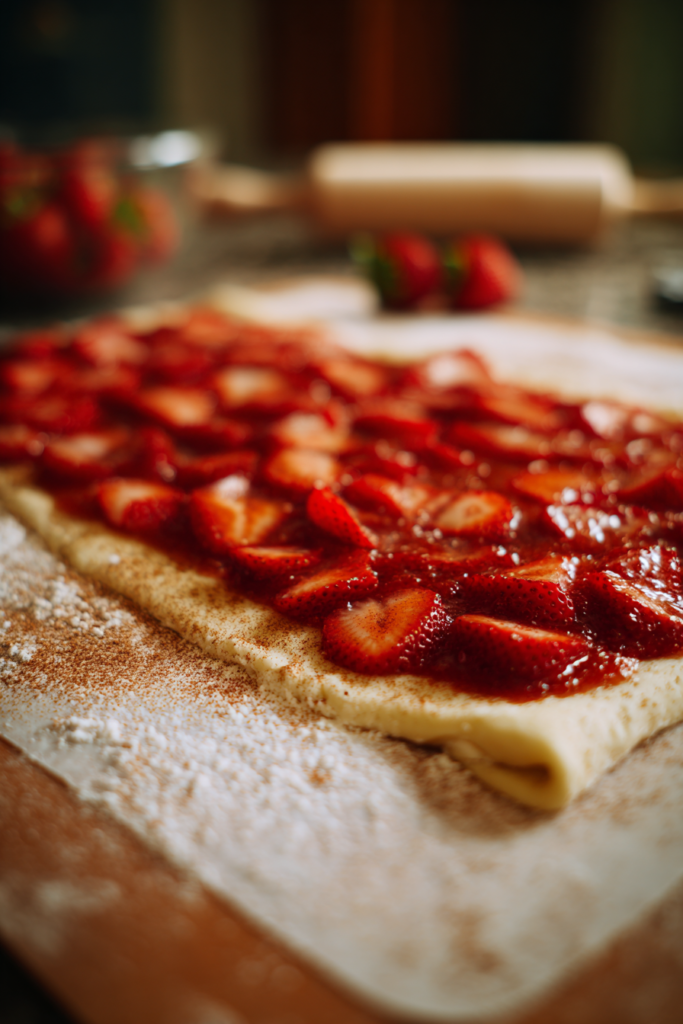
The Swirl Magic
Mix your brown sugar, remaining cinnamon, and melted butter in a small bowl. You want a thick paste. Spreadable but not runny.
Too thick? Add just a touch more melted butter.
Pour half your batter into the pan. Spread it evenly. Take a spoon and make three straight lines of cinnamon mixture down the length of the pan. Space them out evenly.
Now the fun part.
Turn your pan 90 degrees. Those lines now run side to side, right? Grab a toothpick or skewer. Make S-shapes through the batter. Or figure-eights. Whatever feels natural.
Move from one end to the other. Three or four swirls total. That’s it.
Stop there. Too much swirling mixes everything together. You lose those pretty ribbons.
Add the rest of your batter on top. Carefully. You don’t want to mess up those swirls underneath. Make three more lines of cinnamon mixture on top. Turn the pan sideways again. Swirl one more time.
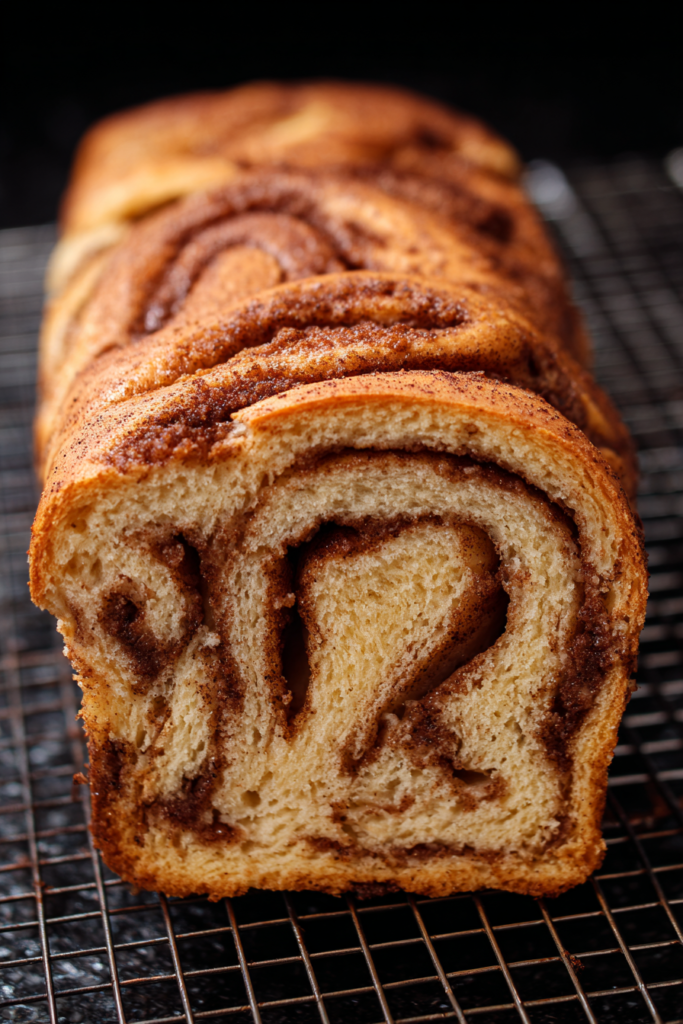
This double-layer thing? That’s how you get swirls throughout the whole loaf.
Baking Time
Slide your pan into the center of the oven. Set your timer for 50 minutes. Don’t peek!
After 50 minutes, stick a toothpick in the center. It should come out clean. Or with just a few moist crumbs.
Top browning too fast but center’s not done? Tent some foil over it. Keep baking. The inside should hit about 200°F when it’s ready.
Every oven’s different. Yours might take five minutes more or less. No big deal.
Let it cool in the pan for exactly 10 minutes. Not longer. Quick breads stick if you wait too long. Run a knife around the edges. Flip it onto a cooling rack.
Your beautiful golden loaf should pop right out.

Storing and Serving
Once your bread’s completely cool, wrap it tight in plastic wrap. Sits happily on your counter for three days. That oil keeps it moist and fresh.
Need it to last longer? Stick it in the fridge for up to a week.
Freezing works great too. I do it all the time.
Wrap the cooled loaf in plastic wrap. Then wrap it again in foil. Write the date on it. Freezes for three months easy.
Here’s a smart trick. Slice the whole loaf before freezing. Put parchment paper between each slice. Then wrap and freeze. Now you can grab single slices whenever you want. Toast them straight from frozen for quick breakfast.
Ways I love serving this:
- Plain (let that cinnamon shine)
- With softened butter (classic)
- Spread with cream cheese (tangy and delicious)
- Toasted with berries on top
- As French toast (seriously, try this)
Your Questions Answered
Can I skip the lemon juice?
Yep. Just use one cup of actual buttermilk instead of the milk and lemon juice combo. Both work the same way. They create that acid needed for leavening and tenderness.
Don’t have buttermilk either? Thin some plain yogurt with a little milk. Works like a charm.
My cinnamon swirl disappeared. What happened?
Usually means two things. Either your swirl mixture was too thin, or you overmixed the batter.
The cinnamon mixture needs to be thick and paste-like. Use the exact amount of butter I listed. When you’re swirling, be gentle. Just three or four passes through the batter. That’s it.
Too much swirling blends everything together. You lose those distinct ribbons.
Can I add nuts or dried fruit?
Absolutely! Fold in up to half a cup when you’re done mixing the batter. Right before it goes in the pan.
Good options:
- Chopped pecans or walnuts
- Raisins
- Dried cranberries
- Chopped dates
Keep it under half a cup though. Too much weighs down the batter. Then it won’t rise properly.
My bread cracked on top. Did I mess up?
Nope! That crack is totally normal. Actually, it’s a good sign.
Quick bread rises fast in the oven. The center takes longest to set. So it keeps expanding after the edges firm up. That creates the crack.
It means your leavening worked perfectly. Some bakers even score a line down the center before baking. Controls where the crack forms.
How do I know when it’s really done?
The toothpick test is your friend. Stick a toothpick in the center. Avoid the cinnamon swirl areas. It should come out clean or with just a few moist crumbs.
Wet batter on the toothpick? Needs more time.
The top should be golden brown. Should spring back when you touch it lightly. An instant-read thermometer should read around 200°F in the center.
This bread checks every box for me. Simple enough if you’re new to baking. Impressive enough if you’ve been doing this for years.
That tender crumb. Those beautiful swirls. The way your kitchen smells while it bakes.
Perfect for breakfast. Great for brunch. Works as dessert.
Give it a shot. I bet it becomes one of your go-to recipes. Mine sure is.

Easy Cinnamon Swirl Quick Bread
Ingredients
Method
- Preheat oven to 350°F. Grease a 9×5-inch loaf pan with nonstick baking spray or butter and flour.
- In a medium bowl, whisk together flour, granulated sugar, baking soda, baking powder, salt, and 1 tablespoon cinnamon for 30 seconds.
- In a large bowl, combine milk and lemon juice. Let sit for 5 minutes until slightly curdled.
- Add oil, vanilla, and eggs to the milk mixture. Whisk until smooth.
- Add dry ingredients to wet ingredients in three batches, stirring just until flour disappears after each addition. Don’t overmix – a few lumps are fine.
- In a small bowl, mix brown sugar, 1.5 tablespoons cinnamon, and melted butter to form a thick paste.
- Pour half the batter into prepared pan. Make three lines of cinnamon mixture down the length of the pan.
- Turn pan 90 degrees. Using a toothpick or skewer, make 3-4 S-shapes or figure-eights through the batter to create swirls. Don’t over-swirl.
- Carefully add remaining batter on top. Make three more lines of cinnamon mixture. Turn pan sideways and swirl once more.
- Bake for 50 minutes or until a toothpick inserted in center comes out clean or with just a few moist crumbs. Internal temperature should reach 200°F.
- Cool in pan for exactly 10 minutes, then run a knife around edges and turn out onto a cooling rack.