The first time I told my family I was putting coconut and lime in banana bread, they gave me that look. You know the one. The “are you sure about this?” look.
But here’s the thing.
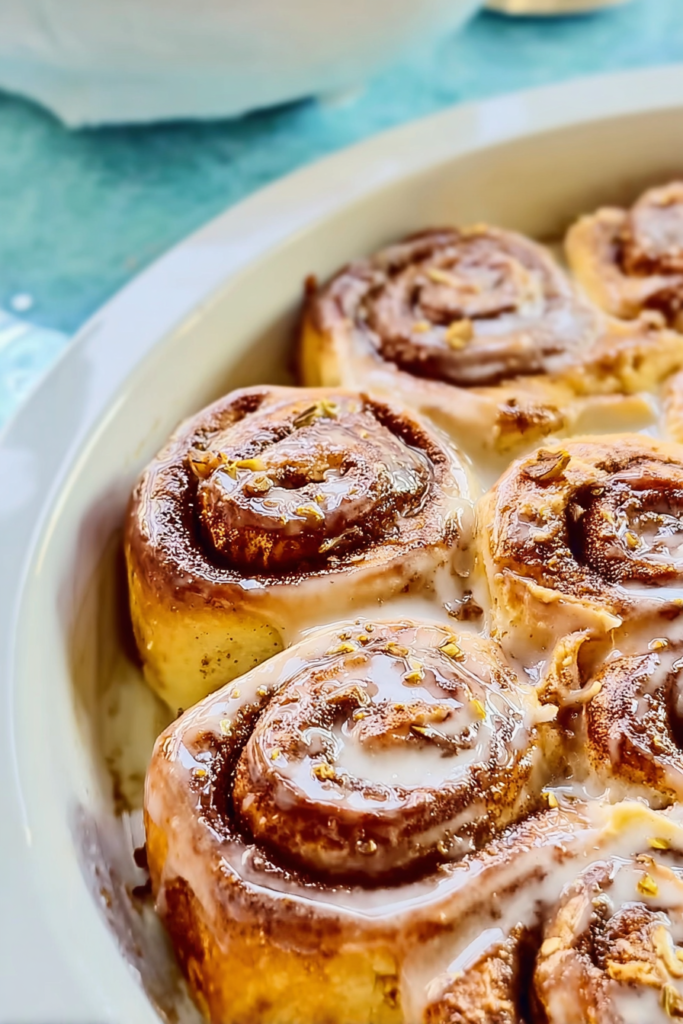
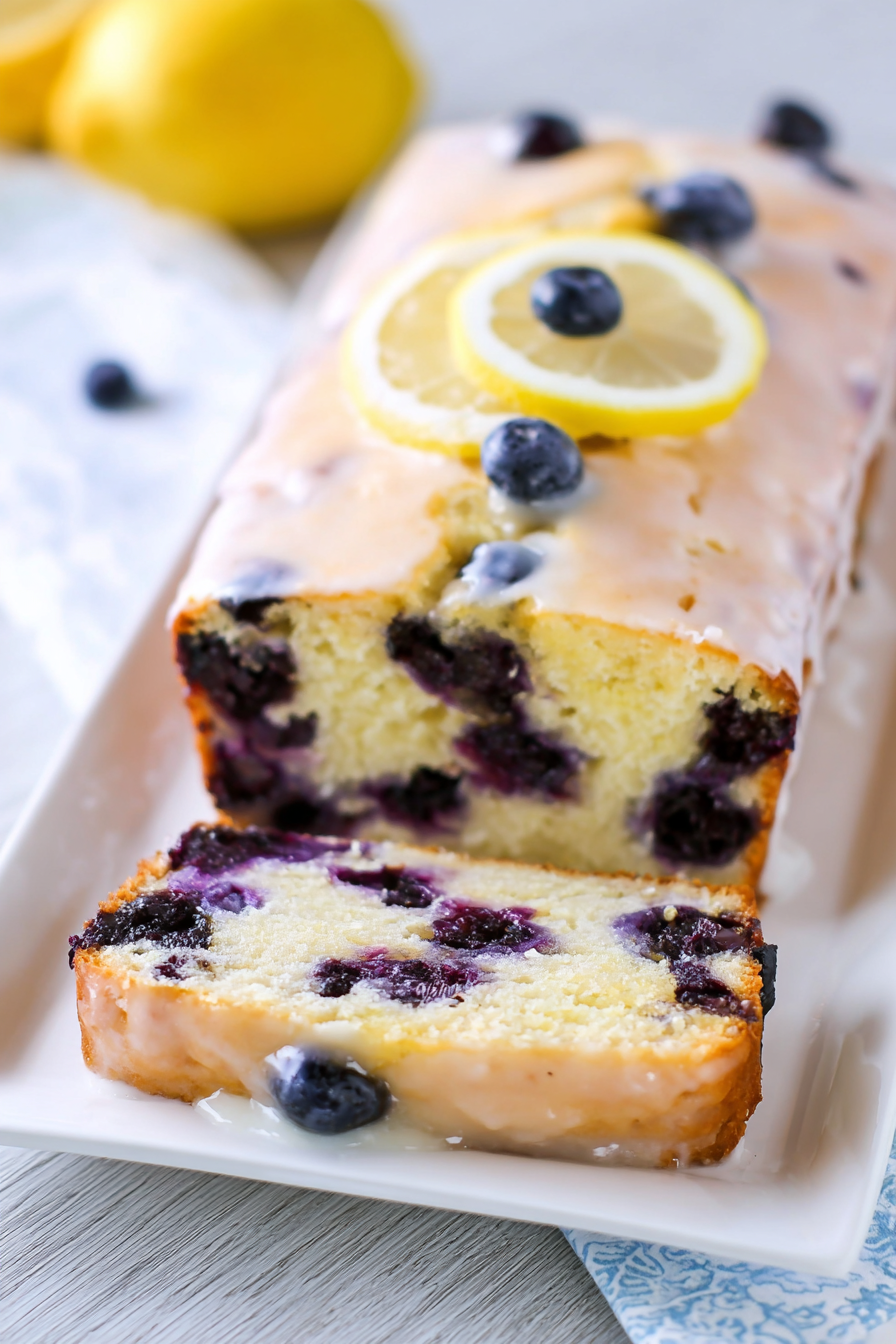
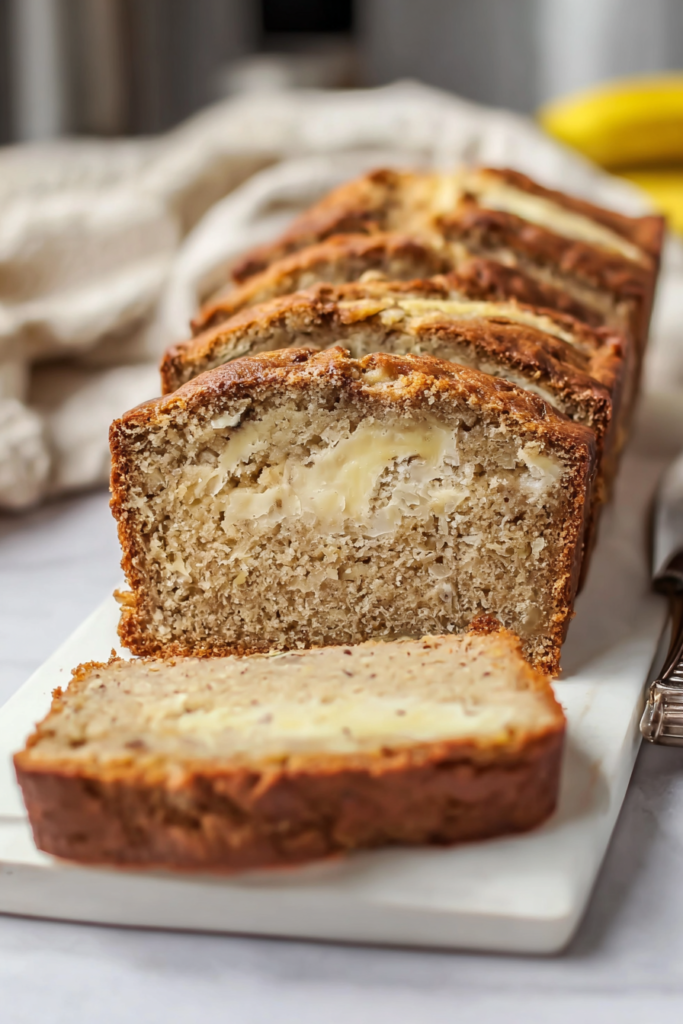
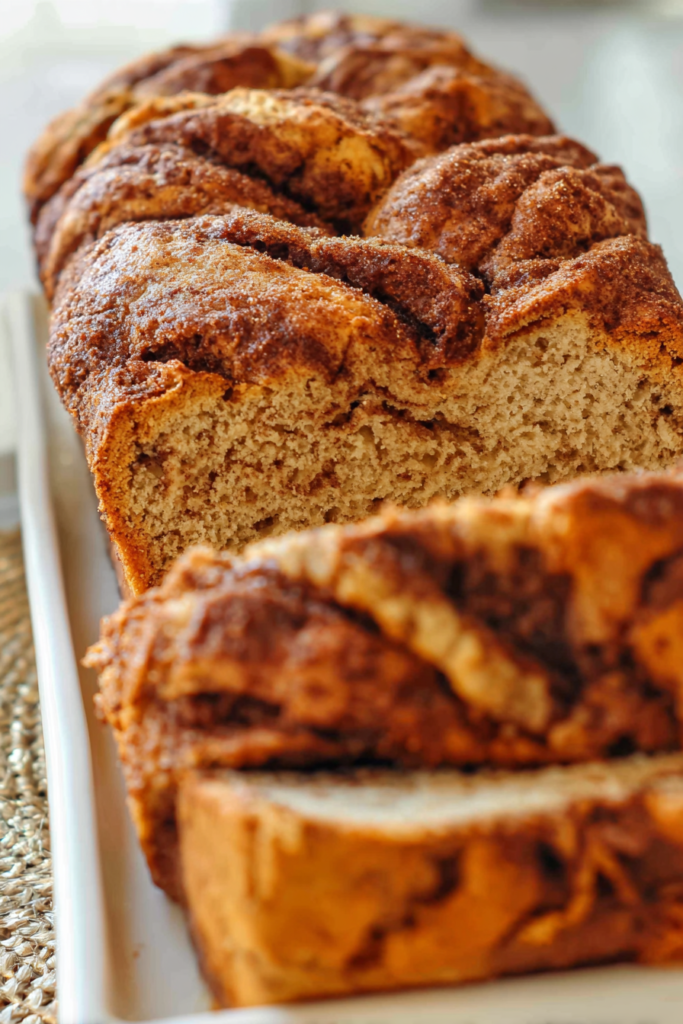
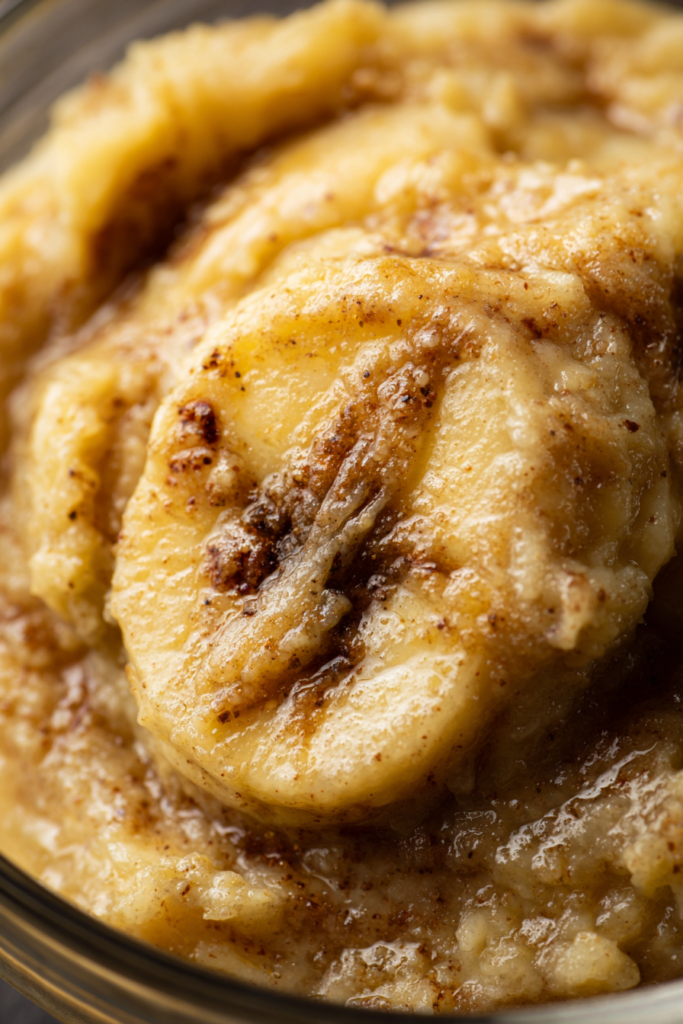
One bite and they were hooked. The sweet, soft banana bread meets this amazing tropical vibe from the coconut. Then the lime glaze hits you with that bright, zesty kick. It’s honestly one of those flavor combos that just works.
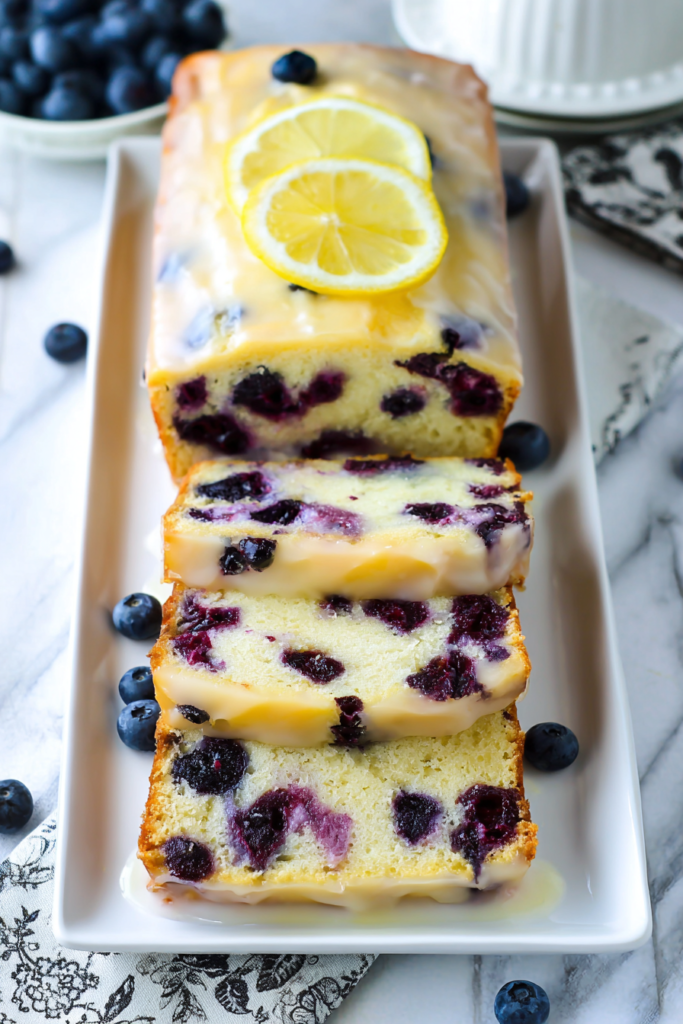
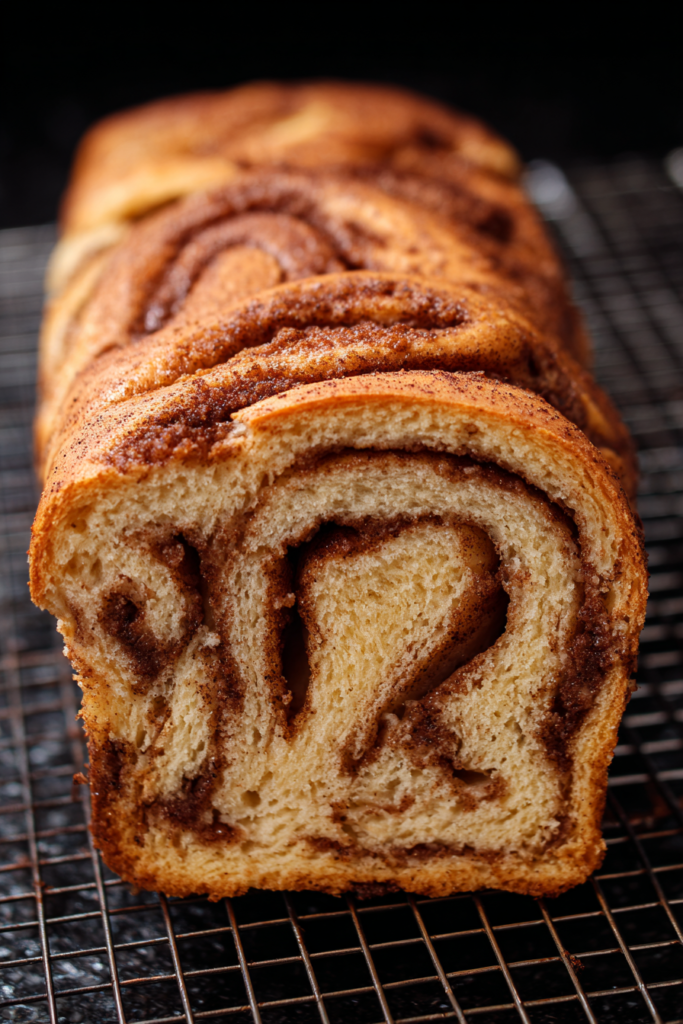
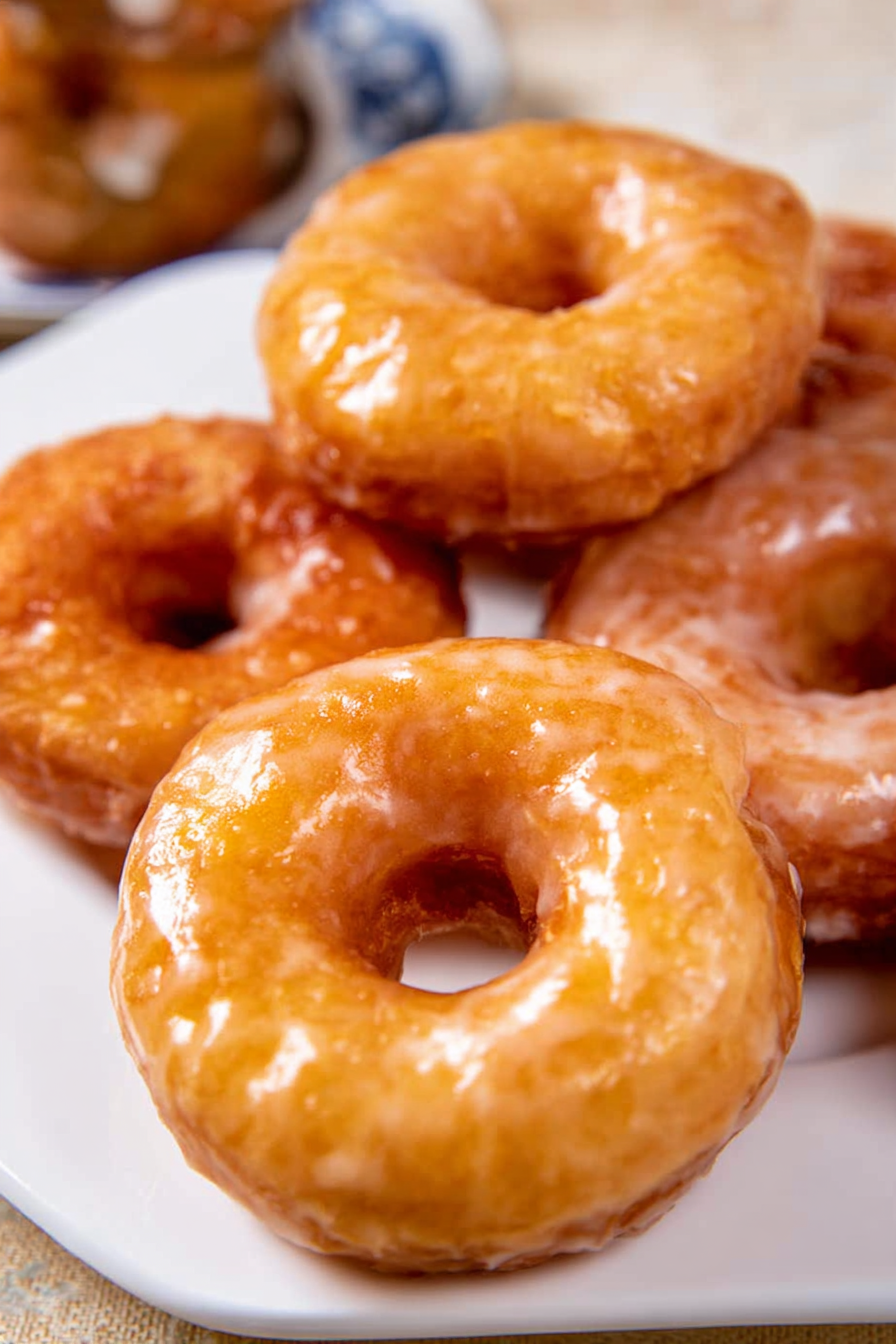
I’ve been making regular banana bread for years. Love it. But this version? It takes everything great about classic banana bread and adds a little excitement. The crumb stays super soft and moist. Little bits of coconut are tucked throughout. The top gets this beautiful golden coconut crust. And that lime glaze? It’s the perfect finishing touch.
The best part is how simple this is to make.
No fancy equipment needed. No weird ingredients you’ll use once and never again. Just stuff you probably already have sitting around. I promise, even if you’re new to baking, you can nail this recipe.

Let me tell you why this combo works so well.
Overripe bananas bring all that natural sweetness and moisture. The coconut adds a tropical twist and gives you these little chewy bits. Fresh lime zest and juice? That’s what cuts through all the richness and makes everything pop.
I make this for weekend brunch all the time. It disappears in minutes at potlucks. People always ask for the recipe. And honestly, my kitchen smells incredible while it’s baking. That alone is worth it.
Prep Time: 20 minutes | Cook Time: 60 minutes | Total Time: 1 hour 20 minutes
Servings: 12 slices | Difficulty: Easy
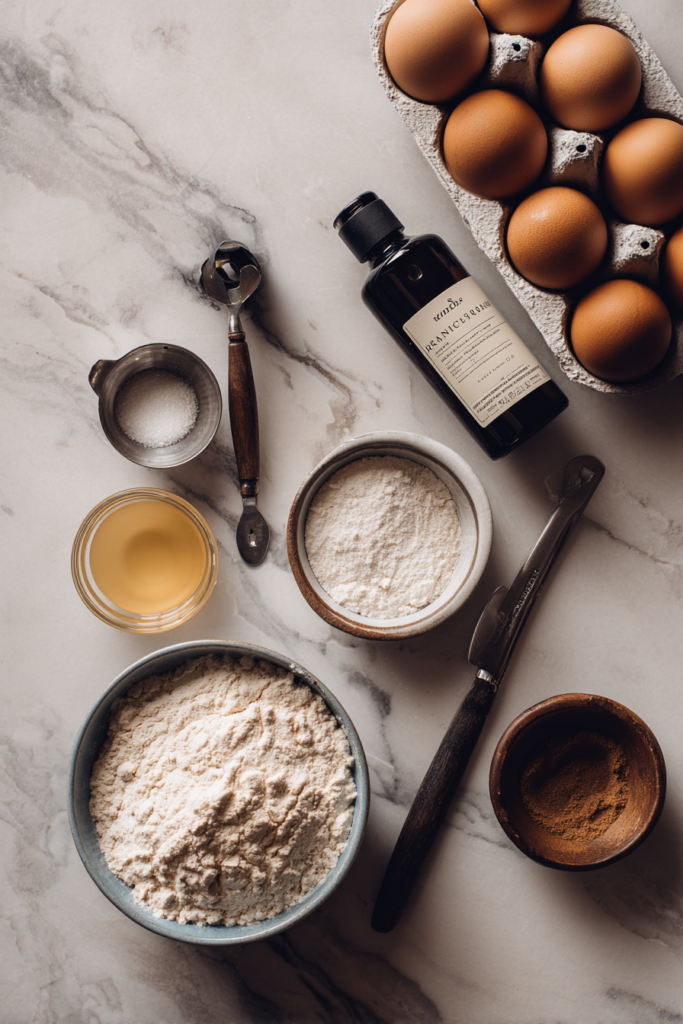
What You’ll Need
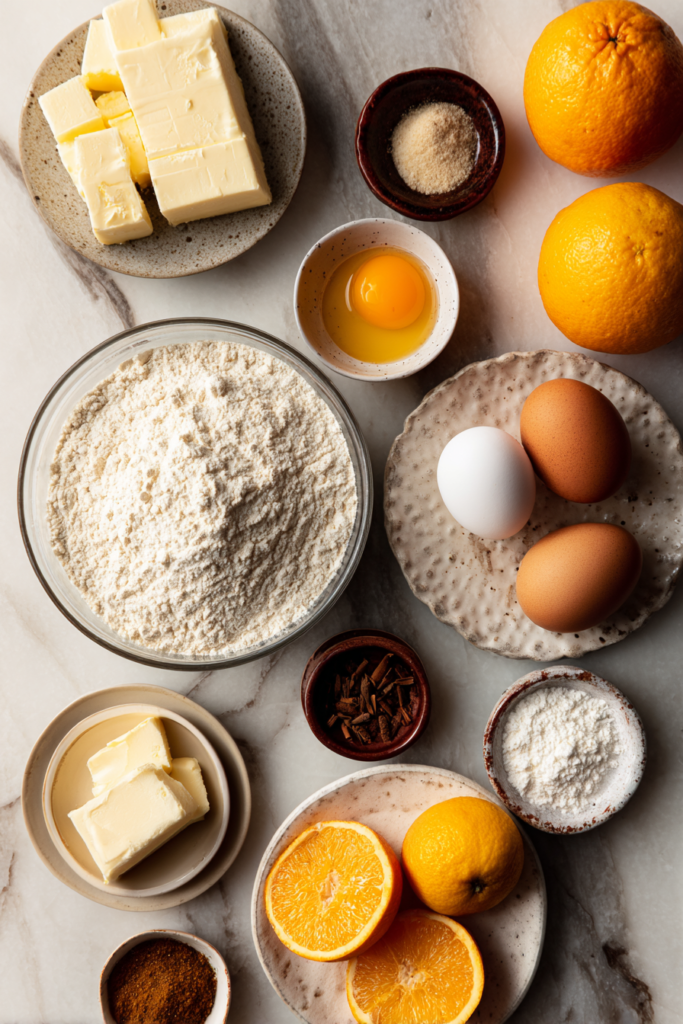
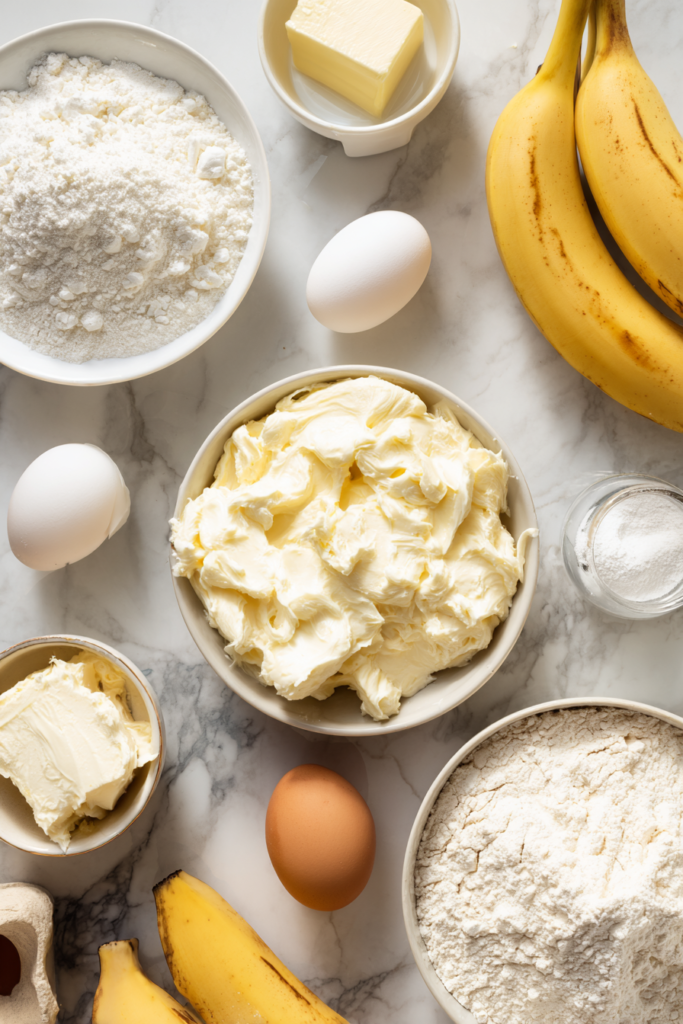
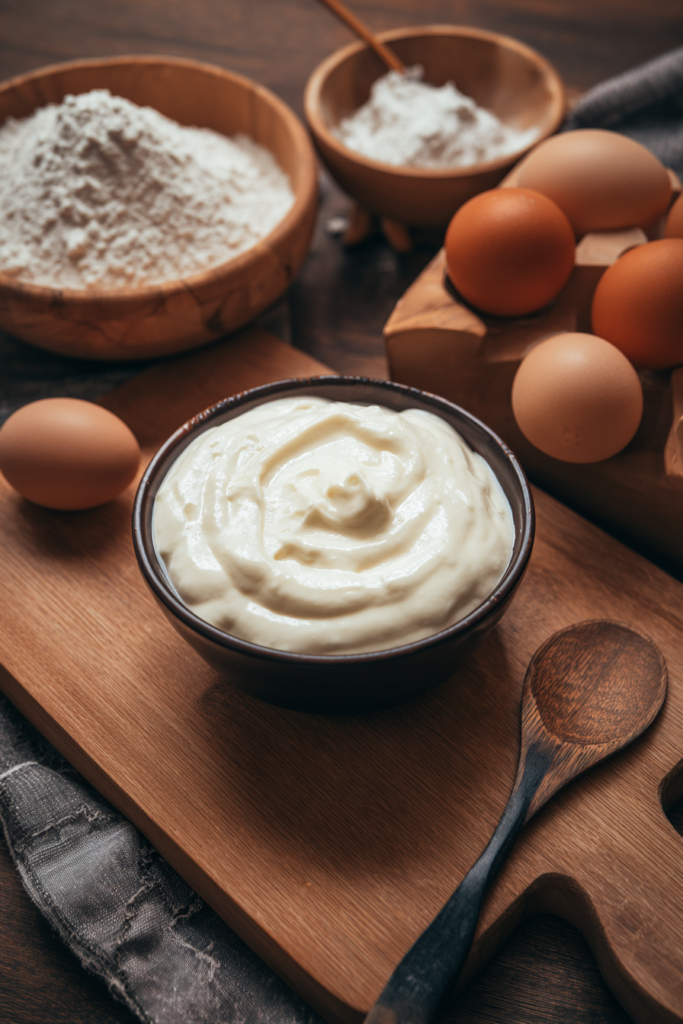
Let me break down everything you need. Getting your ingredients ready before you start makes the whole thing go smoother.
| Ingredient | Quantity | Notes |
|---|---|---|
| All-purpose flour | 2 cups | Spoon it in, level it off |
| Baking soda | ¾ teaspoon | This makes it rise |
| Salt | ½ teaspoon | Brings out all the flavors |
| Granulated sugar | 1 cup | Plain white sugar |
| Butter | 4 tablespoons | Softened, I use salted |
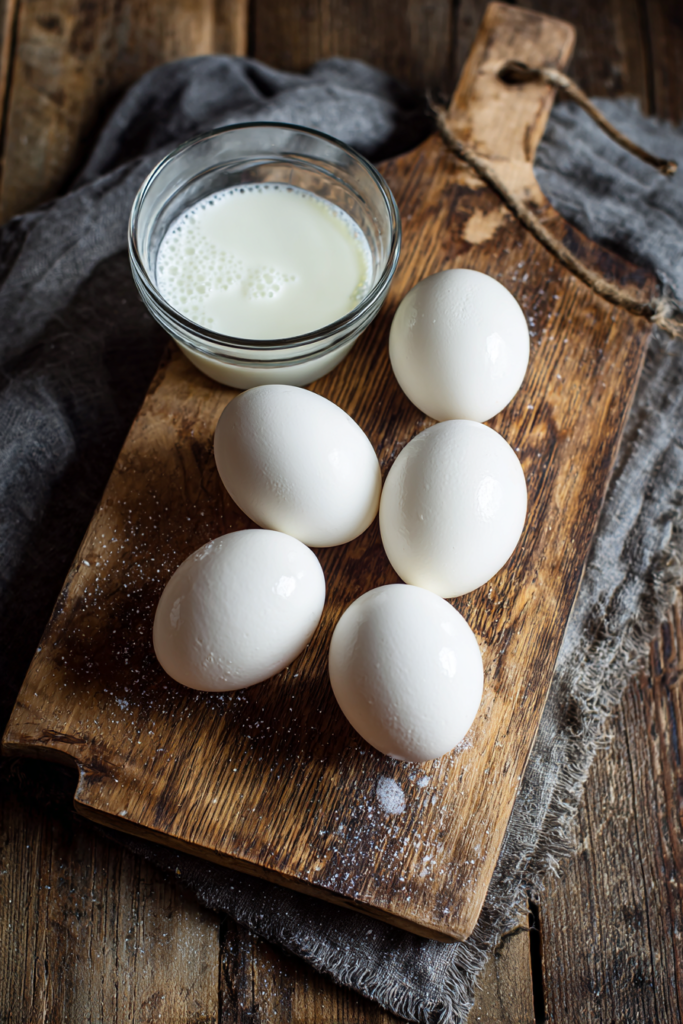
| Large eggs | 2 | Room temp works best |
| Mashed ripe bananas | 1½ cups | 4-5 big bananas |
| Sour cream | ¼ cup | Full-fat is better |
| Milk or apple juice | 3 tablespoons | Your choice |
| Vanilla extract | 1 teaspoon | Pure is worth it |
| Shredded coconut (for batter) | ½ cup | Get the sweetened kind |
| Coconut extract | 1 teaspoon | Optional but good |
| Shredded coconut (for topping) | 2 tablespoons | Makes that golden top |
| Powdered sugar | ½ cup | For the glaze |
| Lime zest | ½ teaspoon | Must be fresh |
| Fresh lime juice | 1½ tablespoons | One big lime |
Here’s What You Really Need to Know About the Ingredients
The bananas.
This is important. Your bananas need to be really ripe. I’m talking spotted all over. Even mostly brown is perfect.
Don’t try to use bananas that are just yellow and ready to eat. They won’t give you the sweetness or moisture you need. The bread will turn out bland and dry. Trust me on this. Wait for those spotty brown bananas. Some grocery stores even sell them cheap in the “oops, too ripe” section.
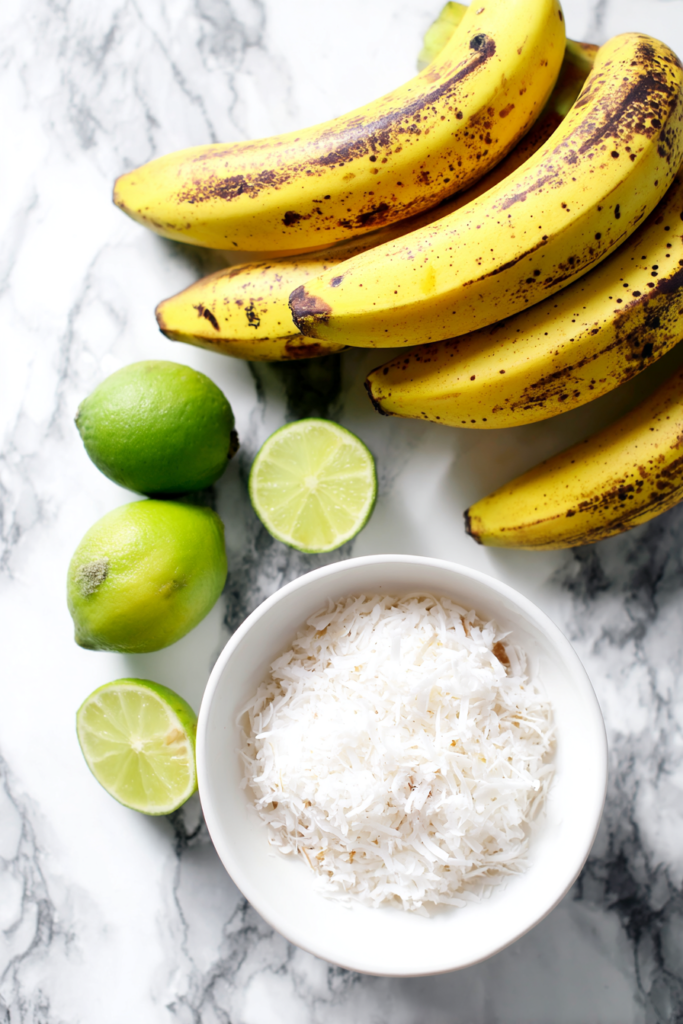
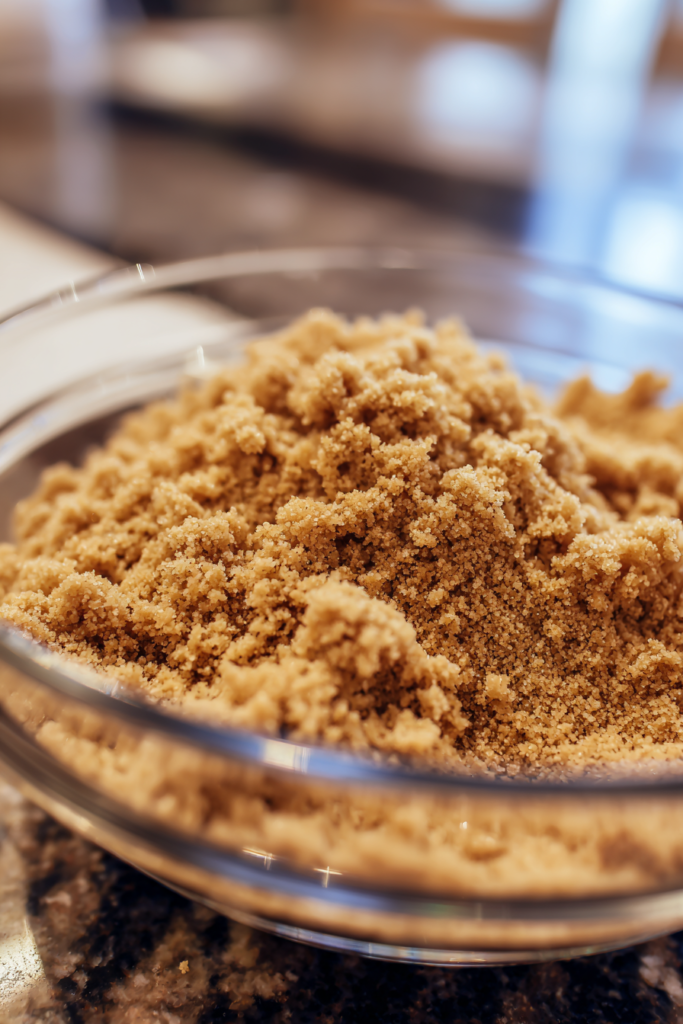
The coconut.
I always grab the sweetened shredded coconut from the baking aisle. The texture is perfect. It mixes right into the batter without clumping. And when you sprinkle it on top? It toasts up beautifully in the oven.
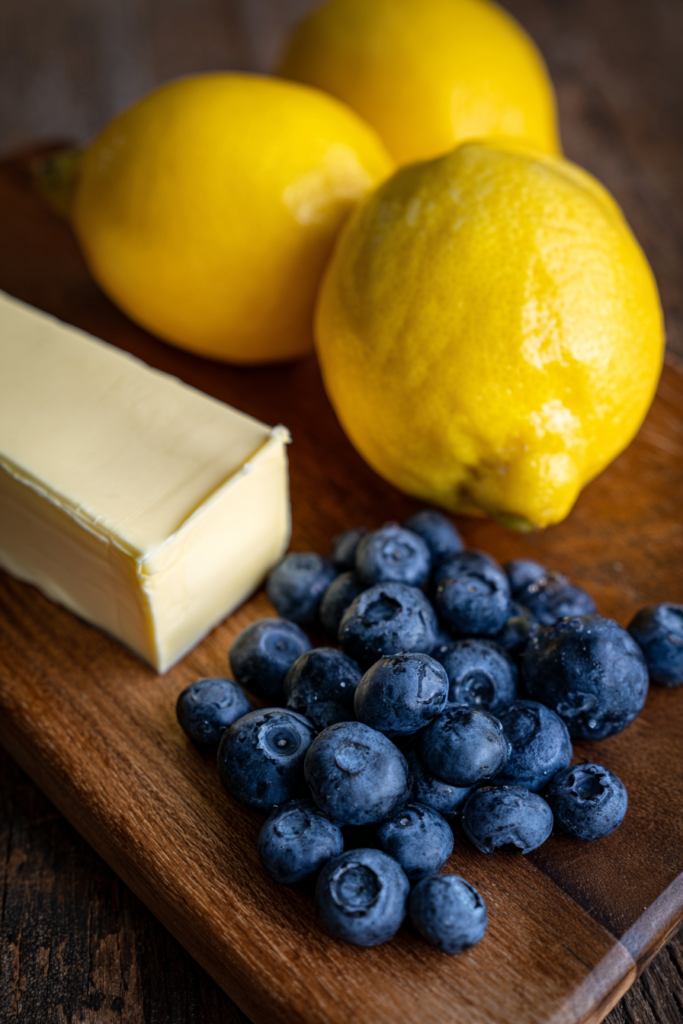
The butter.
Room temperature is key here. Not melted. Not cold. Just soft enough that you can press your finger into it. This helps it cream properly with the sugar. If your butter is cold, you’ll get lumps that won’t blend. Pull it out about an hour before you start baking.
The sour cream.
This is what makes the bread so moist and tender. Plus it adds a subtle tang that’s really nice.
No sour cream? Greek yogurt works great. I’ve even used plain vanilla yogurt when that’s all I had. The important thing is having something creamy to keep the texture soft.
The lime.
Fresh lime juice is a must for the glaze. That bottled stuff just doesn’t cut it. The flavor is flat and weird. One big lime gives you about 2 tablespoons of juice, which is more than you need.
Pro tip: Zest your lime before you juice it. Way easier that way.
Let’s Make This Bread
Alright, time to bake. I’ll walk you through everything step by step. No rush. Just enjoy the process.
Getting Set Up
First thing: turn your oven to 350°F. Let it heat up while you prep everything else.
Grab your 9×5-inch loaf pan. Give it a good spray with non-stick cooking spray. Then comes my favorite trick—the parchment paper sling.
Here’s what you do.
Cut a strip of parchment paper that covers the bottom of the pan lengthwise. Let the extra hang over both short ends like little handles. Spray the pan first, lay in the parchment, then spray again over the paper.
Why do this? When your bread is done, you just grab those paper handles and lift the whole thing right out. No wrestling with the pan. No bread falling apart. Game changer.
Mixing Everything Together
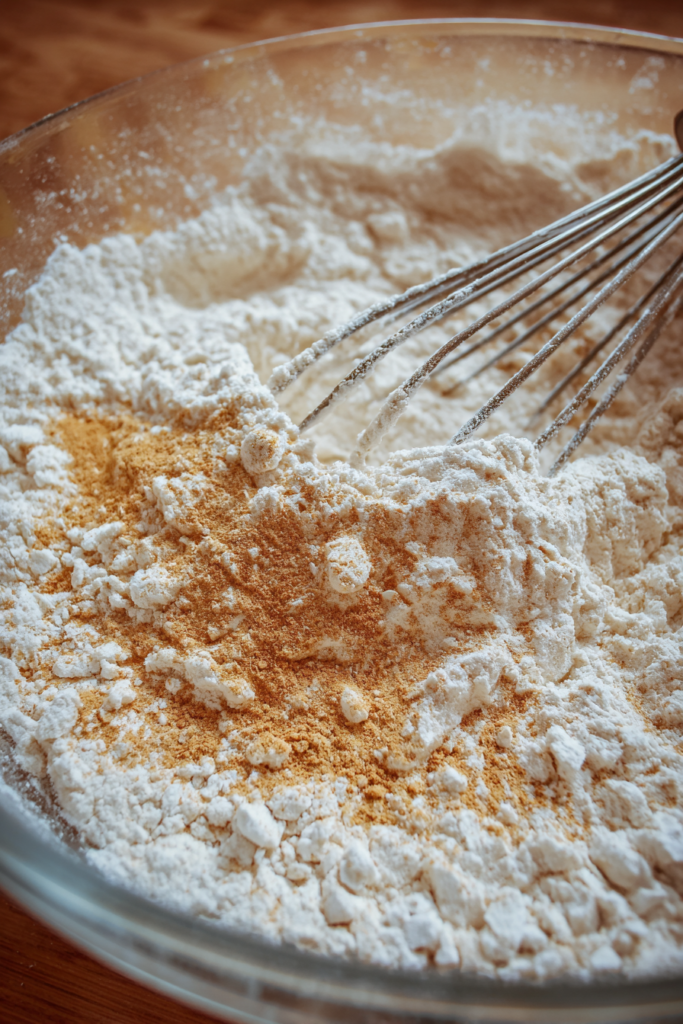
Get a medium bowl. Toss in your flour, baking soda, and salt. Whisk it all together really well. This spreads the baking soda evenly so your bread rises right. Set that aside.
Now grab your big mixing bowl.
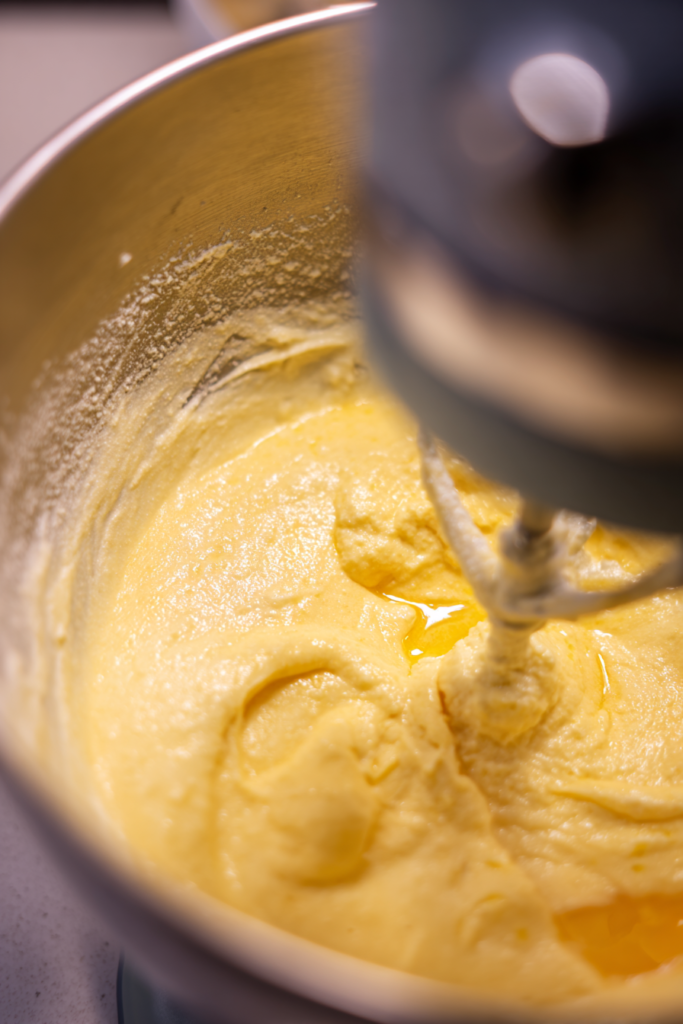
Drop in the softened butter and sugar. If you have an electric mixer, use it on medium speed. Beat these together for about two minutes. You want it to look light and fluffy. This step is super important—it adds air to the batter, which makes the texture better.
Crack in your eggs, one at a time.
Beat well after each one. This helps everything come together smoothly. Your mixture should look creamy and uniform.
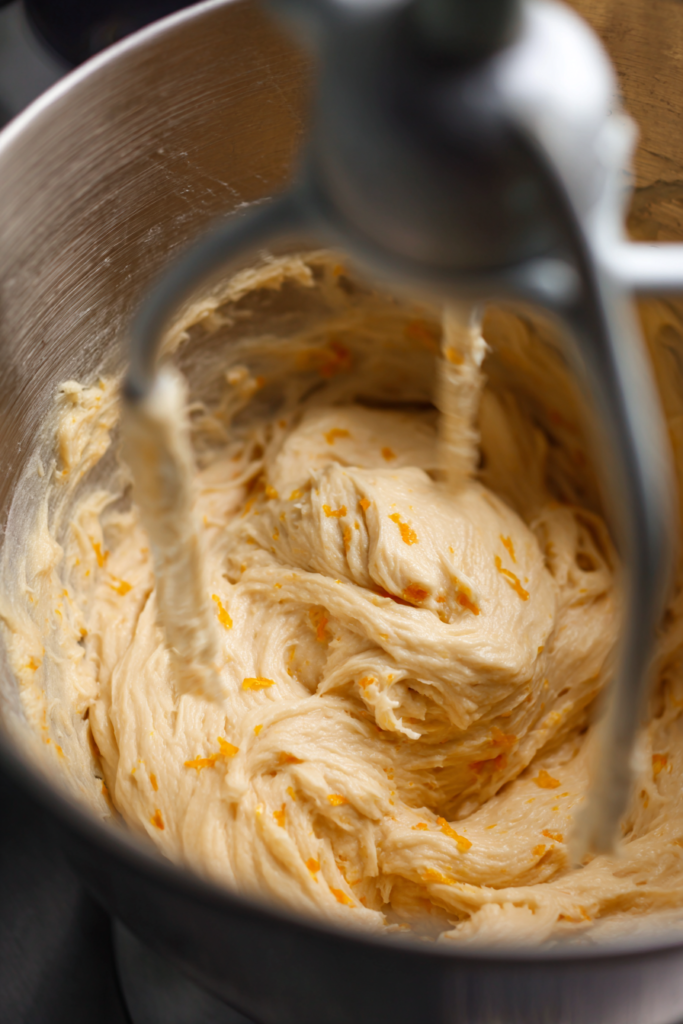
Time to add the good stuff.
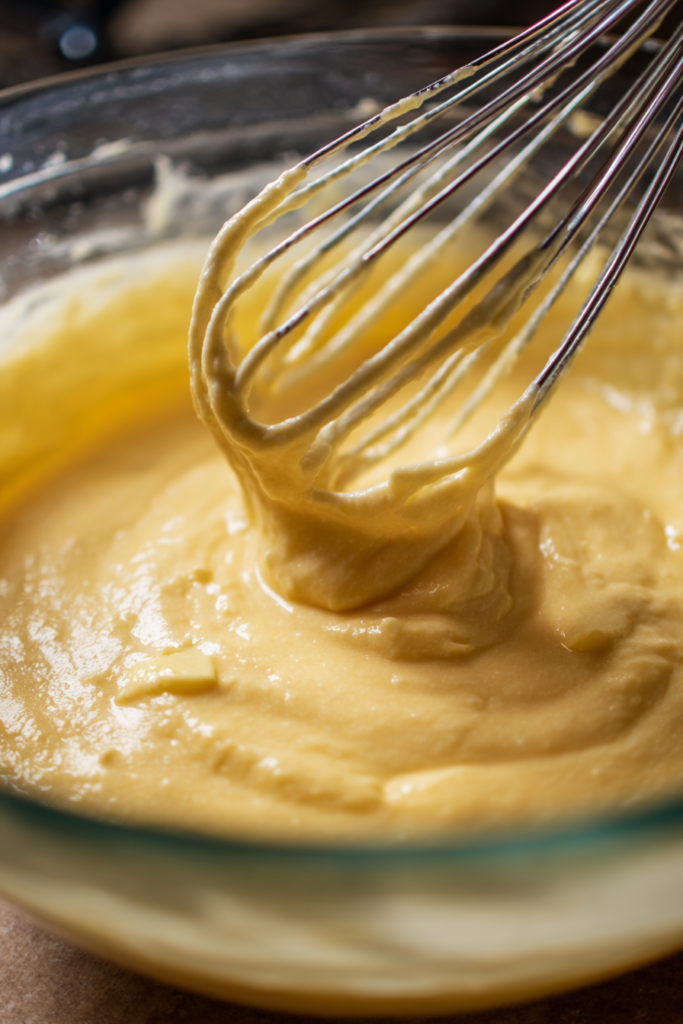
Dump in your mashed bananas, sour cream, milk, vanilla extract, and coconut extract. Beat it all together until it’s combined. Don’t freak out if it looks a little curdled or separated. That’s normal. Once you add the flour, it’ll all come together.
Pour your dry ingredients into the wet stuff.
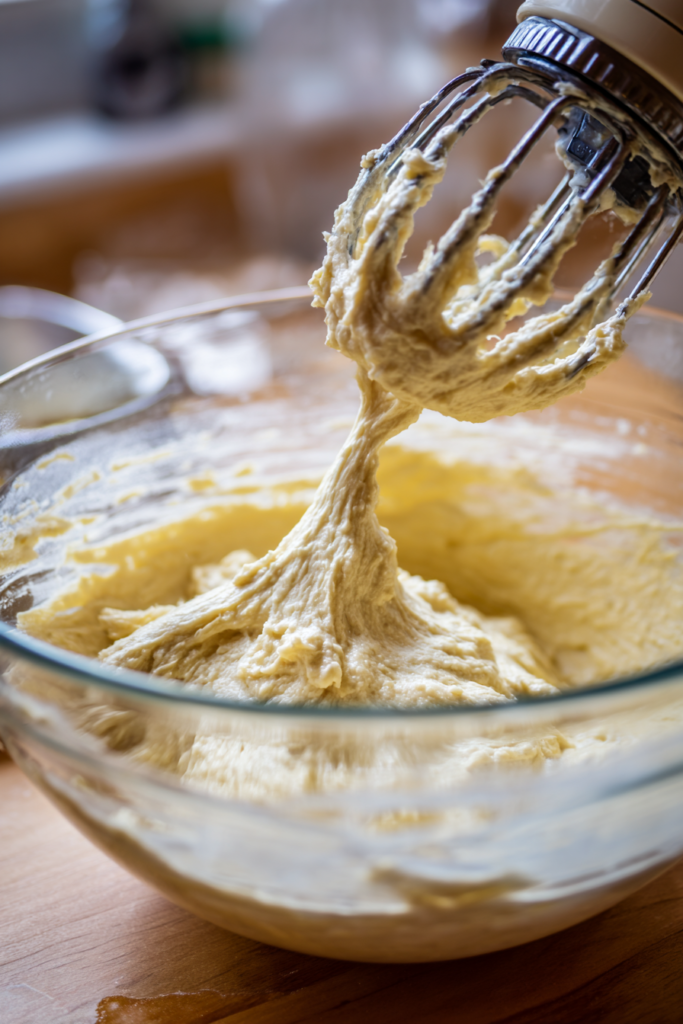
If you’re using a mixer, switch to low speed now. Mix just until you don’t see any more streaks of flour. This is where people mess up. If you overmix, your bread gets tough and dense. We want it tender and soft, so stop as soon as the flour disappears.
Grab a spatula. Gently fold in that half cup of shredded coconut. Use a folding motion instead of stirring hard. This keeps the batter nice and fluffy. The batter should be thick but still pourable.
Into the Oven
Pour your batter into the prepared pan. Spread it out to the edges so it bakes evenly.
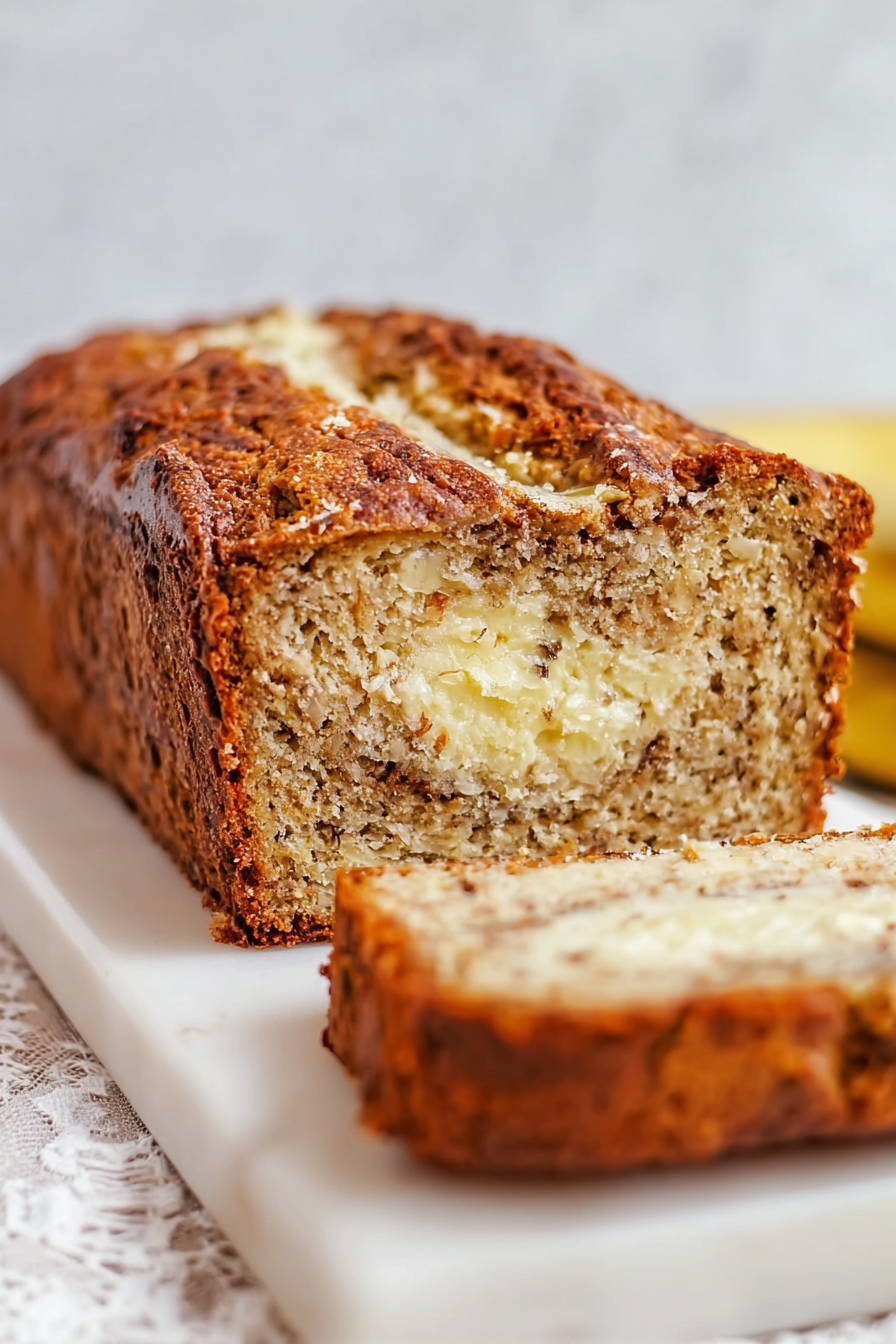
Now sprinkle those last 2 tablespoons of coconut over the top. This creates that gorgeous golden crust you see in bakery banana bread.

Slide the pan into your oven. Set a timer for 45 minutes.
When the timer goes off, take a quick peek. If the coconut on top looks really dark or the bread is browning too fast, loosely cover it with aluminum foil. This stops the top from burning while the middle finishes cooking.
Keep baking until a knife or skewer poked into the center comes out clean. Usually takes about 60 minutes total, but every oven is different.
Look for these signs:
- The bread pulls away from the pan edges
- The top springs back when you touch it gently
- A toothpick comes out clean or with just a few crumbs
Making the Lime Glaze
While your bread cools a bit, whip up the glaze. Super quick and easy.
In a small bowl, whisk together the powdered sugar and lime juice. You want it pourable but not watery. Stir in the lime zest.
Let the bread sit in the pan for 10-15 minutes after it comes out of the oven. If you try to remove it right away, it might fall apart. Be patient.
Use those parchment handles to lift the bread onto a cooling rack.
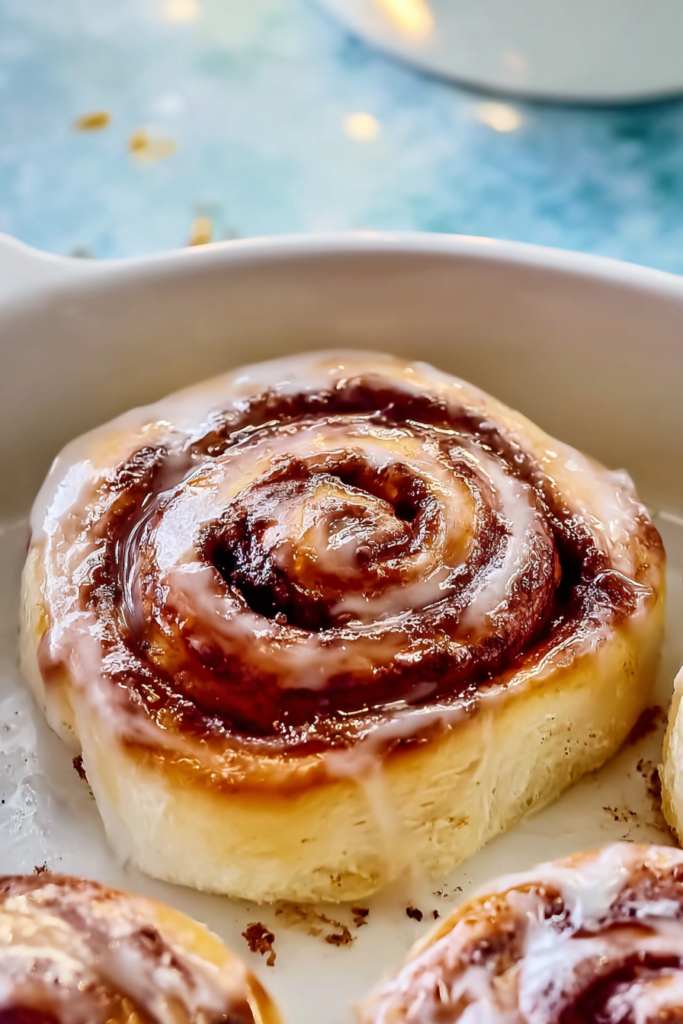
Here’s what I do: put the cooling rack over a baking sheet. Then drizzle the glaze all over the warm bread. The baking sheet catches the drips so your counter stays clean.
Give it another 15 minutes to cool and let the glaze set. I know it smells amazing and you want to dig in. But waiting helps the glaze firm up and lets the flavors settle.
Quick Tips That Make a Difference
Check your oven temperature.
Get a cheap oven thermometer. Most ovens run hot or cold. Mine runs about 15 degrees hot, so I adjust. This makes a huge difference in how your bread turns out.
Don’t keep opening the oven.
Every time you open the door, you let out heat. This messes with the baking time. Only check when you really need to.
The toothpick test is your friend.
Stick it right in the center. If it comes out with wet batter on it, keep baking. A few moist crumbs? You’re good. Clean? Definitely done.
How to Store This (And Serve It)
Keeping It Fresh
Let your bread cool all the way down before storing it. Wrap it tight in plastic wrap or foil. Or just pop it in an airtight container.
It’ll stay good at room temperature for 3-4 days.
Actually, here’s a secret. It tastes even better the next day. The flavors kind of meld together overnight. I usually just slice off what I want and keep the rest wrapped up.
Want to keep it longer?
Freeze it. I skip the glaze if I’m freezing. Just wrap the cooled loaf really well in plastic wrap. Then add a layer of foil over that. Write the date on it so you remember.
It’ll keep in the freezer for up to three months, easy. When you’re ready to eat it, just leave it on the counter to thaw. Make a fresh batch of glaze and drizzle it on. Tastes like you just baked it.
How I Like to Serve It
This bread is perfect for breakfast or brunch. I’ll serve it with scrambled eggs and some fresh fruit. Makes a really nice spread.
It’s also great as an afternoon snack. Pair it with coffee or tea and you’re set.
Want to try something different?
Toast a slice lightly. The edges get crispy and the middle stays soft. Spread a little butter on top while it’s warm. So good.
When I bring this to get-togethers, it always disappears fast. People love the tropical twist. It feels fancy but it’s actually super simple to make.
Questions People Always Ask Me
Do I really need the coconut extract?
Nope. It’s nice if you have it—adds a little extra coconut flavor. But the shredded coconut gives you plenty of coconut taste on its own. The bread is still delicious without the extract.
My bananas aren’t ripe yet. What do I do?
Put them in a paper bag. Toss an apple in there too. The apple speeds things up.
Or try this: bake the unpeeled bananas at 300°F for 15-20 minutes. Let them cool before you use them. They’ll be soft and sweet enough for the recipe.
Can I throw in some nuts or chocolate chips?
Absolutely! I love adding chopped walnuts or pecans. Macadamia nuts are really good with the tropical vibe. White chocolate chips are amazing with the lime.
Add about ½ to 1 cup of whatever you want. Here’s the trick: toss them in a little flour first. This keeps them from all sinking to the bottom while it bakes.
How do I know when it’s actually done?
Look for these things:
- The bread pulls away from the pan sides a bit
- When you press the top gently, it springs back
- A toothpick in the center comes out clean or with dry crumbs only
- No wet batter on the toothpick
Can I turn this into muffins?
You bet. This batter makes great muffins. Fill your muffin cups about two-thirds full. Bake at 350°F for 18-22 minutes. Start checking at 18 minutes with a toothpick. Your oven might need a slightly different time.
Should I put this in the fridge?
No way. The fridge actually dries out quick breads. Room temperature keeps it moist and fresh. Only refrigerate if your kitchen is super hot and humid.
This Coconut Banana Bread with Lime Glaze is my go-to when I want something that feels special but doesn’t stress me out. The tropical flavors just make you happy. Give it a shot. I bet it becomes your new favorite way to use up those overripe bananas.

Coconut Banana Bread with Lime Glaze
Ingredients
Method
- Preheat oven to 350°F. Spray a 9×5-inch loaf pan with non-stick cooking spray. Cut a strip of parchment paper to cover the bottom lengthwise with extra hanging over both ends. Spray pan, lay in parchment, then spray again.
- In a medium bowl, whisk together flour, baking soda, and salt. Set aside.
- In a large mixing bowl, beat softened butter and sugar with an electric mixer on medium speed for about 2 minutes until light and fluffy.
- Add eggs one at a time, beating well after each addition until mixture is creamy and uniform.
- Add mashed bananas, sour cream, milk, vanilla extract, and coconut extract. Beat until combined (mixture may look slightly curdled).
- Add dry ingredients to wet mixture. Mix on low speed just until flour disappears. Do not overmix.
- Gently fold in 1/2 cup shredded coconut using a spatula with a folding motion to keep batter fluffy.
- Pour batter into prepared pan and spread to edges. Sprinkle 2 tablespoons coconut over the top.
- Bake for 45 minutes, then check. If coconut topping is browning too much, loosely cover with aluminum foil. Continue baking until a knife inserted in center comes out clean, about 60 minutes total.
- While bread cools, make glaze: In a small bowl, whisk together powdered sugar and lime juice until smooth. Stir in lime zest.
- Let bread cool in pan for 10-15 minutes. Use parchment handles to lift bread onto a cooling rack placed over a baking sheet.
- Drizzle lime glaze over warm bread. Let cool for 15 minutes to allow glaze to set before slicing.