Cast iron makes better bread.
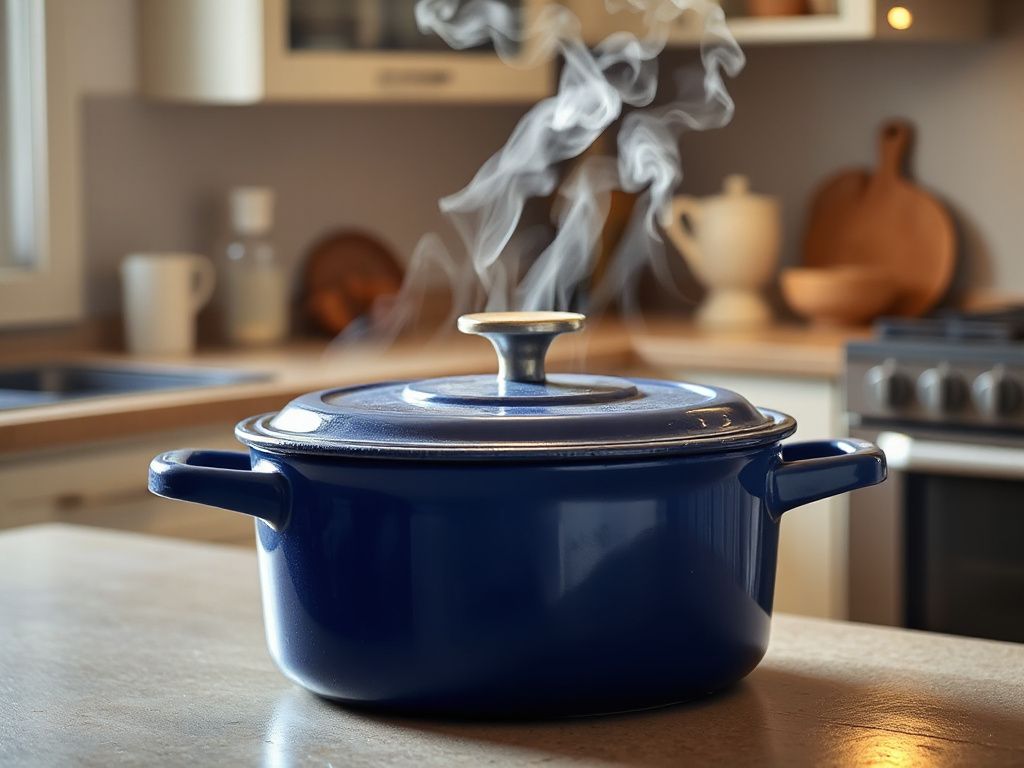
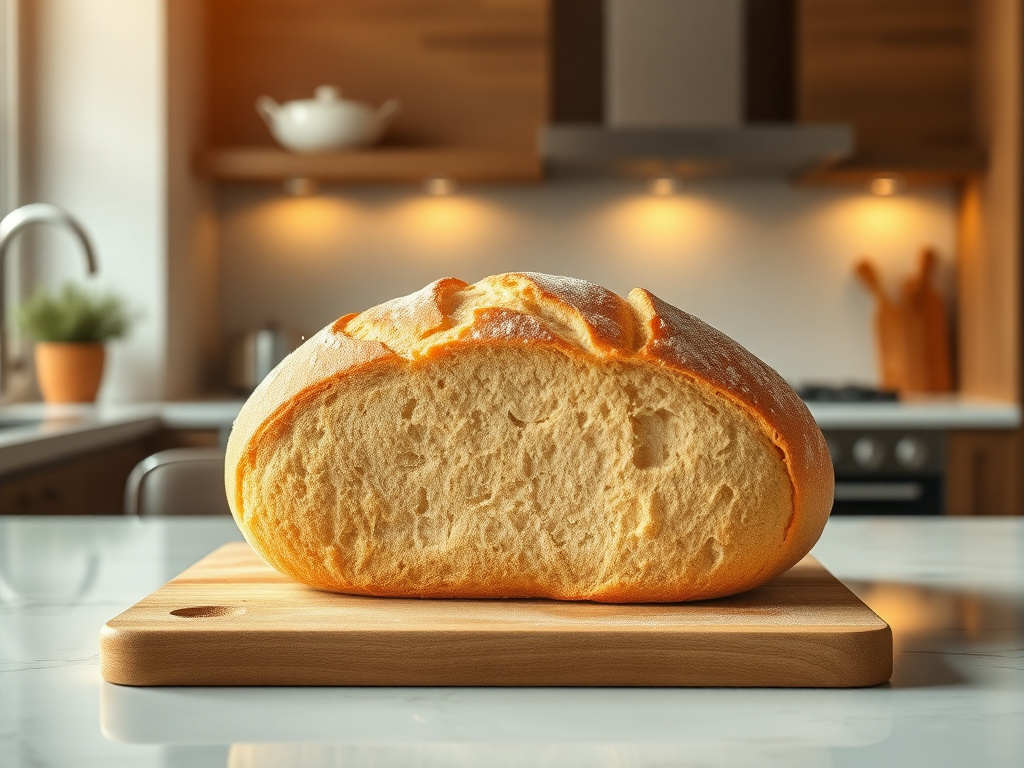
That statement isn’t hyperbole — it’s a physical reality of bare cast iron. The kitchen tools that last are never the flashiest — they’re the simplest, heaviest, and most boring-looking tools in the drawer. A bare cast iron Dutch oven falls squarely into that category. It won’t win beauty contests, but it will produce a loaf with a dark, blistered crust and an open, tender crumb that rivals anything from a steam-injected commercial oven.
This guide walks you through the process of baking bread in cast iron, from preheating to final slice, with a blunt, no-nonsense approach. No gimmicks, just heat and dough.
Key Takeaways
- Preheat the cast iron Dutch oven at 500°F (260°C) for at least 45 minutes to mimic a brick oven.
- Using a covered vessel traps steam released from the dough, creating the high-humidity environment crucial for oven spring.
- A final uncovered bake at a slightly lower temperature sets the crust to a deep mahogany without burning the bottom.
In this guide
Why Cast Iron Delivers Bakery-Quality Bread at Home
A standard home oven leaks heat. Open the door, and the temperature drops 50 degrees in seconds. Thin baking sheets and flimsy roasting pans can’t compensate — they cool almost as fast as the air. Cast iron is different. Its sheer mass and high specific heat capacity allow it to absorb and store a tremendous amount of thermal energy. Once hot, it radiates that heat evenly into the dough, creating a more stable baking environment.
From a durability standpoint, bare cast iron shrugs off 550°F without warping. In my line-cook days, I saw countless aluminum and thin stainless pans develop a wobble after repeated high-heat use. A heavy-gauge bare cast iron Dutch oven stays flat on the burner and in the oven, year after year. It’s this refusal to distort under extreme conditions that makes it the only vessel I trust for bread.
The steam component is equally important. When dough hits the scorching pot and you clap on the lid, moisture escaping from the loaf gets trapped. That humidity gelatinizes starch on the surface, producing the glossy, crackling crust that home bakers chase. This is exactly the same principle commercial ovens use with steam injectors, but your $50 cast iron pot does it passively.
Getting Your Dutch Oven Ready for the Bake
Seasoning and Maintenance for Bare Iron
If your pot is properly seasoned, the baked loaf will release without sticking. Before you preheat, ensure the interior is clean and lightly oiled — a whisper-thin layer of neutral oil wiped with a paper towel is plenty. Do not use a thick puddle; excess fat will polymerize into a sticky mess at 500°F. After every bake, wash with hot water and a stiff brush (no soap), dry thoroughly on a burner, and rub with a new dab of oil. This routine prevents rust and builds a slick, non-stick patina over time.
Size and Shape Considerations
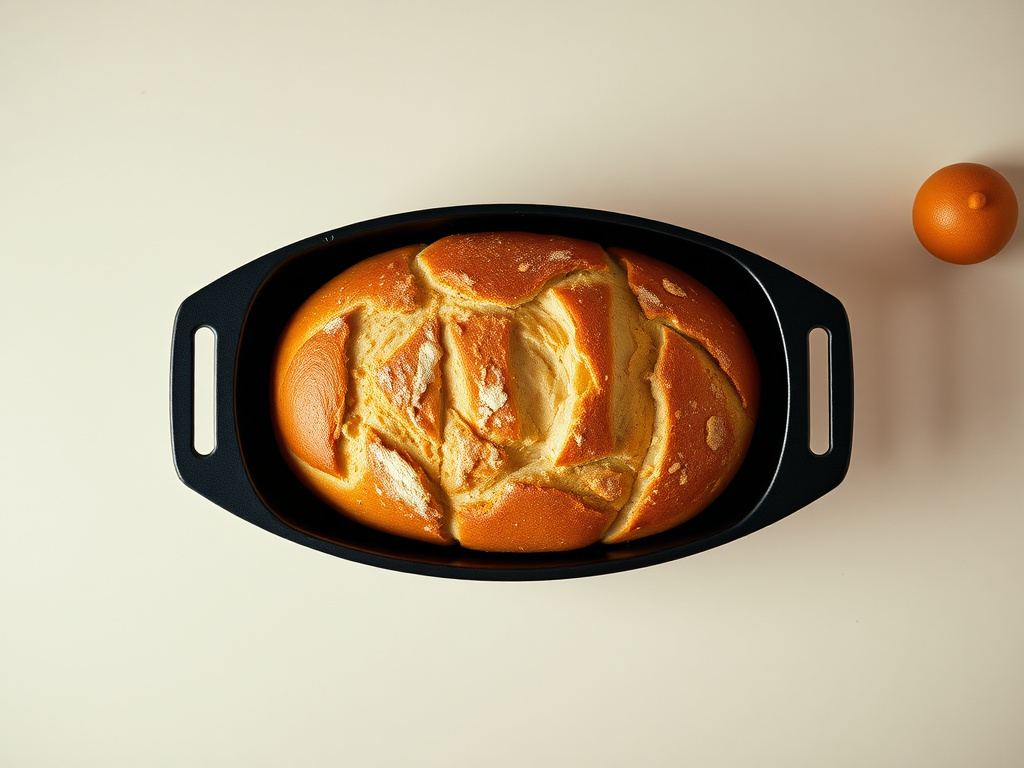
A 5- to 6-quart round Dutch oven is the sweet spot for a 500-gram to 1-kilogram boule. Oval pots can accommodate bâtards, but they often crowd the oven rack. Whichever shape you use, the dough should have at least 2 inches of clearance on all sides so steam circulates freely. A pot that’s too small will choke the crust; one that’s too large can slow down the humidity build-up.
Oven Rack Position
Place the rack in the lower third of the oven. This balances the radiant heat from the element below and the ambient heat above. If your oven has a hot-spot zone near the back, rotate the pot 180 degrees after uncovering to promote even browning.
A Step-by-Step Guide to Baking Bread in Cast Iron
Step 1: Preheat to 500°F and Place the Dutch Oven Inside
Set your oven to 500°F (260°C) — the highest setting most home ovens can sustain without cycling off too aggressively. Put the pot, with its lid on, into the cold oven. Let it heat for 45 to 60 minutes. Cast iron’s thermal lag means the metal itself needs the full duration to reach equilibrium. An infrared thermometer is a pro move; shoot for a pot interior temperature of at least 475°F before loading dough.
Don’t skip this step. A lukewarm pot will kill oven spring. Your baker’s instinct might tell you to save energy, but the results will be dense and pale.
Step 2: Shape the Dough and Prepare a Parchment Sling
While the pot heats, turn your cold-proofed boule out of a banneton onto a sheet of parchment paper. Use a well-floured surface — the dough side that was against the basket is now the top. Lightly dust with rice flour for contrast if you like. Score the loaf decisively with a sharp lame or razor: one deep slash (about ½ inch) at a 30-degree angle gives the expansion a predictable path. A cross-hatch or wheat-stalk pattern works too, but shallow scores won’t bloom.
The parchment paper should extend beyond the dough by at least 4 inches on either side, creating handles. This sling lets you lower the loaf into the infernally hot pot without burning your fingers or deflating the dough.
Step 3: Load the Loaf into the Scorching Hot Vessel
Pull the Dutch oven out of the oven carefully. Keep heavy-duty oven mitts on — the handles will be at 500°F. Working quickly, lift the dough by the parchment handles and lower it straight down into the pot. The paper will crinkle; that’s fine. Immediately lid the pot and slide the whole thing back into the oven. The first seconds of steam release are critical, so don’t dawdle.
Step 4: The Covered Bake for Steam and Oven Spring
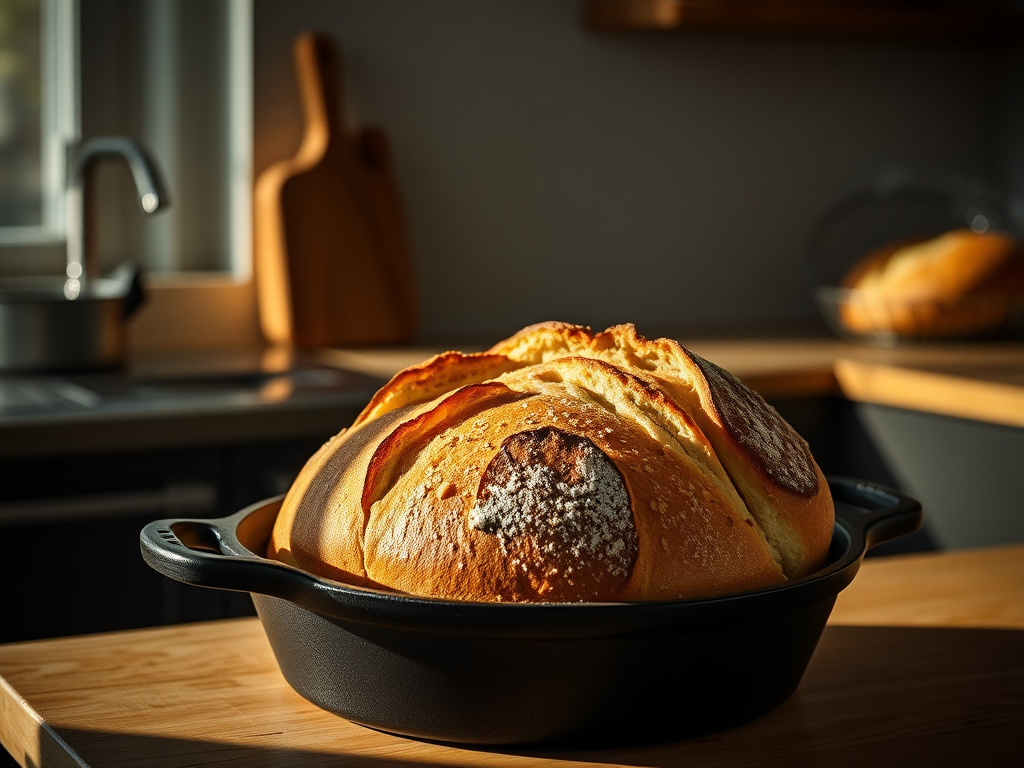
Bake covered at 500°F for 20 to 25 minutes. During this phase, the trapped moisture causes the dough to expand dramatically — some loaves gain 50% more volume. The starch on the crust surface gelatinizes fully, creating the foundation for the final glaze. Resist the urge to peek; every time you lift that lid, you dump the precious steam and risk a flat, leathery crust.
Step 5: Uncover to Develop the Final Crust
After 20–25 minutes, remove the lid. Reduce the oven temperature to 475°F (245°C). Continue baking, uncovered, for another 15 to 25 minutes. The goal is a deep chestnut brown, not blonde. Check the internal temperature with an instant-read probe — anywhere from 200°F to 210°F (93–99°C) signals that the crumb has set completely.
Pay attention to the bottom. If it’s darkening too fast, the baking sheet shield mentioned above works wonders. You can also lay a piece of aluminum foil loosely under the parchment, but a cold sheet is simpler and more effective.
Step 6: Cool Completely Before Slicing
Lift the loaf out — the parchment handles make it easy — and transfer to a wire rack. Let it cool for at least one hour. The crumb continues to set as residual moisture redistributes. Cutting into the bread while it’s hot will turn that airy texture gummy and pressy. I’ve ruined more than one perfect loaf by rushing this final step.
Avoiding Common Pitfalls and Fine-Tuning Your Technique
Dough Sticking to the Pot
If your loaf glues itself to the cast iron, the seasoning layer was too thin or the parchment tore. Always use parchment as a liner — it’s not cheating; it’s insurance. For bare cast iron, a light dusting of cornmeal or semolina underneath the dough can also help with release, but the paper is foolproof.
A Dense, Low-Rise Loaf
Poor oven spring usually points to insufficient preheat, a weak starter or yeast, or under-proofed dough. Verify that your pot reaches 475°F with a thermometer, and don’t rush the bulk fermentation. A dough that hasn’t doubled will never blossom, no matter how hot the pot gets.
Pale or Leathery Crust
If the crust is pale even after the full uncovered time, your flour might be the culprit. All-purpose flour produces a softer coat; bread flour with its higher protein (12–14%) encourages deeper browning and more crackle. Also, check that your oven’s true temperature matches the dial — a cheap oven thermometer is the best $5 investment a baker can make.
Burnt Bottom and Uneven Baking
Cast iron’s excellent heat retention can backfire if the pot sits directly on a bare oven floor. Always use a rack, and position it in the lower third, not the very bottom. The heat-shield method described earlier is your first line of defense. Some bakers nest the Dutch oven inside a larger cast iron skillet to further diffuse the bottom heat — crude but effective.
Extending the Technique: Sweet Breads and Variations
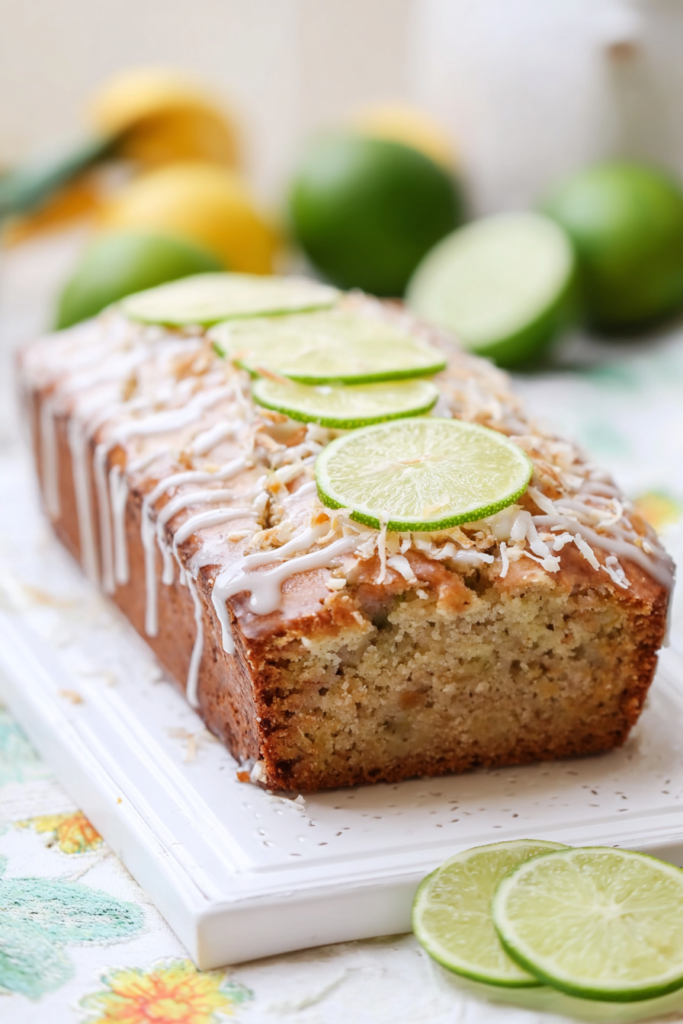
Once you’ve nailed the basic country loaf, the same principles apply to enriched doughs. The Dutch oven is equally suited to a moist, tender crumb. Our pumpkin bread recipe, for example, bakes beautifully inside a preheated cast iron pot, developing a caramelized exterior while staying pillowy within. For something with chunks of fruit, try the apple fritter bread recipe — the cast iron’s steady heat ensures the apple pieces soften without scorching. These aren’t gimmicks; they’re logical extensions of the same steam-and-heat physics that define great artisan bread.
Frequently Asked Questions
Why do I need to preheat a cast iron Dutch oven for so long?
Cast iron has a high thermal mass, meaning it takes a long time to absorb heat and an equally long time to release it. A 45-minute preheat at 500°F ensures the metal reaches thermal equilibrium, so your dough meets a uniformly scorching surface the moment it enters. Underheated cast iron saps energy from the loaf, resulting in a weak rise and a dull crust.
Can I bake bread in a cast iron skillet instead of a Dutch oven?
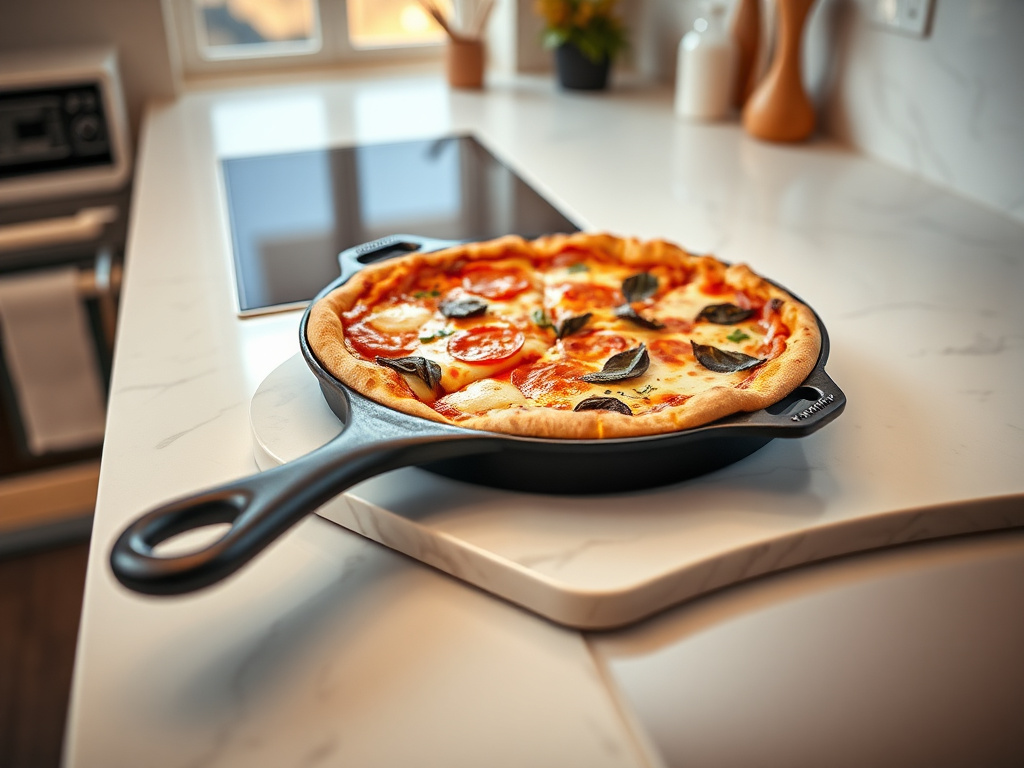
Yes, but you’ll need to create a steam chamber. Invert a large stainless steel bowl or another oven-safe pot over the skillet to trap moisture. The results are acceptable, but a dedicated Dutch oven with a tight-fitting lid retains humidity far better, producing a noticeably superior spring and crust. If you bake frequently, the Dutch oven is worth the cabinet space.
Do I need to season my Dutch oven before every bread bake?
Not before every bake, provided you maintain the seasoning after each use. Wash with hot water and a stiff brush — no soap — then dry on a burner and rub with a tiny amount of neutral oil while warm. This regular upkeep builds a durable patina that releases bread easily. Re-season fully only if you notice rust or a dull, sticky surface.
Can I use the same cast iron for cakes and other baked goods?
Absolutely. The same stable, radiant heat that produces a crackling bread crust also creates an exceptionally even crumb in cakes and quick breads. If you’re expanding your collection for more delicate bakes, our guide to cake pans can help you choose the right shape, but your Dutch oven will handle cinnamon rolls, brownies, and cobblers with ease.